

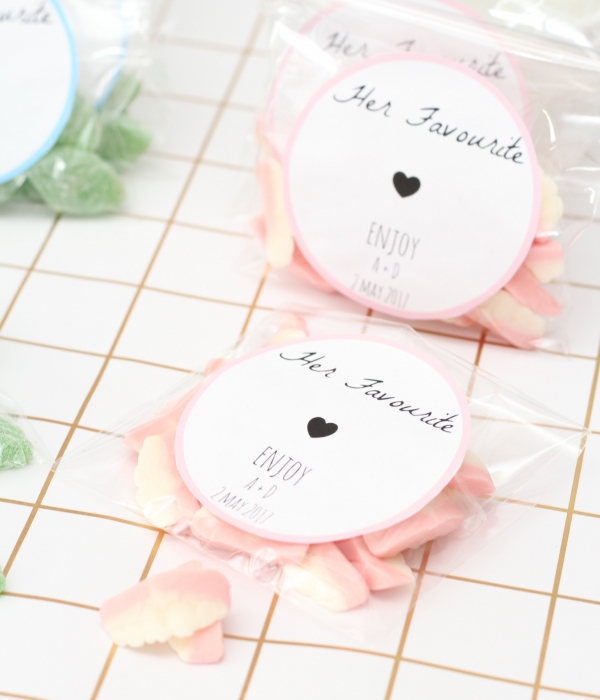
As you know, we love a wedding DIY that’s simple, affordable and memorable. Our tutorial for ‘His and Her Favourite Sweet Favours’ ticks all those boxes. It’s personal, allowing a little insight to the bride and groom. It’s cute (as things in packets tend to be!), it won’t break the bank with only a few materials required, and best of all – your guests are sure to enjoy them!
You could either use these ‘His & Her Favourite’ as wedding favours with one set at each place, have them on display at a table, or hand them out on the dance floor for a much-needed energy boost once the dancing gets going. Remember, this is a chance to let your guests know something about you they may not have known otherwise – so don’t be limited to sweets. If your favourite treat is a handful of pistachios or your partner loves wasabi peas – go ahead! The quirkier the better!
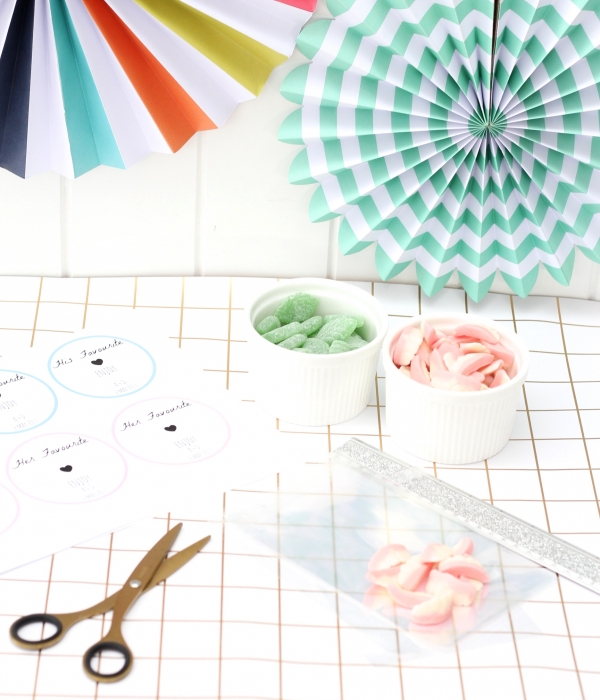
What You Will Need:
Makes 12 of each bag
24 self seal cellophane bags
1 kg bag each of your favourite sweets/lollies/candies
4 sheets of high quality or photo paper
Glue tape
Computer and printer (to create the labels)
What To Do:
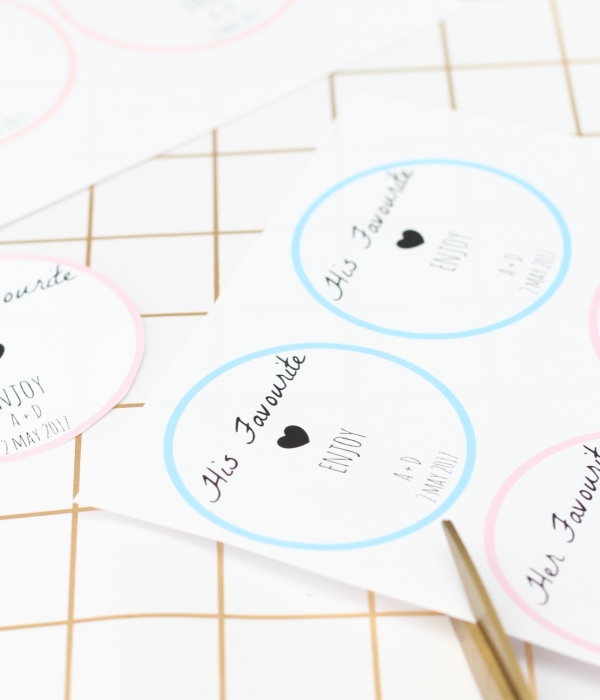
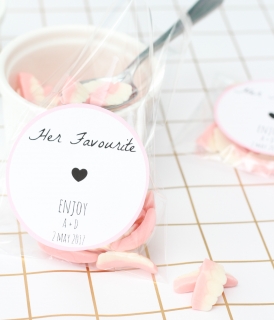
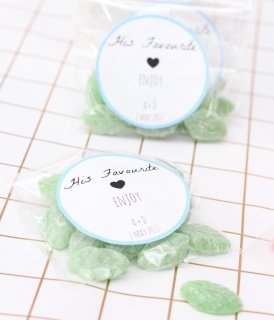
Step One. Create a logo for the front of the bags. I simply used ‘His Favourite’ and ‘Her Favourite’ along with a heart motif, initials and the wedding date. As for the logo size, you should be able to fit six logos onto an A4 sheet.
Step Two. Print two copies of ‘His’ and 2 copies of ‘Her’ logos onto high quality or photo paper. Take your time to cut each logo out and set aside.
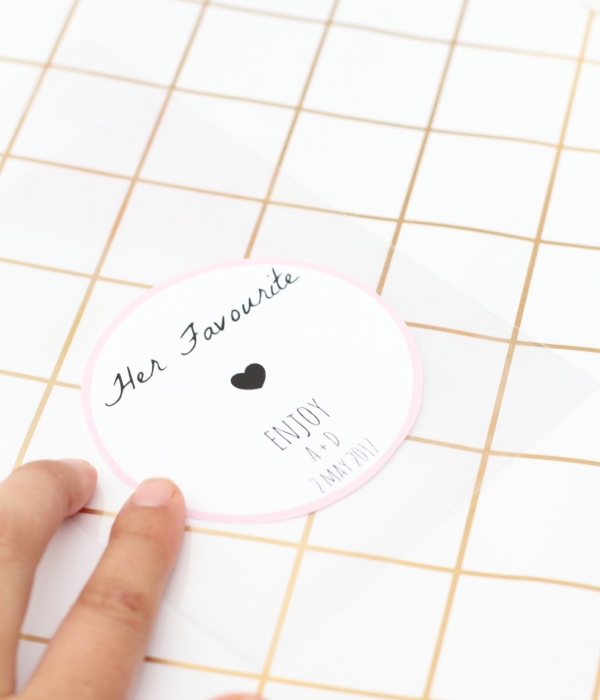
Step Three. Use the glue tape to thoroughly glue the back of one label, being sure to cover the edges. Apply the label to one of the cellophane bags and apply pressure for a few seconds until the glue takes hold. Repeat for the other labels and bags. I like using glue tape as it is exact and doesn’t make the paper ripple like a glue stick. Alternatively you could print directly onto an A4 sticker label (like these ones) and cut out and attach.
Step Four. Use a spoon or tongs to portion out the sweets into the cellophane packets. Take your time – each one doesn’t need to contain exactly the same number but a little bit of uniformity is good!
Step Five. Seal the cellophane bags and store them in a container ready for your wedding day. Enjoy!
Hints & Tips:
- I used the free online editing ‘Picmonkey’ to create the labels. The fonts I used were ‘La Belle Aurore’ and ‘Amatic Small Caps’.
- You can opt to tie the cellophane bags with grosgrain ribbon or twine for a pretty finishing touch.
- These favours can be made well ahead of time. Just be sure to keep the packets in a container to keep them fresh.
![]()
Ms Chinoiserie Says: Such a ‘sweet’ idea – so easy and fun; my favourite sweets are freckles – or perhaps Fantales. What’s yours?


Join the conversation