

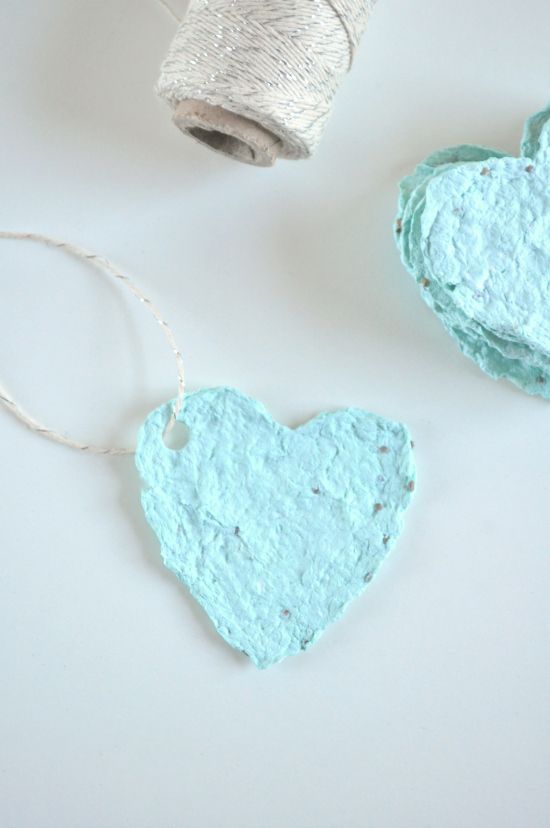
This eco-friendly favour project is great for outdoor weddings. The hearts are made from recycled paper and are embedded with seeds so your guests can plant them when they get home and grow lovely herbs or lettuces. Once the plants grow, the paper will just compost away.
The quantity of paper and seeds below makes 12 plantable paper hearts but you can easily double, triple or quadruple the amount to suit.

What you need:
– 10g paper scraps, torn into small pieces. I recommend you use good quality paper and not newspaper or tissue. Choose the paper depending on the colour of heart you require. I used mostly white with a little green and this made a pale greeny-blue heart.
– Small bowl.
– 1 cup cold water.
– Blender.
– 1 teaspoon flower, herb or salad seeds. You can get these at nurseries, hardware stores and supermarkets.
– Mesh splatter screen. I picked this up at Kmart but you could also try $2 stores. If you have a paper making mold then use this by all means. If you want to make more than 12 hearts in one go, you might like to get a couple of screens.
– Deep-sided oven tray or dish.
– Heart shaped cookie cutter. I used a 5.5cm one.
Place the paper scraps in a bowl and cover with water. Set aside for 1 hour to soften. Drain the paper, reserving 1/2 cup of water. Blend the paper and reserved water until a fine pulp forms. Stir the seeds through the pulp.
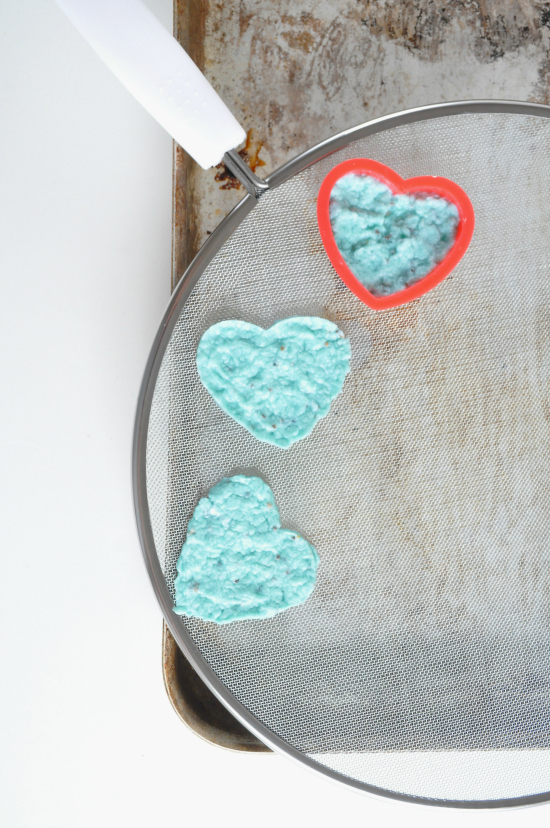
Place the splatter screen over the tray/dish. Place the cookie cutter on the screen. Spoon a heaped teaspoonful of the paper pulp into the cutter and use your fingers or the back of a teaspoon to push the pulp into an even layer.
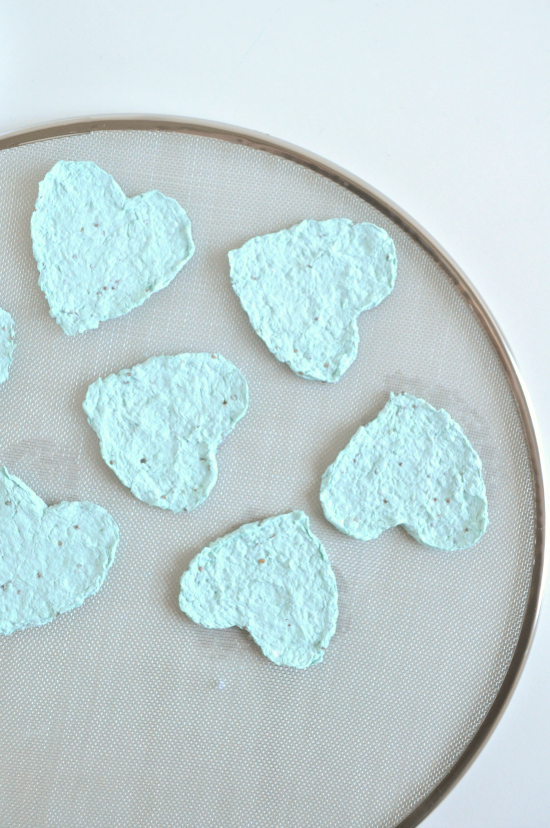
Lift the cutter and repeat with remaining pulp. Place the screen in a warm, dry spot for at least 24 hours or until completely dry.
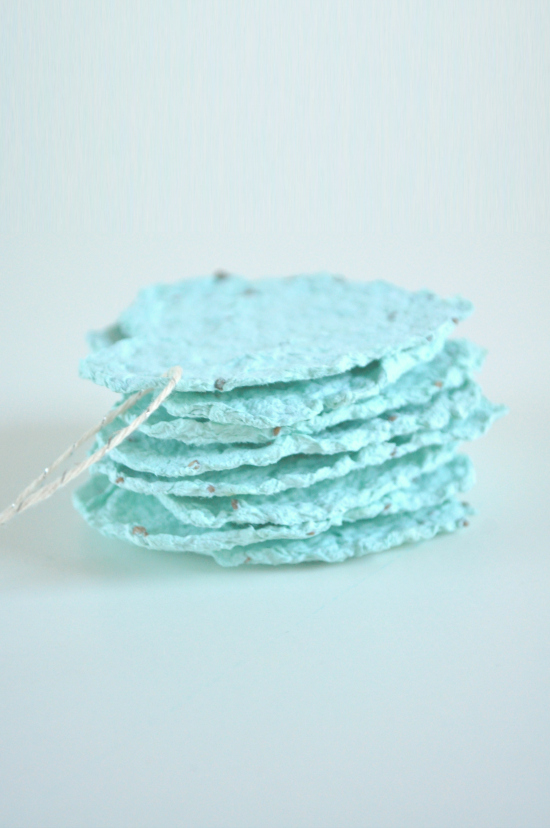
Once dry, lift off the screen, punch a hole in each tag and thread with some pretty twine.
Be sure to give your guests the following instructions on how to plant their hearts:
Plant your tag in a large pot or in the garden, covered with 5mm of soil. Give it a good soak. You want the paper and the soil to be nicely damp but not swimming in water. During the first 10 days, keep the paper moist at all times. The water is necessary for germination. Once sprouts appear, continue to keep the paper moist but be careful not to over water. Once sturdy plants appear, water as needed.
![]()
Images, twine and tutorial by emerald + ella
I’m Jane Howard, the girl behind emerald + ella – an online shop and blog which encompass a world of beautiful, eclectic things. I’m also a recipe writer, food stylist, vintage collector, New Zealander, married to an Aussie boy, aspirational crafter, wine drinker, pulled pork sandwich lover and basically just a girl who likes pretty bits and pieces.


Join the conversation