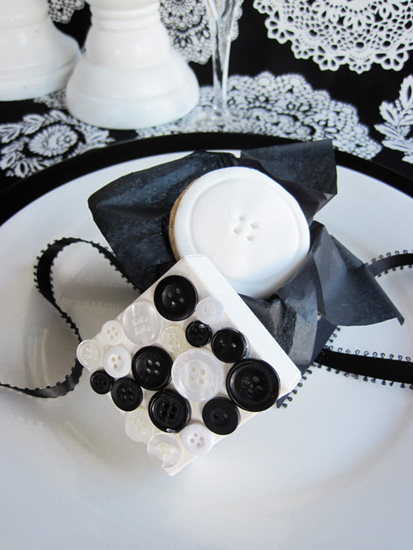
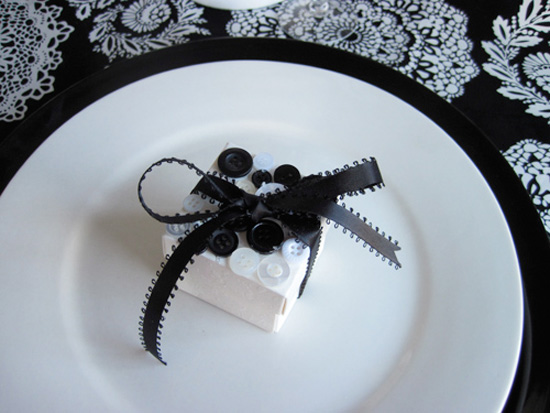
Oh gosh, I’ve been dying to get some beautiful DIY projects onto this blog myself ever since we came up with the idea for Polka Dot Made and every single week I am floored by the amazing projects of our contributors! Today though, you get plain old me – Ms Polka Dot with a tutorial I did last year for Brides. Buttons have long been a favourite of mine and for weddings they’re simple and sweet and can carry the romantic theme of the day (the whole sense of a button and the buttonhole working so perfectly is kind of a romantic notion).
My mission with Polka Dot Made was to give you projects, ideas and inspiration available in Australia (because as much as I drool over Paper Source and JoAnn’s, the products are simply not available here!) This was a pretty quick and easy project, plus it was fun! All the supplies were bought from Spotlight, which, when you find a good one can be a crafter’s heaven!
What you’ll need:
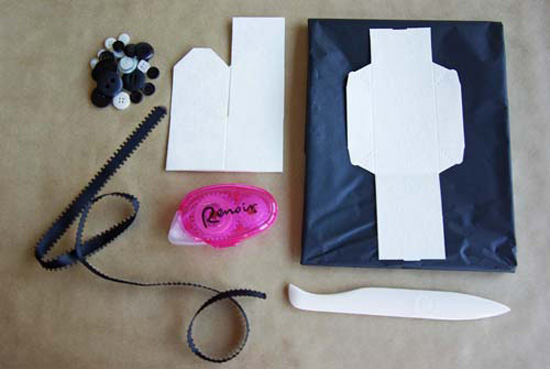
For The Box
– Assorted buttons in the colours of your choice. (I chose black and white but you can choose whatever you wish. Spotlight sells big bags of mixed coloured buttons in all different assortments).
– Flat, pre folded boxes. (I also bought these already made up as I figured making 100 of these out of plain card for your guests might turn your hair grey. These come in packs of 10 and you just fold them up and push the tabs together, too easy!)
– Ribbon in your colour choice
– Tissue paper in your colour choice
– Double sided tape (you could also use a hot glue gun)
– A bone folder (mine is my trusty Martha Stewart bone folder, but you could also use a metal ruler)
For The Cookies
– Basic ingredients for butter cookies
– White (pre-packaged) fondant
– Long strands of black liquorice
– Rolling pin
– Skewer
– Round cookie cutter
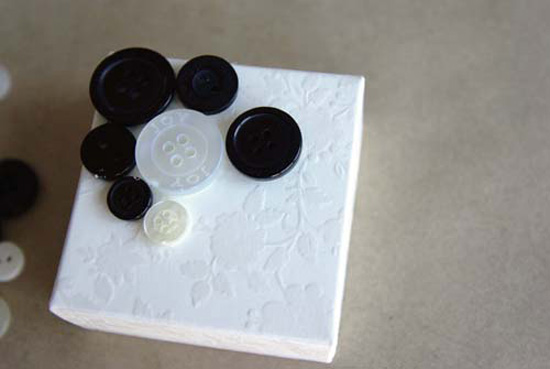
1. Start by folding together your pre made favor box (I use my bone folder or a ruler to make sure the folds are really crisp and tight) and placing your buttons on the lid. It takes a little fiddling to get different sizes to work well so have a bit of a play to see what you like the best before gluing anything down.
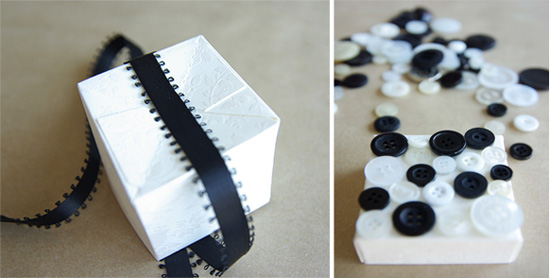
2. Cut enough of your ribbon so you can bring it up the sides of the box and tie it in a bow. Using your first piece as a guide, cut the ribbon for all of your boxes.
3.Place a spot of glue in the centre bottom of your box and stick the middle of your length of ribbon down. Glue or attach with double sided tape your buttons to the top of the lid.
4. Glue your buttons to each lid using double sided tape or a hot glue gun
5. Cut a small square of paper to fit inside each box (this will prevent any grease stains from the cookies appearing on your gift box and gives them a little cushion to help prevent breakage)
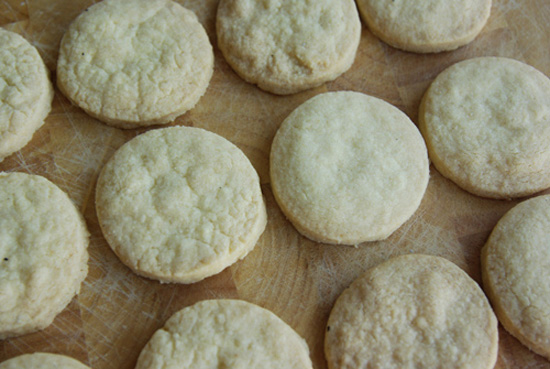
6. Make your cookies! These keep for a few days and taste really yummy. I used a simple biscuit dough recipe from Taste. Make sure the cutter you use will allow the cookies to fit inside your boxes!
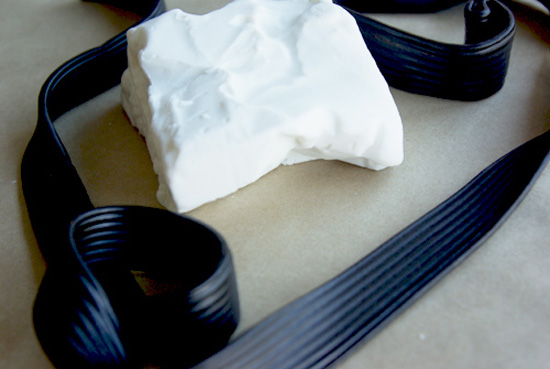
7. Get out your sweet goodies. I used simple white fondant and bought long rolls of black liquorice for our black and white colour theme. But you could dye your fondant, add silver cachous and really do whatever you want, to make your button cookies your own.
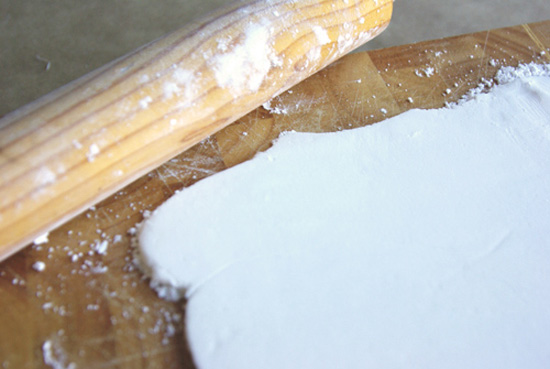
8. Knead your fondant as per the instructions to soften it. Using icing sugar on your workspace to dust it, roll your fondant so it’s about one eighth of an inch thick. Cut the circles for your “buttons” using the same cutter you used for your cookies.
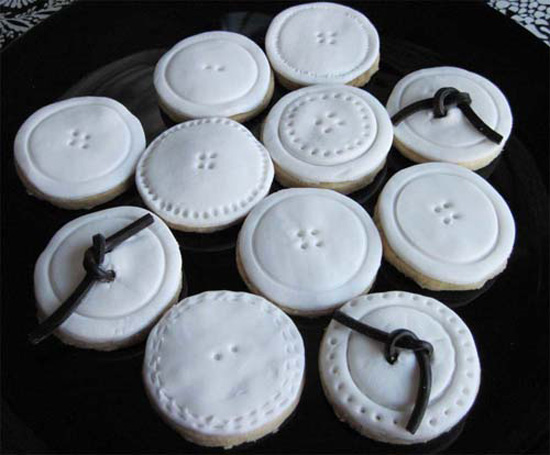
9. Decorate your rounds. I used a smaller circle (a spice jar lid if I’m honest) to make a “button” indent and used skewers to make the button holes (I alternated between two hole and four hole buttons)
I cut long strands of liquorice to create “laces” and thread them through the holes. Each button I made was different, so don’t feel limited to the one design.
10. Attach your fondant buttons to the cookies with a smear of icing sugar mixed with water or jam (jelly) of your choice. Put a little dab of the mixture on your cookie and attach the fondant button. Leave to set.
11. Place your cookie into the box and tie the ribbon into a bow. You could also attach a tag at this step so the favors double as place cards.
Personalising this project:
– Choose buttons that match your wedding colours.
– Colour the fondant to your colour scheme
– Add extra decorations like silver cachous, sugar flowers and even iced designs to personalise each button.
– Decorate with different indentations – for a vintage style wedding, roll lace into the fondant and remove. For a modern wedding consider stripey buttons or a monogram.
– Add tags to match your stationery with your own little message. Consider adding the guest’s name as a place card.





These are so cute! I really love the liquorice laces … yum!
So adorable!
Great tutorial, Ms Polka.
Great tutorial, Ms Polka.thank you share