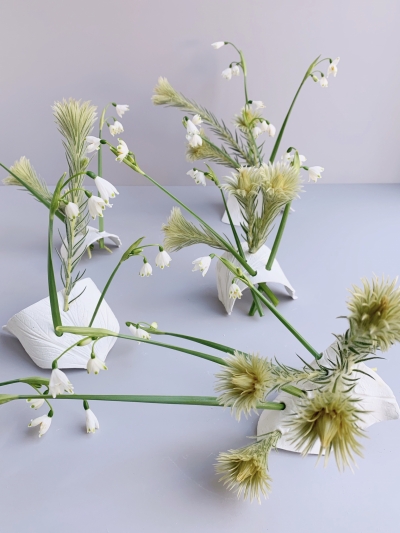
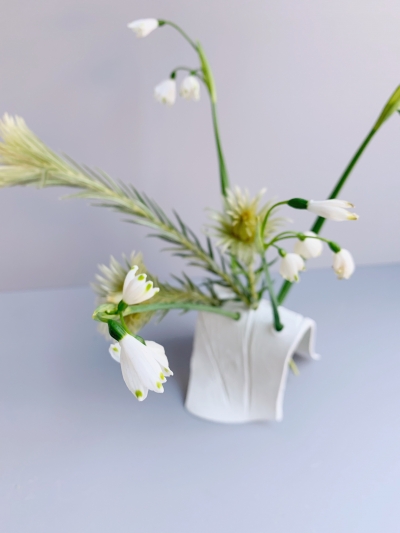
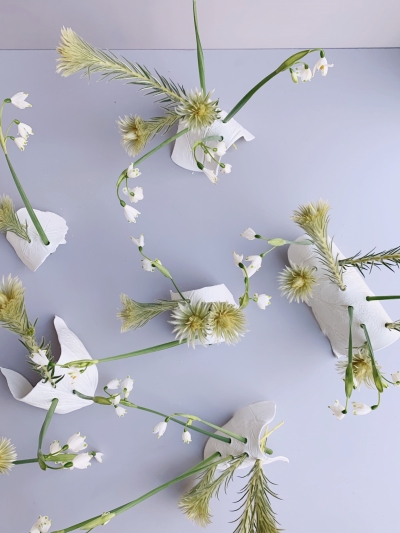
Spring time can mean a million different things to a million different people, whether flowers come to mind or hay fever blurs every bloom! Bud vases are a beautifully delicate way to display all sorts of stems. Clay makes for a light and airy arrangement, perfectly suited for the romance of spring!
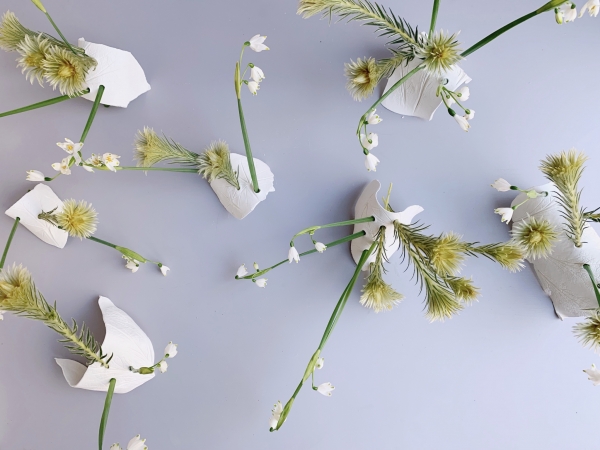
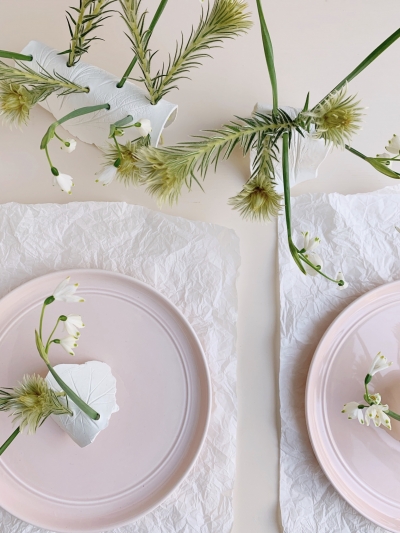
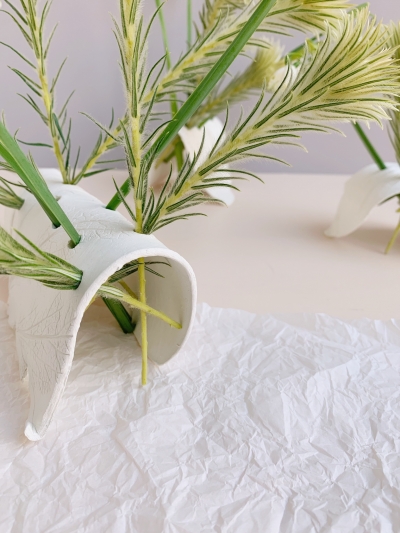
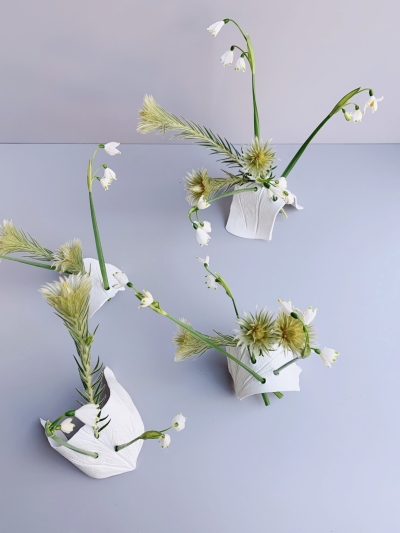
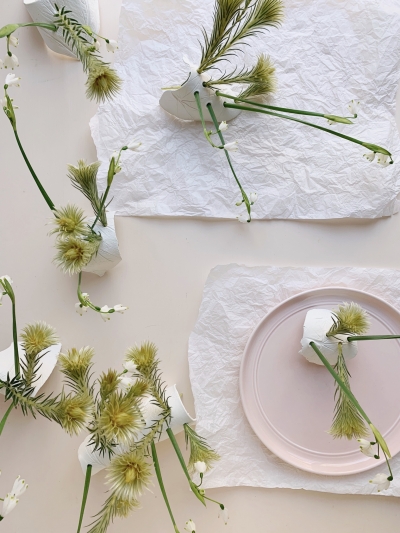
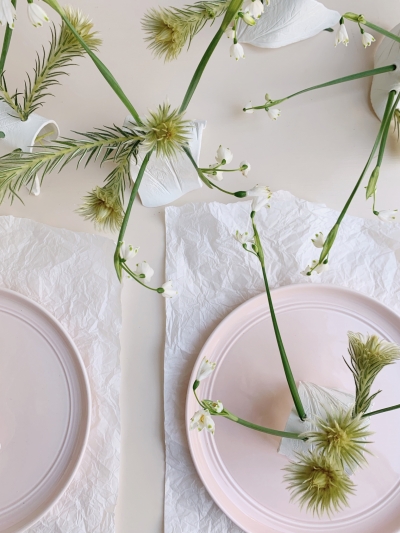
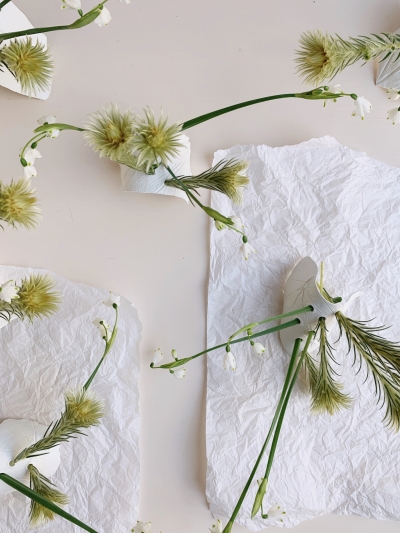
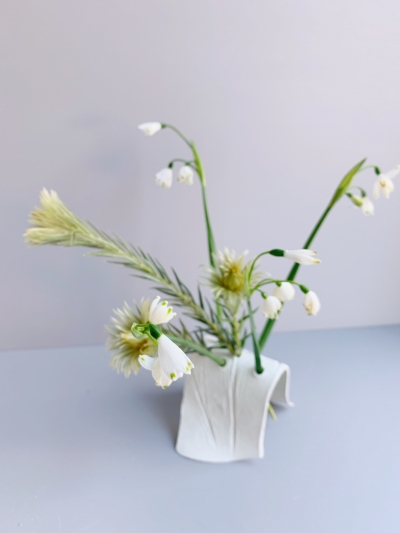
Clay stem holders pressed with foliage will display a sweet array of flowers en masse down the centre of a long table, or placed at each table setting. Choose lighter in weight and sturdier in lasting blooms, or simply place a small container under each filled with water to ensure the arrangements last. Super easy, bud vases make a gorgeous gift at the end of the night too!
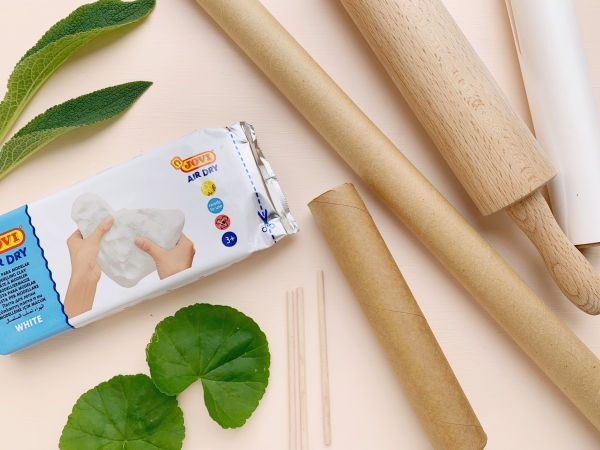
What You Will Need:
- Air dry clay
- Rolling pin and clean, non stick surface to roll on (or greaseproof paper)
- Thick skewers
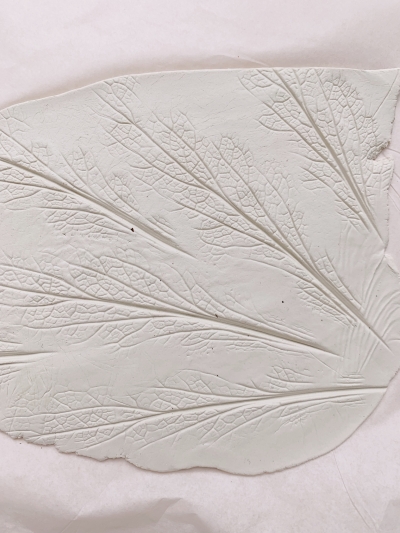
- Leaves to press into the clay – the vein-ier the leaf, the better the print
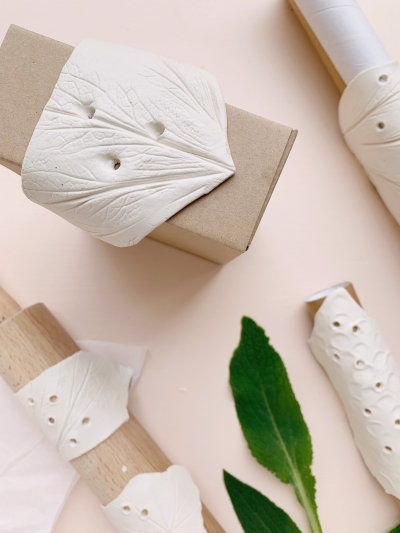
- Old wrapping paper rolls or boxes to hang the bud vases on to dry
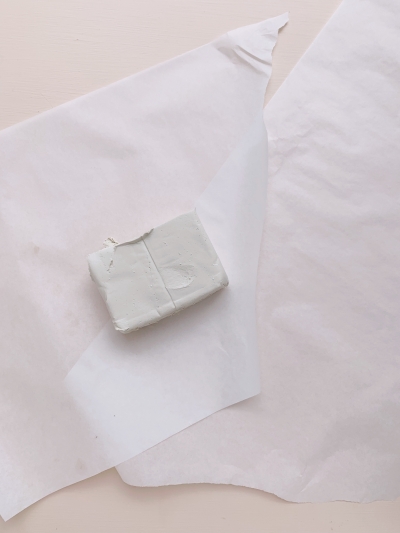
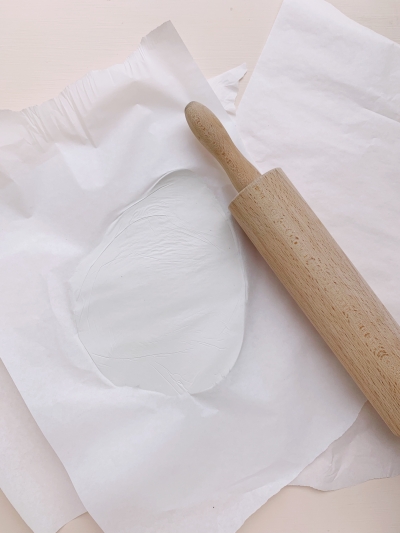
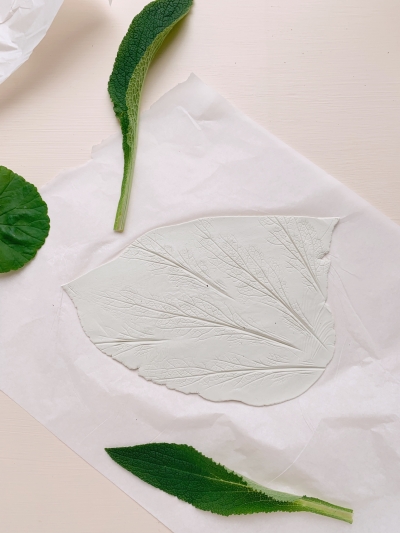
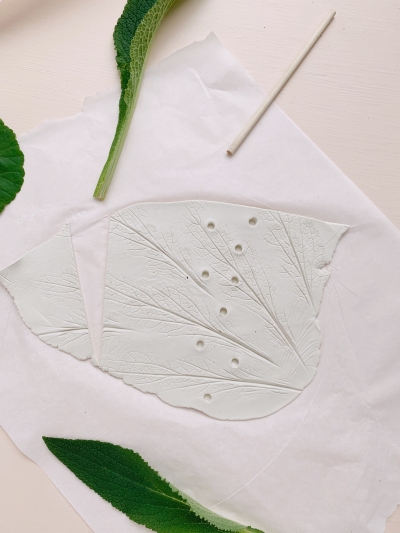
Step 1. Cut a piece of clay from the main block, and roll out as finely as you can, with the clay still being sturdy enough to hold. If making a series of small discs, use much smaller amounts of clay, and roll them out individually.
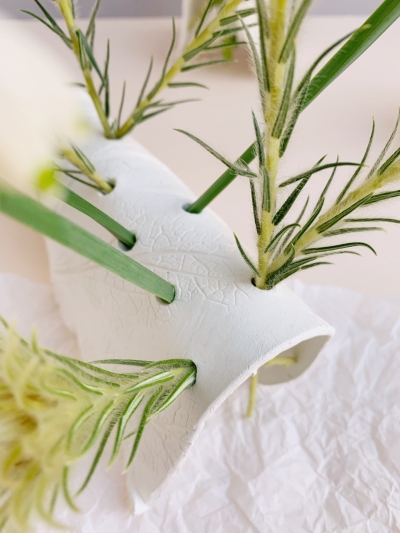
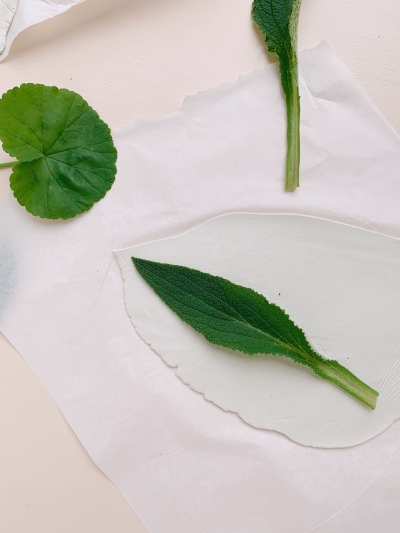
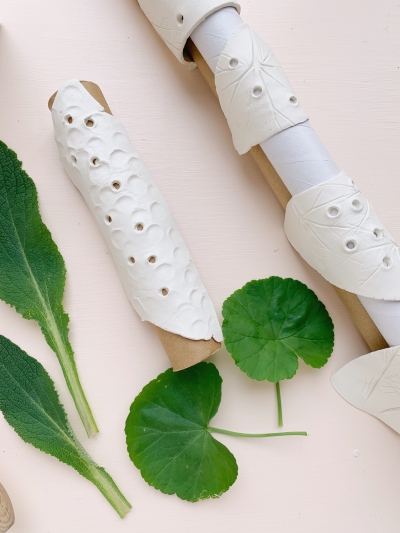
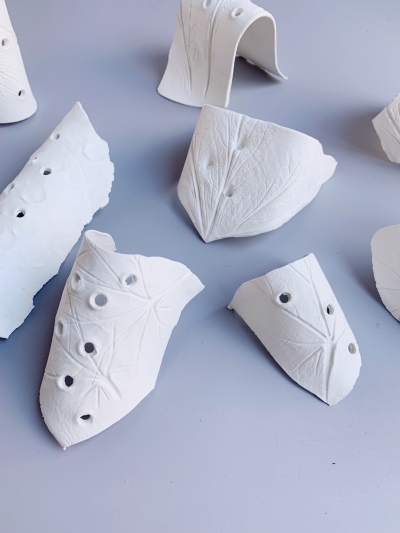
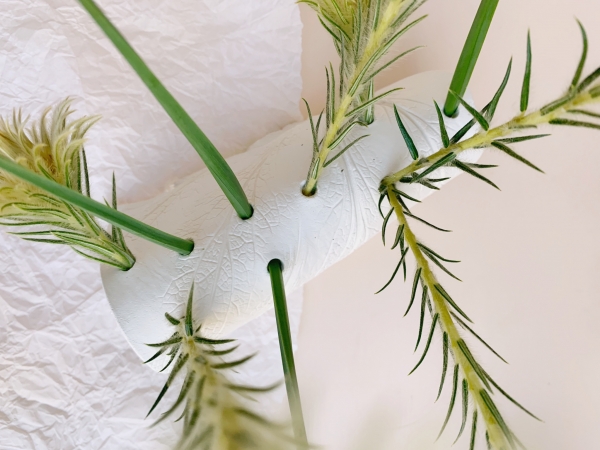
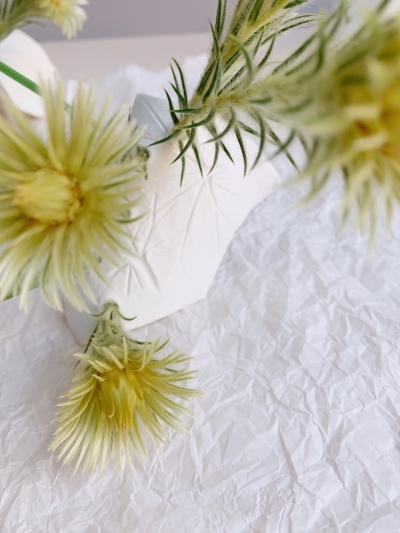
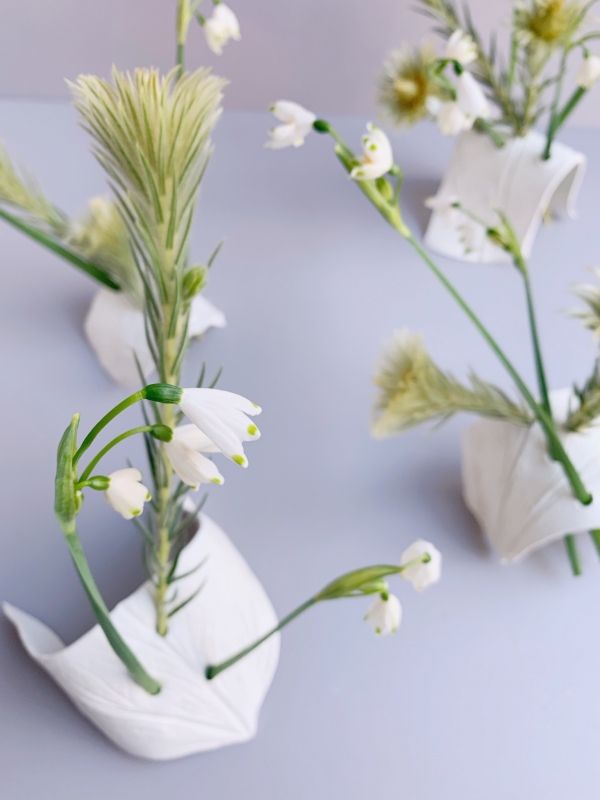
Step 2. Firmly press chosen leaves and flowers into the clay. Foxglove and geranium have been used here, but there are so many good options! Try anything with loads of veins or pattern.
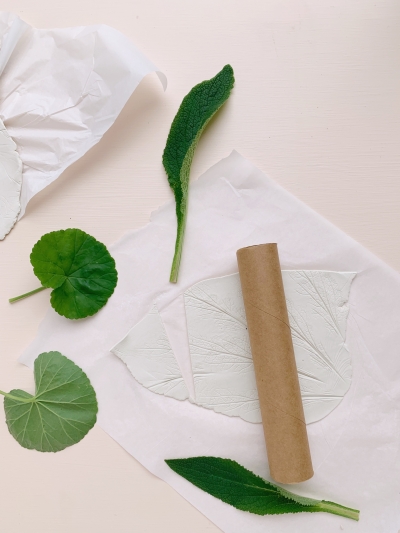
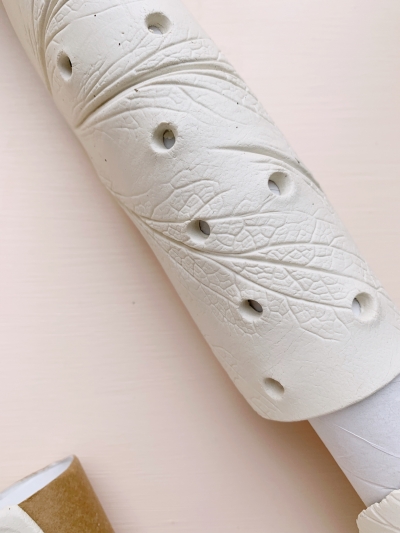
Step 3. Once the botanical pattern has been pressed into the clay, use the skewer to place holes through the clay, down the middle of your design. The skewer will need to be thick enough to create a hole wide enough for your chosen stems. Ensure the holes pierce all the way through the clay. Drape the design over one or two cardboard rolls, and leave to dry overnight.
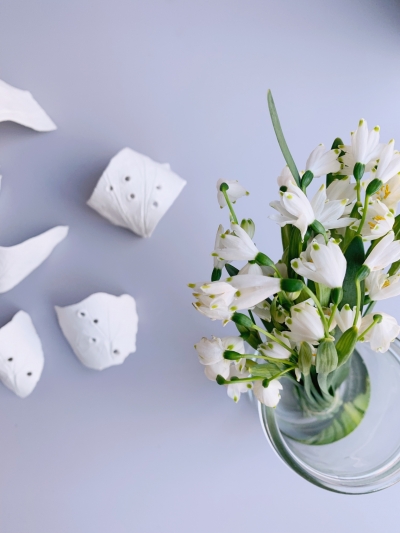
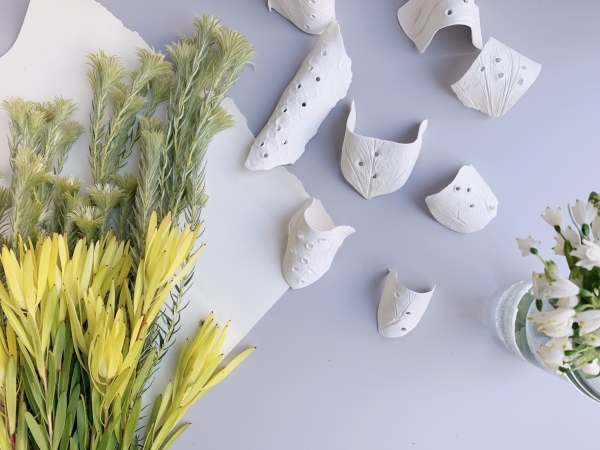
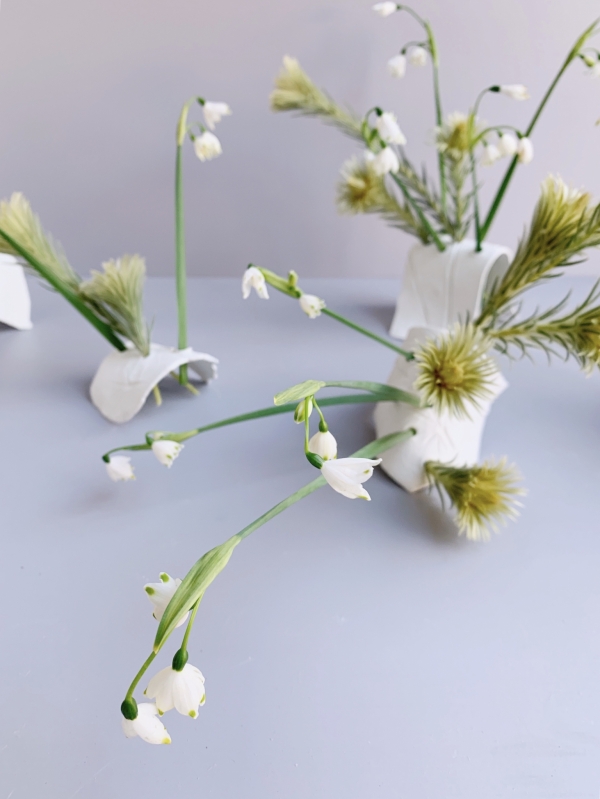
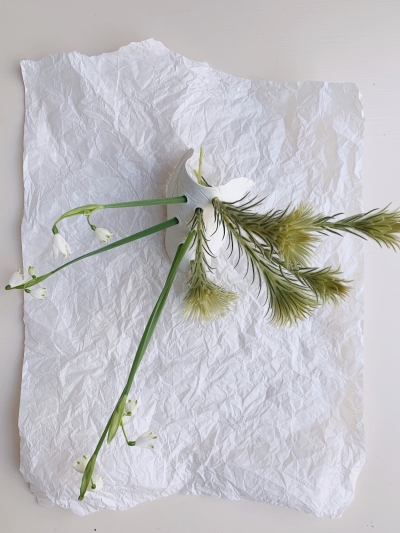
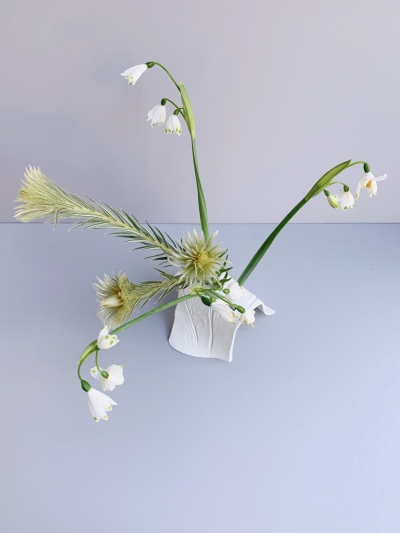
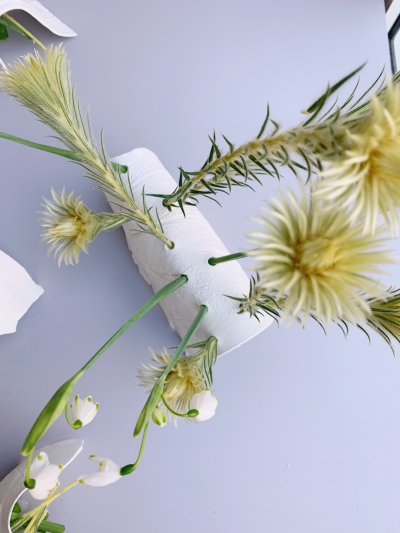
Step 4. Once the clay bud vases are dry, collect your flowers! Delicate and textural blooms work well, as do any flowers that are light in weight and will last out of water. Snowdrops were the perfect find at the market! When placing flowers into the stem holders, use any flowers that will be heavier in weight down low, and any that are feather light up high.
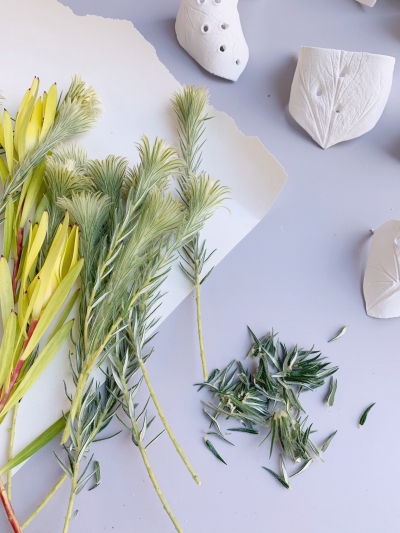
Step 5. Prepare and condition your chosen flowers by removing the foliage from below where the stem will go into the vase. Trim with sharp secateurs on an angle, and if setting the table for an event, give a drink to the stems before placing them.
Step 6. Due to the delicate and lightweight nature of the stem vases, they may topple when being threading with flowers. Keep the heavier blooms down low, and let the organic nature of the design take the lead.
Ms Zebra Says: This is such a fabulous idea! I love the simplicity and also the creative nature of bud vases!!! Great idea Ms Honeycomb!
About Ms Honeycomb: My heart and home in Scotland and Australia, I am a florist, flower lover, writer, baker, stylist and sew-er of lovely things, with my darling toddler forever keeping me on my toes!







Join the conversation