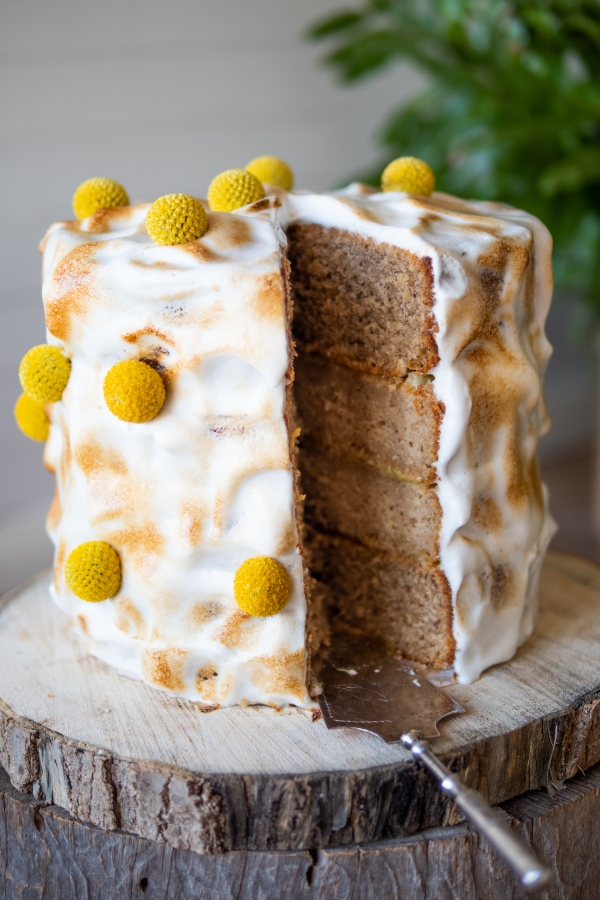
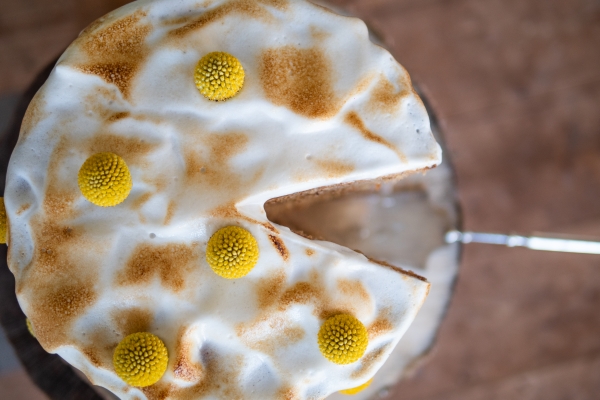
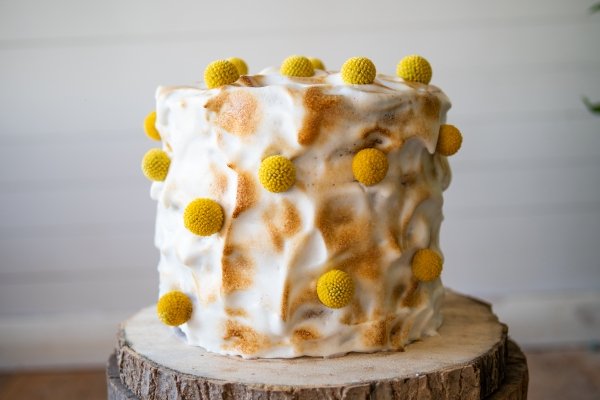
Meet Cherie Hausler! Plant eater, tea blender, farmhouse renovator, animal hugger, and cake baker! Never doing anything by halves, Cherie went above and beyond our request for sharing one of her exisiting cake recipes with us for cake month, instead she custom-made this vegan Lemon Meringue Cake with Polka Dots (of course!) and filmed a tutorial on how you can make it at home too. We couldn’t simply post the recipe without getting to know the Barossa Valley beauty behind the cake, Cherie Hausler- check out her exquisite polka dot cake recipe below and click here to get to know Cherie!
Lemon Meringue Cake with Polka Dots

I thought it best to give a recipe for a double layer cake incase you’d like to make this at home for any other celebration besides marriage, but if you would like to create the same 4 layer cake I did for Polka Dot Bride, then simply double this recipe and divide between 4 cake tins.
Makes 2 x 20 cm tea cakes
2/3 cup organic olive oil
1 2/3 cups organic panela sugar
2 cups organic soy or almond milk
1/4 cup organic lemon juice
zest from 2 organic lemons
1 tsp organic vanilla bean paste or essence
2 cups organic plain spelt flour
2 cups organic almond meal
2 tsp baking powder
1 tsp baking soda
1 tsp Himalayan salt
1 1/2 cups organic desiccated coconut
Organic Lemon Curd (or lemon marmalade)
3/4 cup liquid from canned chickpeas
9 tbsp natural unbleached sugar
1/4 tsp cream of tartar
Method
Pre heat the oven to 180C and prepare 2 x 20cm springform tins with olive oil and a dusting of flour. Line each tin with baking paper across the bottom.
Mix the first 6 ingredients together with a whisk, then sift in the flour, almond meal, salt, baking powder and soda, continuing to stir until thoroughly combined. Stir through the desiccated coconut at the final stage.
Pour the mixture into the prepared springform tins and bake for 35 – 40 minutes.
Be sure to let the cakes cool in the tin for at least 10 minutes before turning out onto a cooling rack.
To make the aquafaba, add the chickpea water, sugar and cream of tartar into the bowl of a food processor fitted with a whisk attachment (or you can use a handheld electric beater). Start the food processor on low, and whisk for 2 minutes, then turn up to medium speed for a further 2 minutes and then finally to high speed for a final 4-5 minutes until you see the meringue start to form. You can test for the right thickness by pulling a fork through the mixture to see if stiff peaks form.
To assemble the cake, place the base layer on a small circle of baking paper on your cake stand. I always put the top of the cake facing down so there’s a lovely flat surface to spread the lemon curd onto.
Spread a generous layer of lemon curd or marmalade onto the cake and then sandwich with the next layer, making sure the cakes are exactly on top of each other. Gently press down on the top of the cake with your fingers and then repeat the lemon curd and cake layering until you have used however many cakes you decided to bake.
Finish with a layer of lemon curd on the top of the final cake layer.
Now time for the meringue…
Using a spatula, apply the meringue all over the cake with a light, quick motion. You can make the meringue as smooth or as peaked as you wish.
Set the meringue by placing the cake in the fridge for 1/2 hour before using the brûlée torch to brown the meringue.
Finish the cake by snipping all but 2 cm of stem from the Billy Buttons flowers, and gently poking them into the sides and top of the meringue covered cake.
NB. This cake will keep in the fridge if needed so it can be prepared well ahead of time. And if you can’t get Billy Buttons, then use any flower of choice, but try to go for something that won’t wilt or discolour the meringue.
About the Cherie Hausler – plant eater, tea blender, cake baker, farmhouse renovator, animal hugger. And creator of new vegan range, All The Things.


Join the conversation