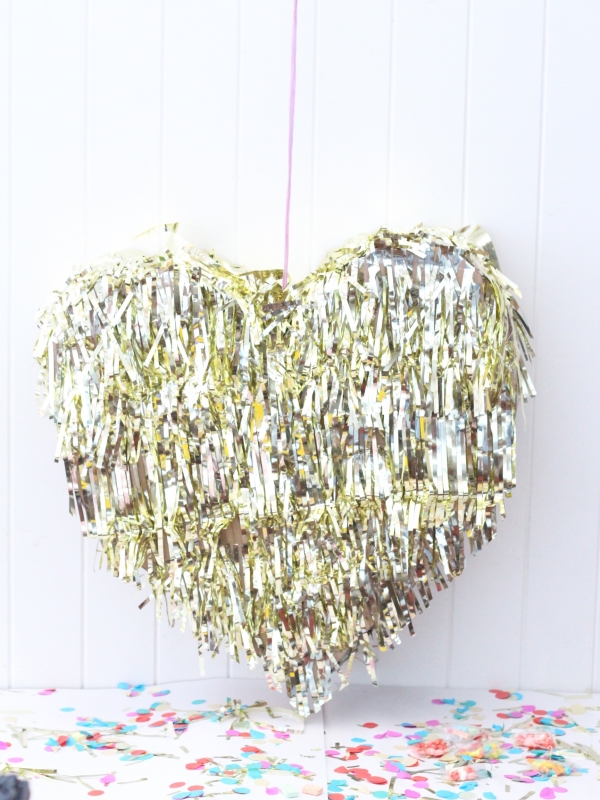
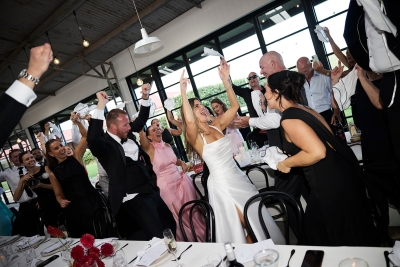
A wedding is celebration of love with you, your partner and all of your nearest and dearest. With champagne and music and dancing – it is like the best party you’ll ever host! Enter: the Wedding Piñata. The perfect addition to any great party – communal, inclusive and loads of fun. Plus, it looks fantastic! You can be creative with the shape and colour – imagine how great your initials would look in bright coloured foil? And also don’t be limited in what you fill the piñata with – an explosion of glitter, confetti and Hershey’s Kisses? Fortune cookies? Yours and your partner’s favourite sweets? Have fun with this project, it’s sure to inject a little of your personality and and a whole lot of playfulness into your big day.
You Will Need:
Cardboard (I used 2 x packing boxes)
1 x sheet of newspaper
Pen
Scissors
2 x rolls strong sticky tape
1 x roll packing tape
2 x packets of gold foil fringing (90cm x 2m)
1 x 20cm cable tie
Ribbon, string or twine to tie
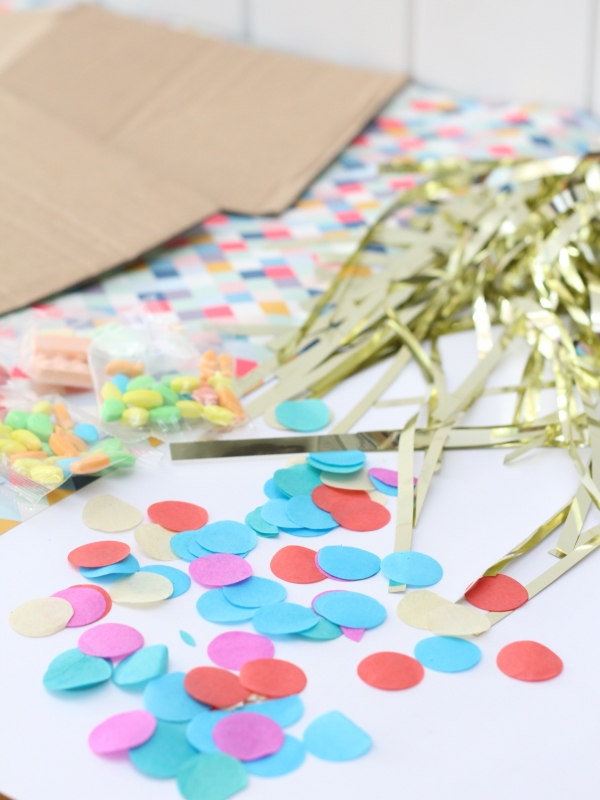
Confetti & assorted sweets to fill
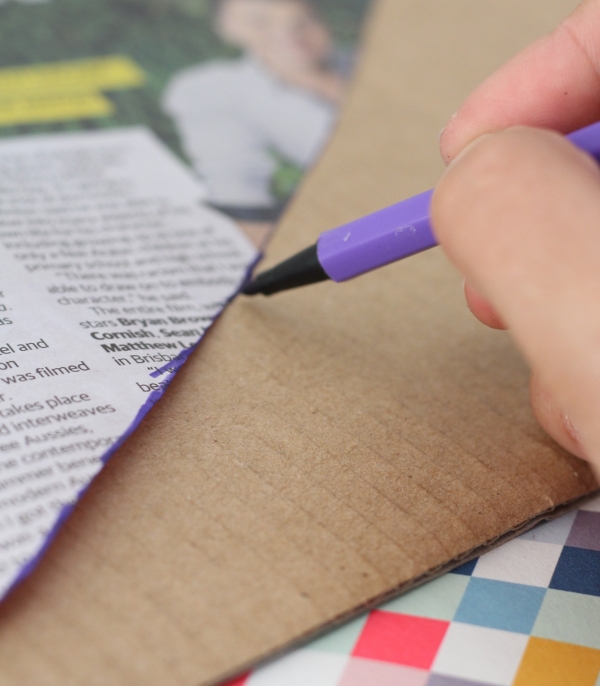
Step One. Draw half a love heart onto the newspaper. By only creating half this will ensure your love heart is symmetrical. As a guide, the completed love heart I used was 56cm across at the widest point, 44cm from the central top to bottom and 58cm diagonally from the top tip of one side of the heart to the bottom central point. Trace the half heart onto the cardboard and then flip over and trace the other side.
Step Two. Cut out love heart and use it to trace another one on another piece of cardboard. Now with the leftover cardboard, cut 2 x pieces of cardboard approximately 80cm long and 15-20cm wide. With these two cardboard strips, roll them up to make them a little more pliable.
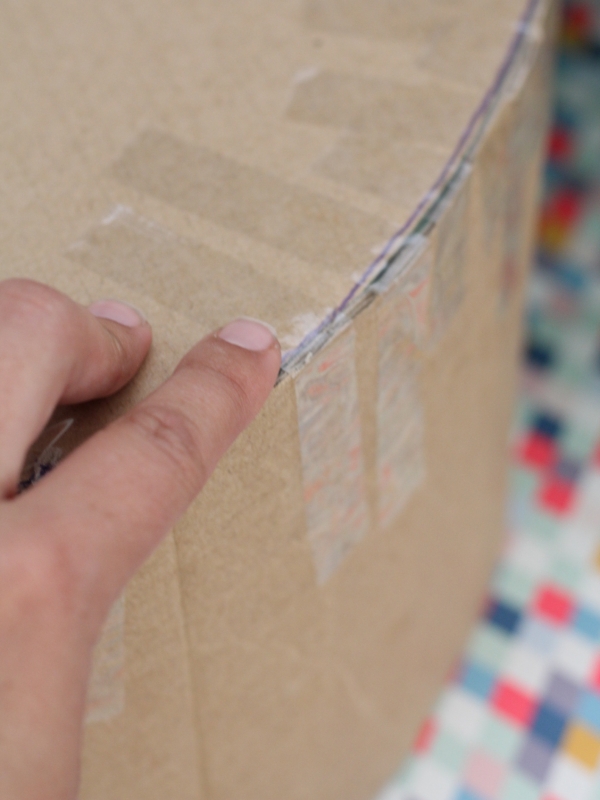
Step Three. Take your time to attach the side strips to one of the love hearts so it becomes a 3D shape. I found using small strips of sticky tape initially was easier. Once you have finished attaching one side, at the top of the heart, use a cable tie to poke through the cardboard and create a ring where the piñata will be able to hang from. Reinforce the cardboard where the cable tie pokes through with packing tape. Also, cut a small square flap (approximately 7cm x 7cm) in the top of the love heart so you are able to fill the piñata once complete.
Step Four. Flip the love heart over and attach the other side use the same process of applying small strips of sticky tape around the edge.
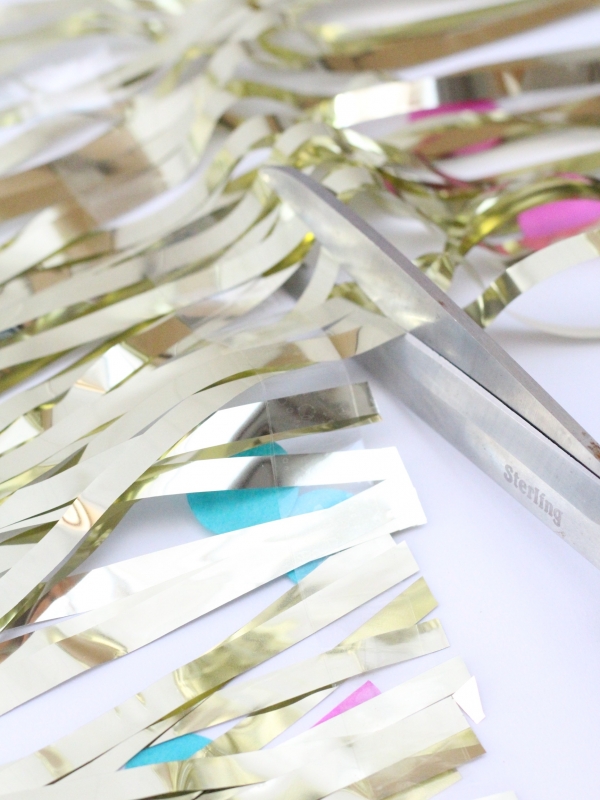
Step Five. To create the foil fringing, carefully remove the foil strips from the packaging in an area with a large clean floor or bench. Lay them flat. Using a large piece of sticky tape place it over the top of the fringing around 20cm from the top of the foil strips. This piece of sticky tape will form the top of the next fringe so cut above it. Then pick up the first fringe and if required, flip over stick another piece of tape on the other side to ‘sandwich’ the foil pieces into place. Repeat as necessary. I created 28 pieces of fringing approximately 25cm wide and 20cm long. However the amount of fringing you require will depend on how you decide to overlap the foil and how ‘full’ you want the piñata to appear.
Step Six. Starting at the bottom of one sides of the love heart, attach the first piece of foil fringing with tape. You could also use a hot glue gun to attach the fringing. Continue to add pieces of foil fringing, ensuring to overlap a little until the whole side is covered. Use scissors to neaten and trim where necessary. Repeat this process to cover the sides and then flip to cover the remaining love heart.
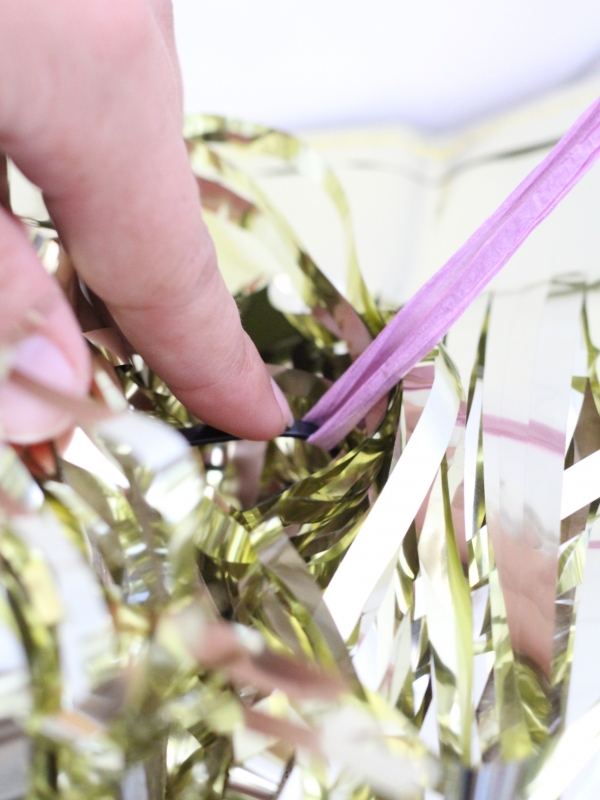
Step Seven. Use ribbon or string to tie the top of the piñata through the cable tie.
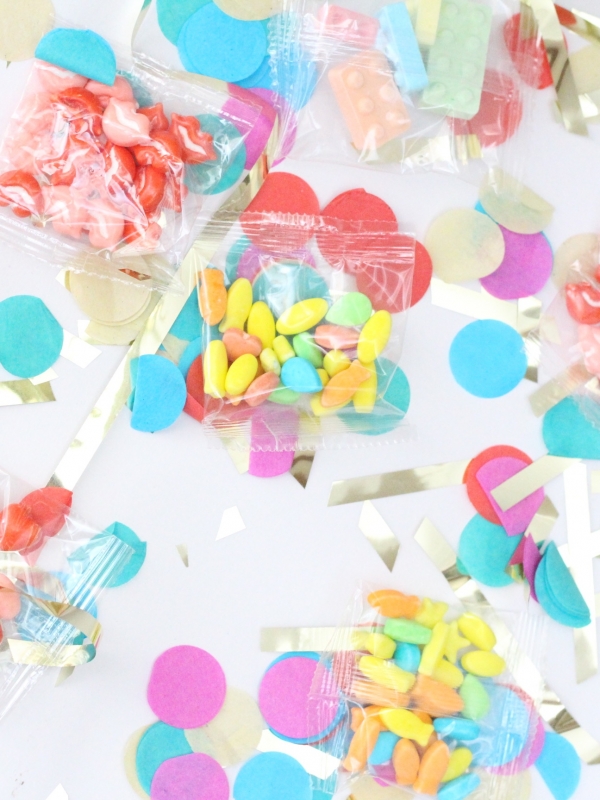
Step Eight. Fill the piñata with sweets and confetti or whatever your heart desires!
Ms Zigzag says: Piñatas equal party time; and a personalised piñata made at home is so much more fun than the standard store-bought version. The only problem is they’re so pretty I just might never want to break it open.
About Jessica: I’m a writer and a lover of words and stories, pretty papers and flowers. I find great satisfaction in creating something beautiful from the simplest of materials. I’m happiest in a home bustling with conversation and music, sitting at a beautifully decorated table surrounded by good friends and delicious food – with a glass of champagne in hand, of course!




Join the conversation