When we first moved to Scotland we had no idea we were moving into an area that was once known as the ‘berry capital of Europe’. But come Summer time, as the road side stalls sprang up everywhere it quickly became apparent that finding berries was not going to be a problem!
I had never attempted to make jam as it seemed quite complicated, but when I came home from the berry farm one day with a pallet (!) of raspberries and two buckets of strawberries, I thought I might give it a bash. Turns out – jam making is not as difficult as I’d thought! In fact, it’s very simple, and makes a lovely gift.
If you’re looking for a sweet treat to give to your guests at your wedding, jam is the perfect option. Made with love by your very own hand and with loads of ways to display your jars prettily, you’re sure to win over your friends and family with this delicious fruity dessert.
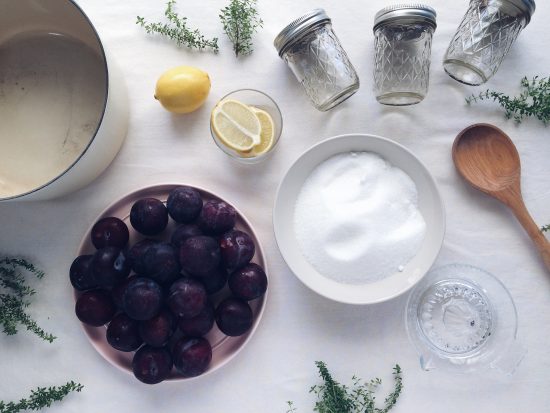
What you will need (this recipe made 5 x full 225g jars)
- 1kg fresh plums (or other fruit if you prefer)
- 500g granulated sugar
- 2 tablespoons lemon juice
- A knob of butter (approx 30g)
- 100ml cold water
- Jars of choice ( I got mine from Big W)
- Heavy based saucepan
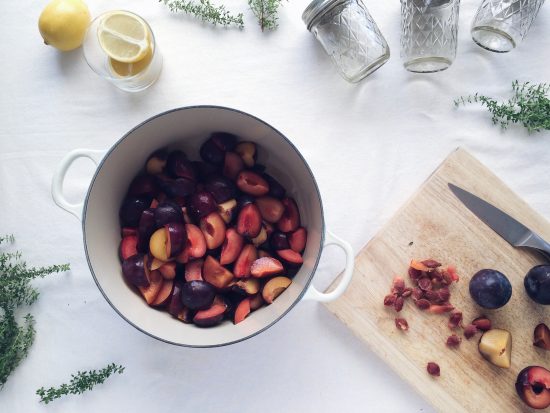
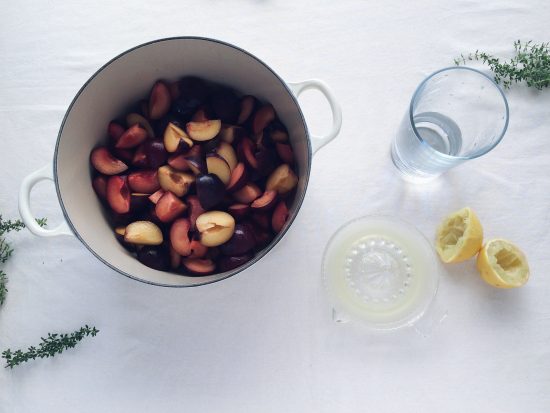
Step 1. Wash and cut up your chosen fruit, removing pips and stalks as you go. Weigh fruit after removing pips to ensure you still have the correct weight. I cut mine into quarters, but you can cut your fruit smaller if you prefer a smoother jam.
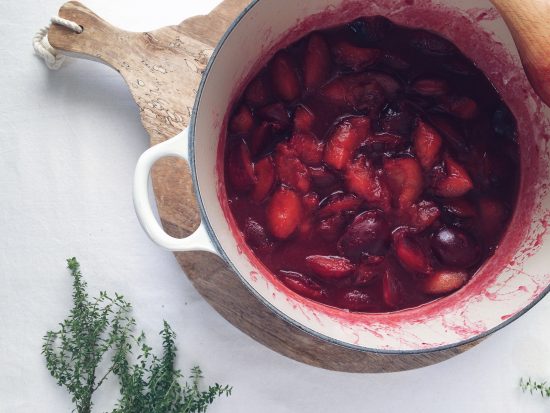
Step 2. Place fruit, lemon juice and water into your large, heavy based saucepan, and bring to the boil, stirring frequently. Reduce the heat and simmer until the plums have softened, about 25 minutes.
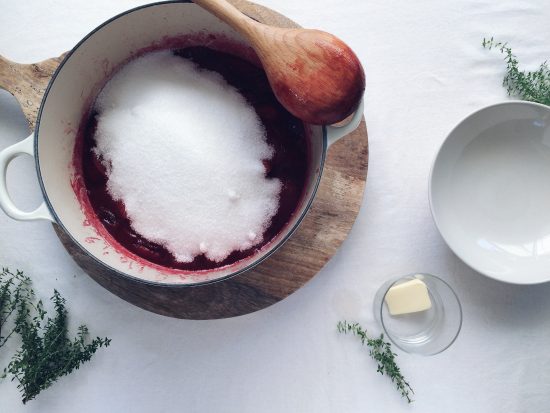
Step 3. Whilst on a low heat, add the sugar and stir until dissolved. Stir in the butter to reduce frothing. Once melted, turn the heat up and stir continuously until the jam is at a boil.
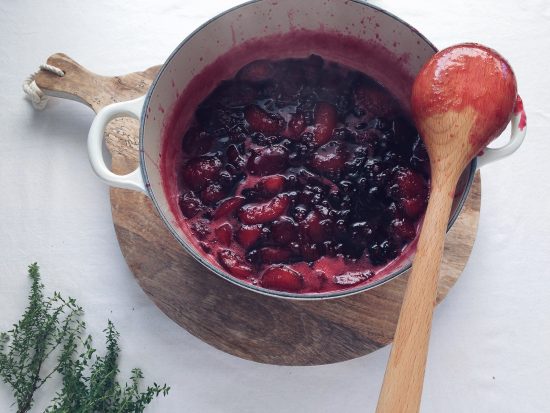
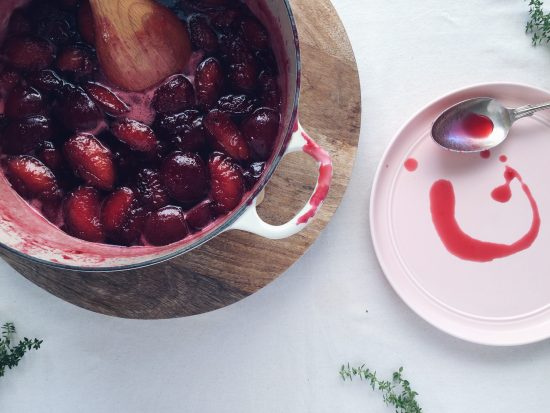
Step 4. Continue stirring on a high heat until the jam reaches setting point. To check you’ve reached setting point without a jam thermometer, place a plate in fridge to cool. Once the jam has boiled for approximately 10 minutes, take the plate out of the fridge and dribble some jam onto it. Leave it for a minute, and then swoosh your finger through the middle. If the jam wrinkles or holds it’s place, you’ve made it! If not, keep the jam boiling another few minutes and check again.
Note – my recipe has much less sugar than most as I prefer my jam to be a little tart! However, this does mean it can set a little runnier than most. Best to give it a practice run before the big day to make sure you have jam the way you like it!
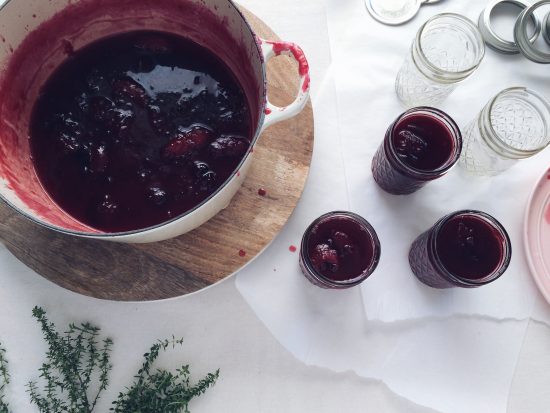
Step 5. While your jam is bubbling away, sterilise your jars. I wash mine in hot soapy water and then rinse with boiling water (watch your fingers – tongs will come in handy!). Then I pop the jars and the lids (except the rubber sealed part) in a baking tray and in the oven to dry. Once you’re ready to fill your jars, take them out of the oven and carefully place near your pot of jam, making sure they’re still warm.
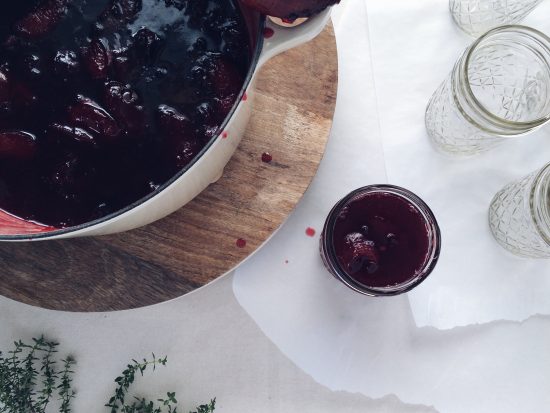
Step 6. Take the saucepan off the stove top and spoon your jam into your jars. Be careful, as this can be messy (and hot!), so take your time and pop down some paper to catch any drips. If you’re planning on doing a lot of jars, a funnel may be a good investment! Put the lids on and place the jars somewhere safe to cool.
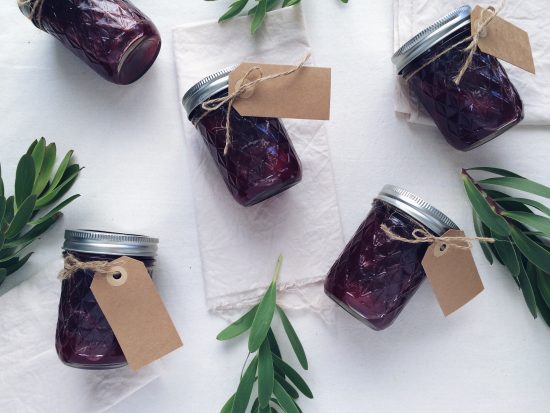
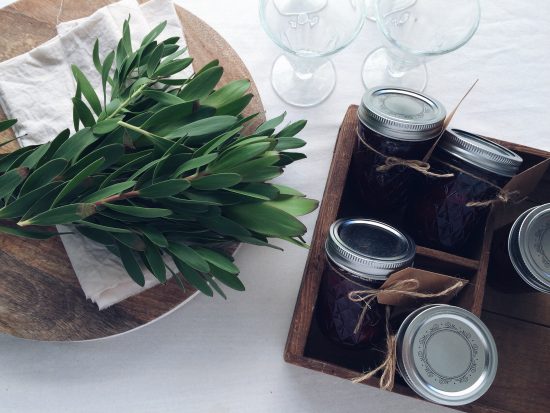
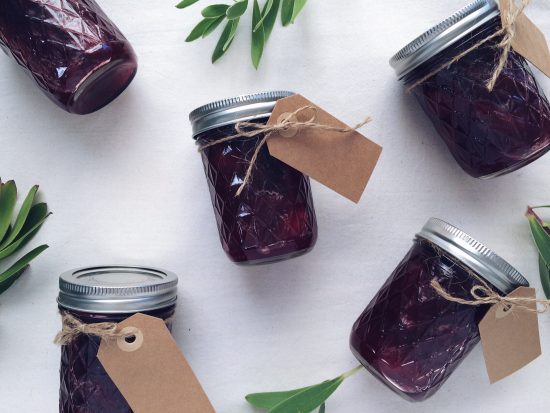
Once they’re cool you can add tags, fabric tops, or anything that takes your fancy! Just make sure to keep some for yourself!
Ms Chinoiserie: So yummy – there is nothing more delicious than home made jam! It never lasts long in our house – and is such a heartfelt gift.
About Nicola Goring – I’m Nicola, the florist and crafter behind rubyandjoy. I’m a gardening, fabric loving, mint tea drinking, brownie baking, book obsessed maker! I love a good adventure having just moved back from five years in Scotland (with my lovely Scottish husband).






Join the conversation