

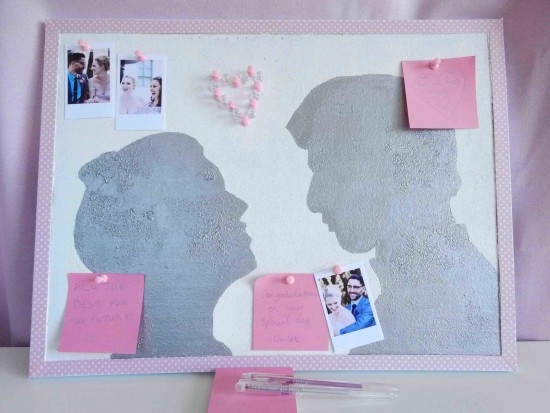
If you’re planning on having instant polaroid cameras or a photo booth to allow guests to capture your wedding-day celebrations, why not give them somewhere at your reception to display their happy snaps. This tutorial also offers an alternative to the traditional guest book, as your family and friends can pin their well-wishes to this personalised cork board inspired by vintage silhouette portraits.
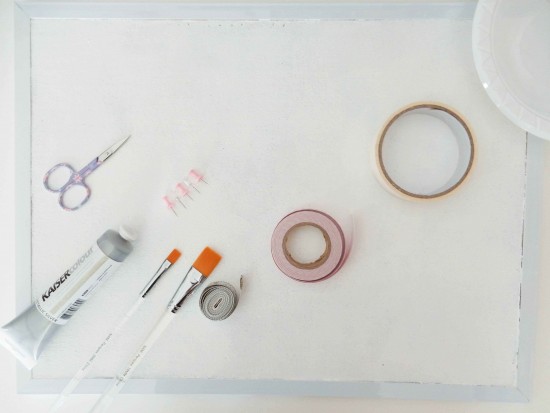
You will need:
- Pin board (mine is approx 40 by 50 cm)
- Tape measure or ruler
- Camera
- Computer and printer
- Scissors or craft knife
- Tape
- Pins
- Acrylic paint
- Container for paint
- Paintbrushes (one for the large areas, and a small one for edge details)
- Decorative tape
What to do:
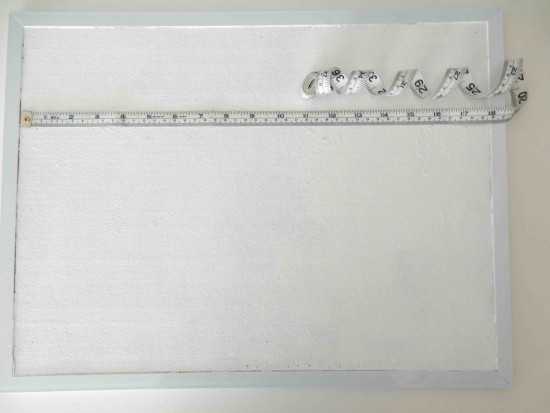
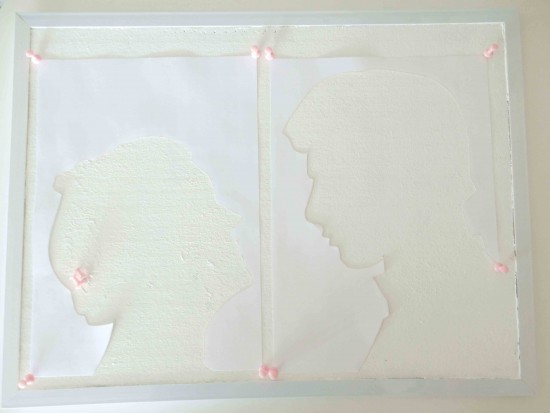
As an optional first step, I painted the board white beforehand, but the natural cork look might suit a rustic theme. Measure your pin board horizontally to find the centre. If your board has a frame measure the width and height from within the frame. This will determine the size of the silhouettes. Each of my silhouettes needs to fit into a 23 by 33.5cm space.
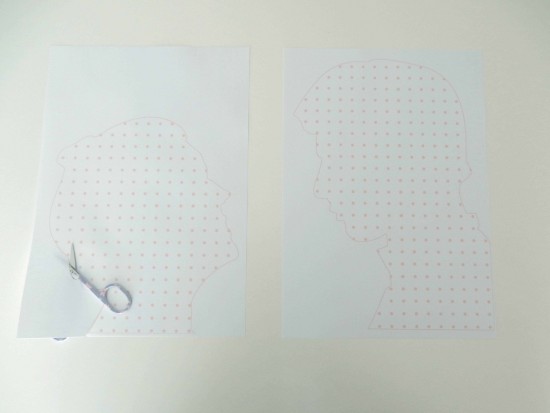
Take photos of your and your fiance in profile against a plain background (to make it easier to cut out clearly) and resize using a computer to be slightly smaller than the allowed space. Since my measurements were close enough to A4 I decided to fit them to A4. Print each photo, trying to keep them to the size you measured, although if they print a little smaller it shouldn’t affect the finished piece. Carefully cut out the faces using scissors or a craft knife to create stencils for painting.
Now to get ready for painting the silhouettes! If your pin board has a frame, mask the bottom edge with masking or painter’s tape.
Place the stencils on the board to work out their positions. Place pins at the corners so that you can find the position again once you’ve moved the stencils to put tape on them.
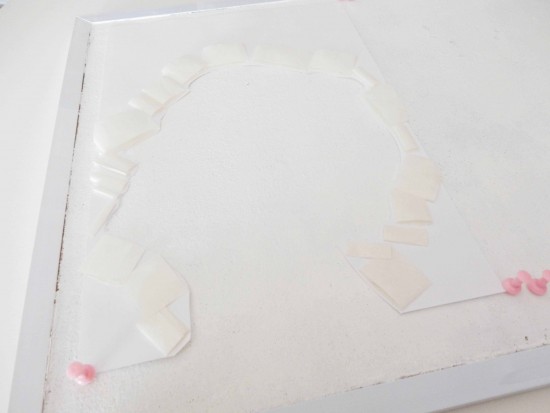
Attach the stencils to the board with loops of masking tape. You may also need to mask some of the other edges, like I’ve done at the neck and back.
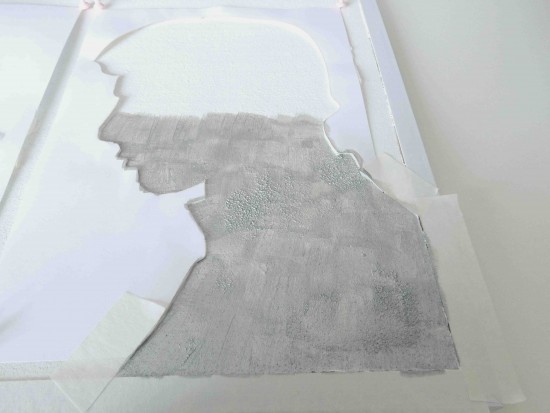
Now it’s time to paint! Pour out some paint into your container. Paint the spaces inside the silhouettes, being careful not to get paint under the paper around the edges of the stencil. Also be careful not to paint beyond the paper in places where the silhouette comes close to the edge. Paint as many coats as you need to cover the board evenly; it took me four coats.
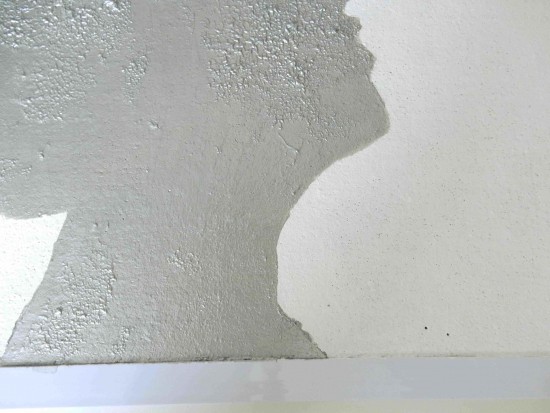
Once the paint is dry, remove the stencils and carefully neaten the edges with the small brush if there are any places where it’s uneven. There may also be some places where the paint has built up under the edge of the stencil, so by removing the stencil as soon as the silhouette is dry to the touch you should be able to spread out any lumps of paint before they dry.
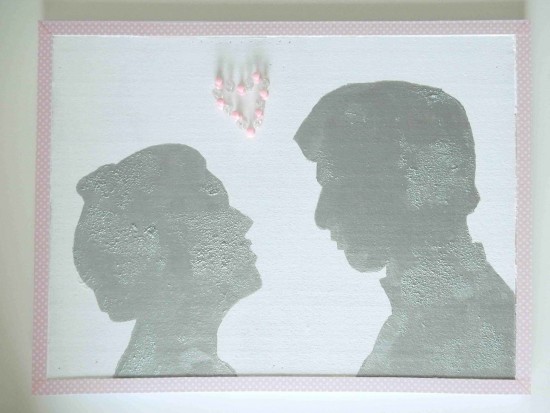
I dressed up the frame by covering it with a pretty polka dot tape of equal width.
And that’s it! Grab some pins in colours that complement your theme and it’s ready to be decorated with mementos on your day!
Photos for “instant photos” in Image 1 via Ellen and Adam’s Romantic Rooftop Wedding
![]()
Ms Chinoiserie Says: Such an easy and pretty way of displaying photos and messages; tailor it to your theme and then hang it on the wall at home!


Join the conversation