

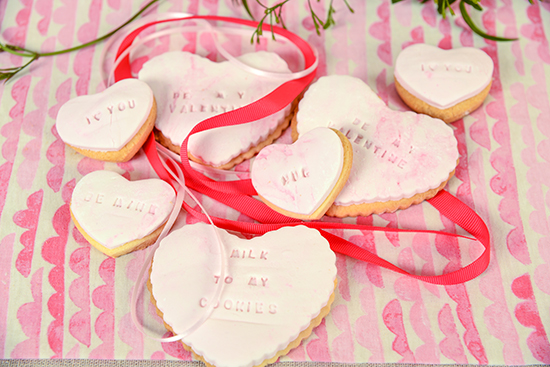
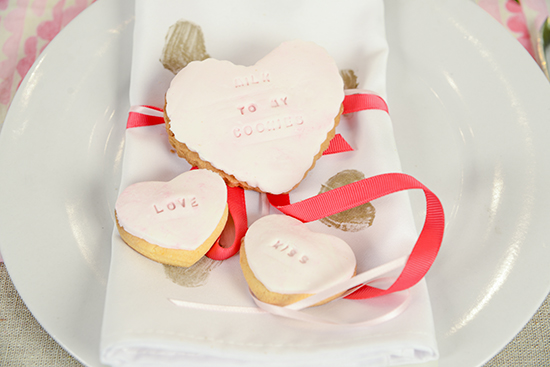
I had so much fun with this conversation heart cookies tutorial and I think they’d make a fantastic wedding favor or just add something a little more personal to your at home baking.
Writing whatever message your heart desires onto a baked goodie can never be a bad thing and as a Valentines Day treat I think Mr Polka Dot might just be getting a box of these (if we’re pretending he hasn’t already eaten them all!).
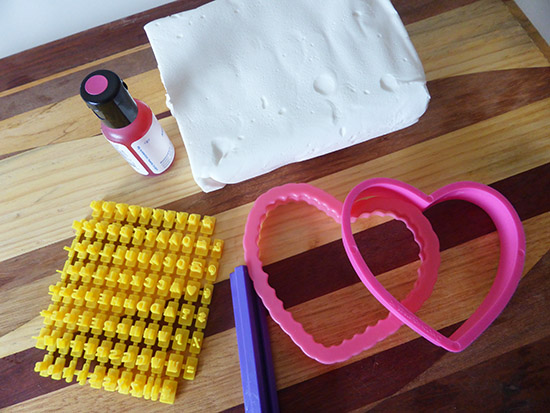
What You’ll Need:
– Ingredients for your desired biscuits or cookies
– Cookie cutters in your desired shape
– Fondant
– Food colouring
– Cookie Letter Stamps (I found mine on eBay).
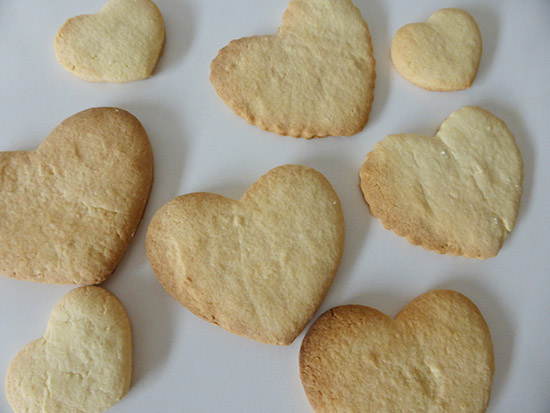
Method:
1. Bake your biscuits or cook your cookies in whatever flavour you desire. I chose plain vanilla butter biscuits (recipe from here) and in Valentines Day friendliness, I of course, used my favourite heart cookie cutters.
2. Warm up the fondant with your hands and coat your work surface and rolling pin in icing sugar.
3. In a bowl, add drops of your food colouring, kneading lightly through the fondant until you have a marbled effect. As I kneaded the dye through the fondant, I added drops of colouring where I wanted more concentrated colour.
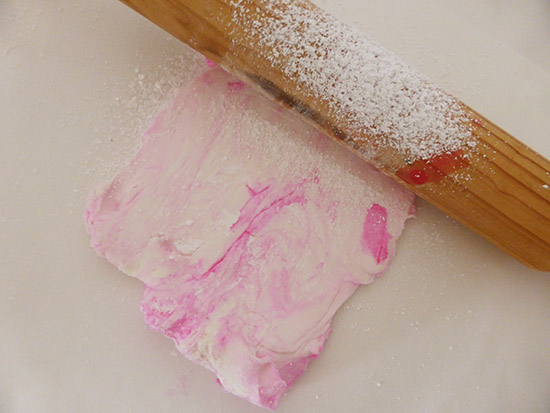
4. Once happy, roll your fondant out so it’s a few millimeters in thickness.
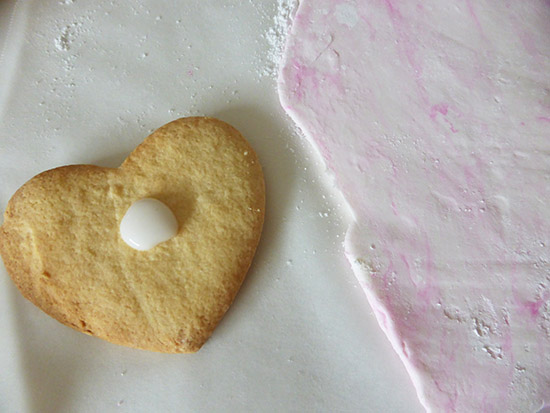
5. To ensure your fondant and pretty decoration sticks to the cookie, place a small amount of icing (icing sugar mixed with water will do the trick) to your cookie. This will act as the “glue”.
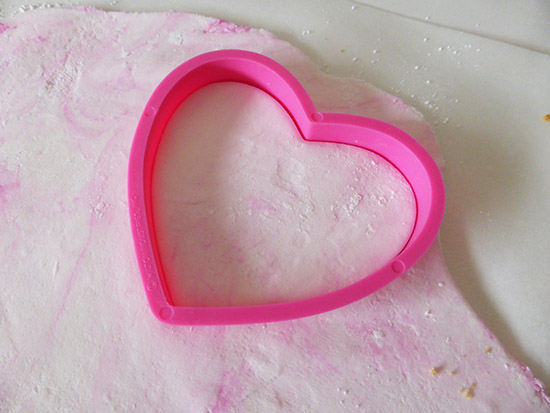
6. Using the cookie cutter you used for your cookies, cut out your shape from the fondant.
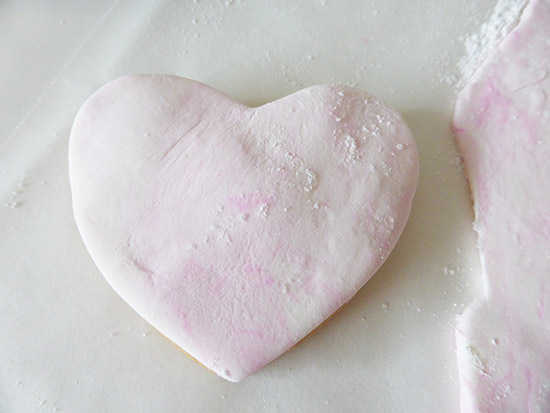
7. Stick onto the biscuit and leave the icing to set for a minute.
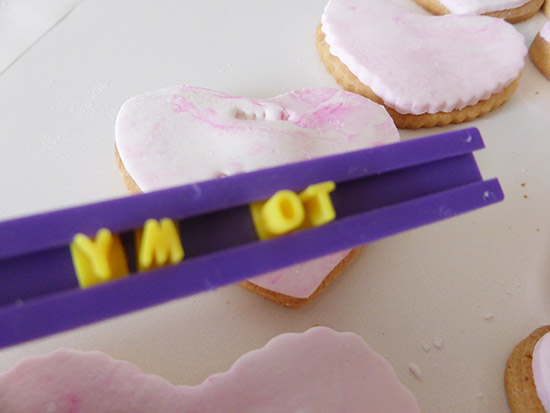
8. Now the fun part- stamping! These cookie letter stamps slide into one line so all you need to do is create your word (in reverse! Keep some fondant handy to test you have it right before you press onto the real deal!) and press into each cookie. You need to work fast as the fondant does tend to harden.


Join the conversation