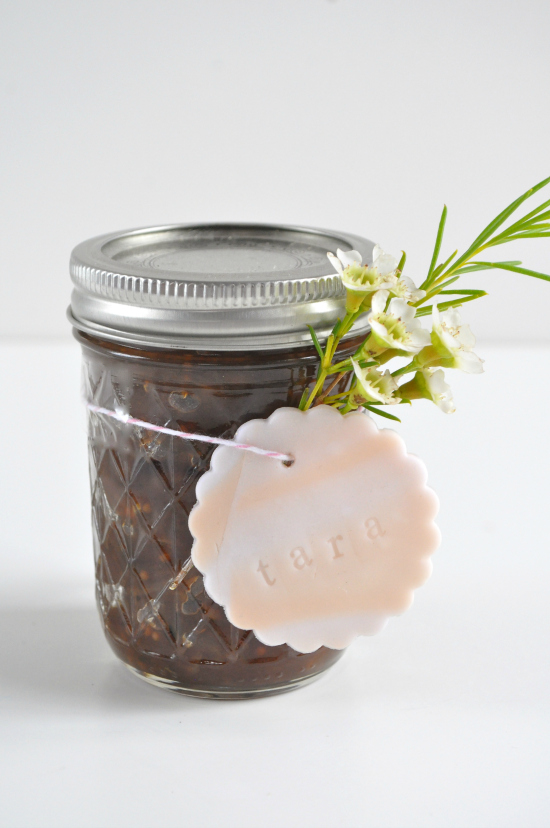
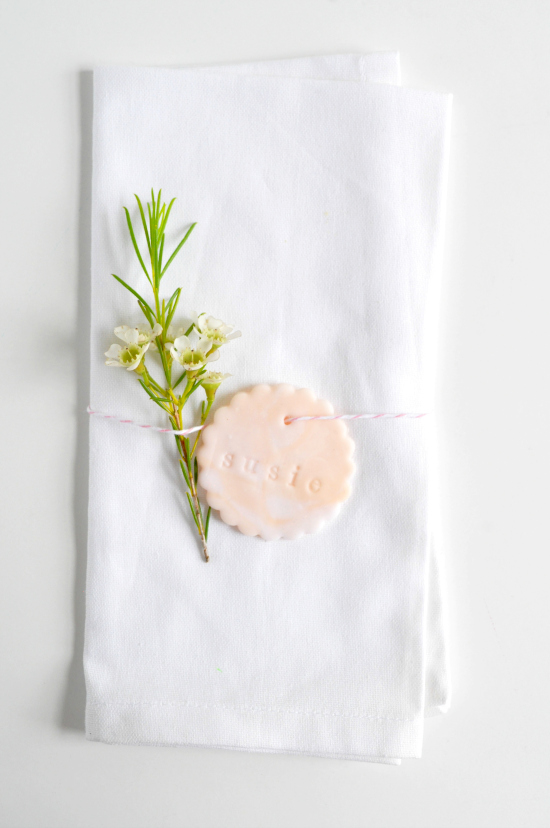
These sweet personalised favour tags are perfect for letting your guests know which gift is theirs but they are also great as place cards, just secure them around each napkin with some pretty twine.
If you don’t fancy stamping the tags with each guest’s name, you could try using the bride and groom’s initials or the wedding date instead.
This project makes 12 tags but you can easily increase the amount of clay to make as many tags as you need.
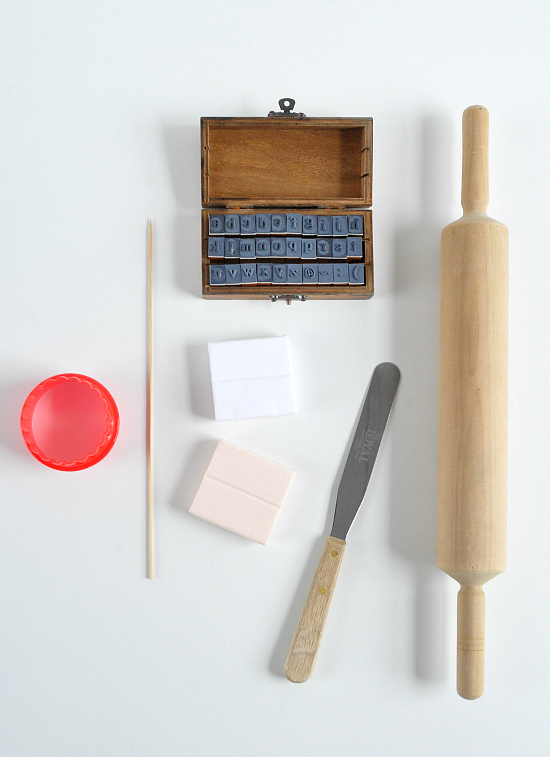
What you need:
– 2 x 56g packs oven-hardening modelling clay. I used peach and white glitter FIMO from a craft store.
– Scalloped round cookie cutter. Mine was 5.5cm wide.
– Rolling pin.
– Baking paper.
– Wooden skewer.
– Alphabet stamps, cleaned with a damp sponge. (Or number stamps if you decide to go that route).
– Oven tray.
– Palette knife, optional, to assist in lifting the unbaked tags.
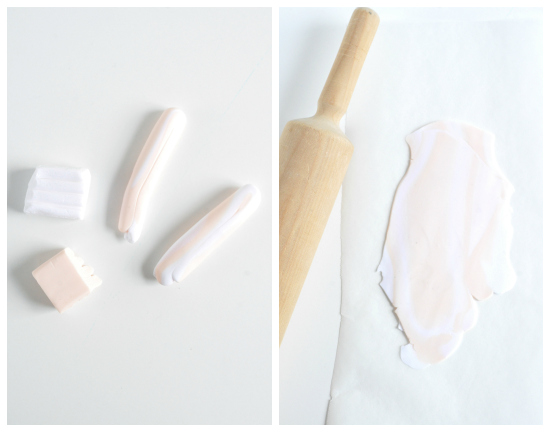
Preheat oven to 110°C (conventional). Break clay into portions. Wrap any you are not using in plastic wrap so it doesn’t dry out.
Knead the clay to make it pliable. Mix the two colours together until you get a marbling effect. Roll the clay out on a sheet of baking paper to about 2mm thick.
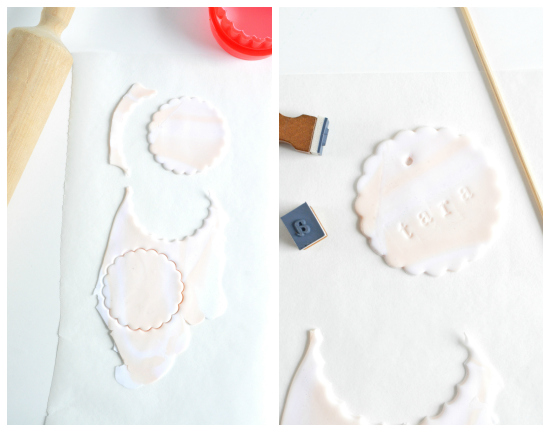
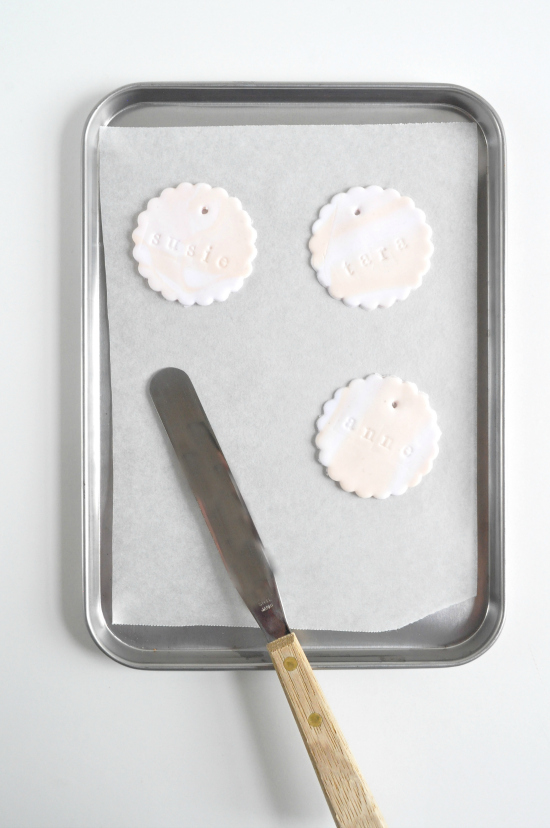
Cut rounds from the clay. Stamp the guests name into each round. Use the skewer to make a hole at the top of the round.
Place tags on an oven tray lined with baking paper. You can re-roll any clay scraps. Repeat with remaining clay.
Bake for 30 minutes. Set aside to cool and harden.
And there you have it. Lovely marbled clay tags that your guests will love!
Images, twine, jar and tutorial by emerald + ella
I’m Jane Howard, the girl behind emerald + ella – an online shop and blog which encompass a world of beautiful, eclectic things. I’m also a recipe writer, food stylist, vintage collector, New Zealander, married to an Aussie boy, aspirational crafter, wine drinker, pulled pork sandwich lover and basically just a girl who likes pretty bits and pieces.




Join the conversation