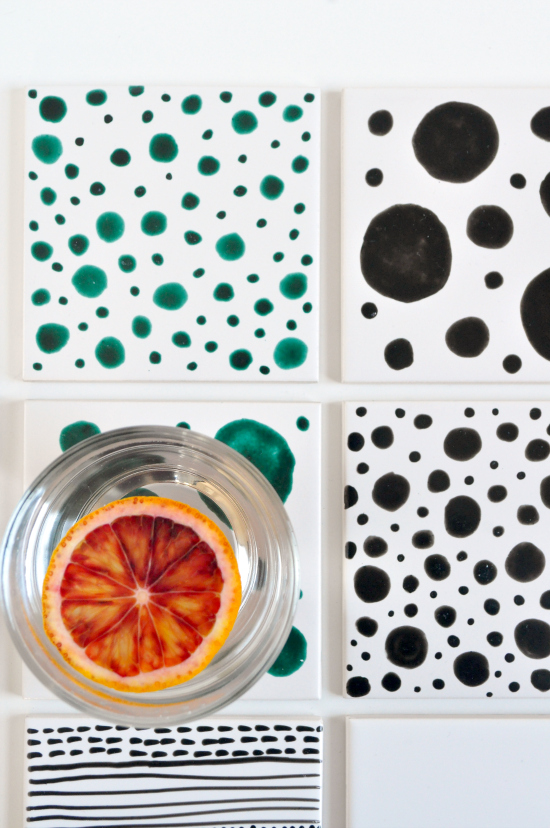
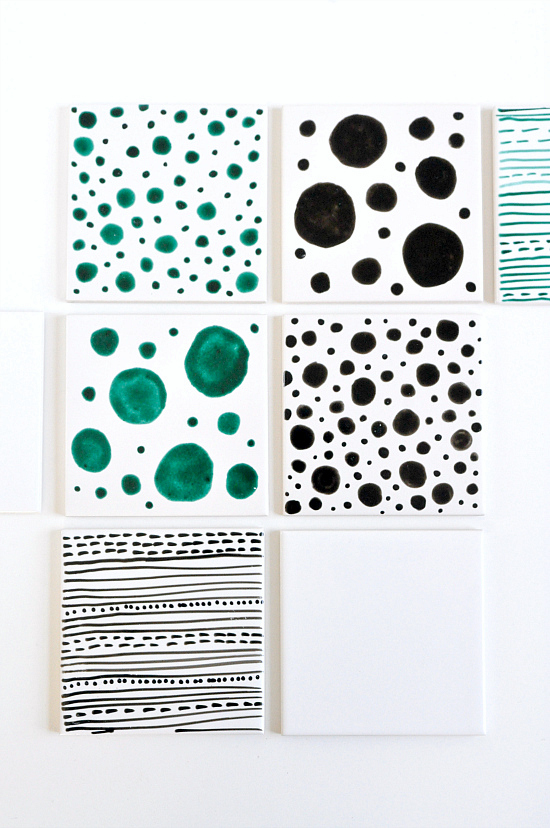
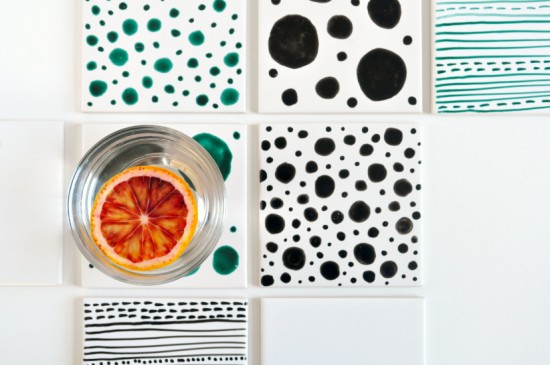
How cool are these custom coasters?! They are so easy to make and you can totally get creative to suit your wedding’s colours and themes.
I love a polka dot (who doesn’t?!) but I played around with stripes here too. Why not try triangles, hearts or arrows? You could also monogram them with your initials or write each guest’s name on one as a place setting. Whatever you fancy really!
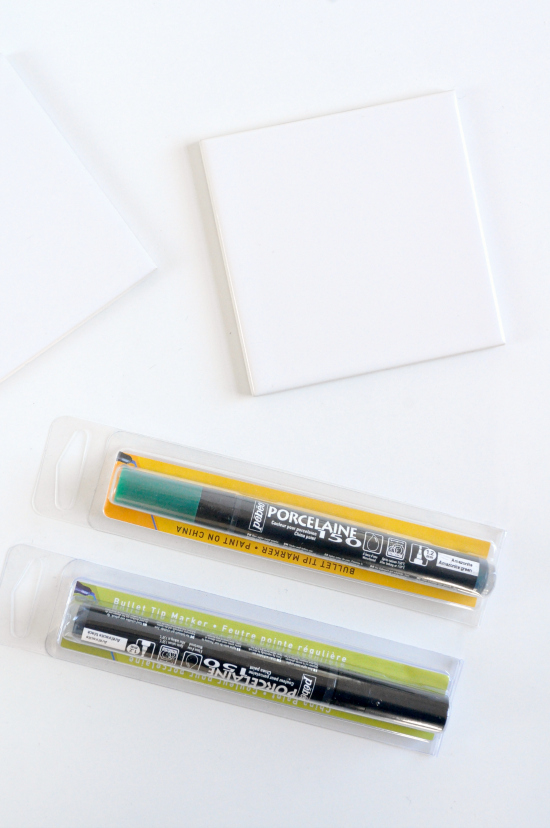
– Porcelaine 150 pens in your choice of colours. I used a 1.2mm tip in Anthracite black and Amazonite green. You get these from craft stores like Spotlight.
– Clean white tiles. I used a mix of satin finish and glossy and they both worked well. I got these for around $0.60 each at Bunnings.
– Cotton buds and water.
– Oven
Press the pen down on some paper to start the paint flowing. Depending on your design, you might like to practice it on paper first. Draw your design on the tiles. Use smooth, even pressure for the best results. If you make a mistake, don’t worry! Just dip a cotton bud in water and wipe it off. Make sure the tile is completely dry before drawing on it again.
Leave the tiles to dry for 24 hours. Bake in a 150°C (conventional) oven for 35 minutes. Allow to cool.
How easy was that?! And the best part is, you can even put them through the dishwasher and the pattern will remain.
Images and tutorial by emerald + ella
I’m Jane Howard, the girl behind emerald + ella – an online shop and blog which encompass a world of beautiful, eclectic things. I’m also a recipe writer, food stylist, vintage collector, New Zealander, married to an Aussie boy, aspirational crafter, wine drinker, pulled pork sandwich lover and basically just a girl who likes pretty bits and pieces.




Join the conversation