

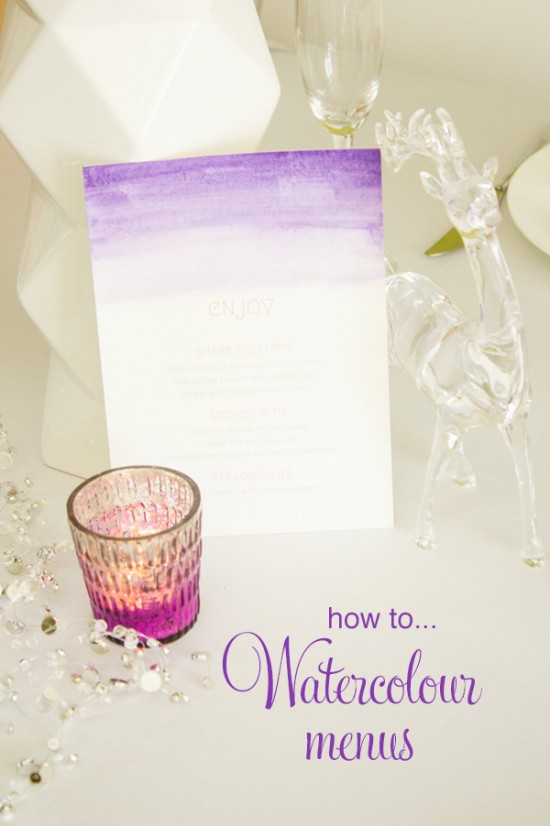
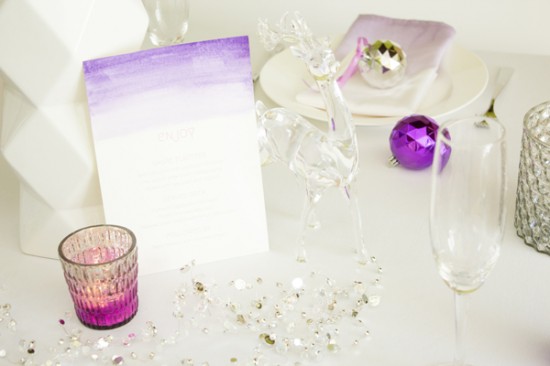
Here’s an easy way to prettify your home-printed wedding menus – no art skills required, I promise!

You’ll need to lay out your menu wording 2-up on an A4 page (I used Megrim and Raleway fonts, both free from Google Fonts). For best results, use the thickest watercolour paper that will fit through your printer.
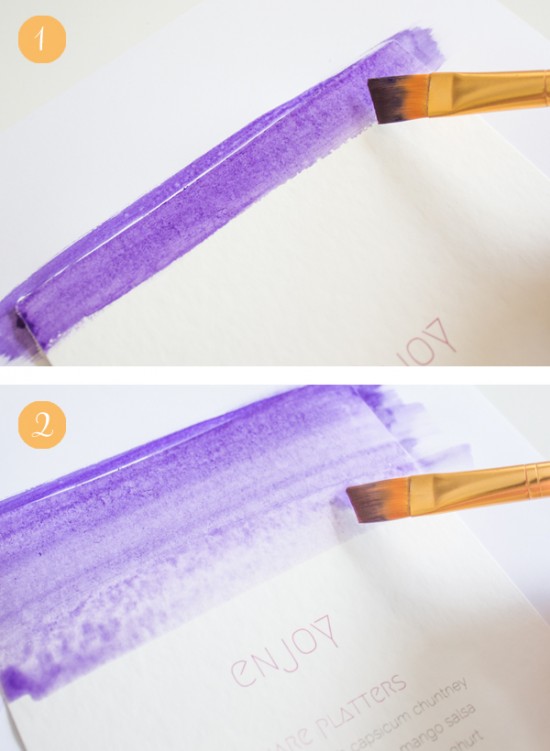
1. Place your menu on some scrap paper and paint across the top using watercolour paint.
2. Continue your brush strokes down the paper, gradually adding more water to your mix to achieve a lighter colour. Set aside and allow to dry.
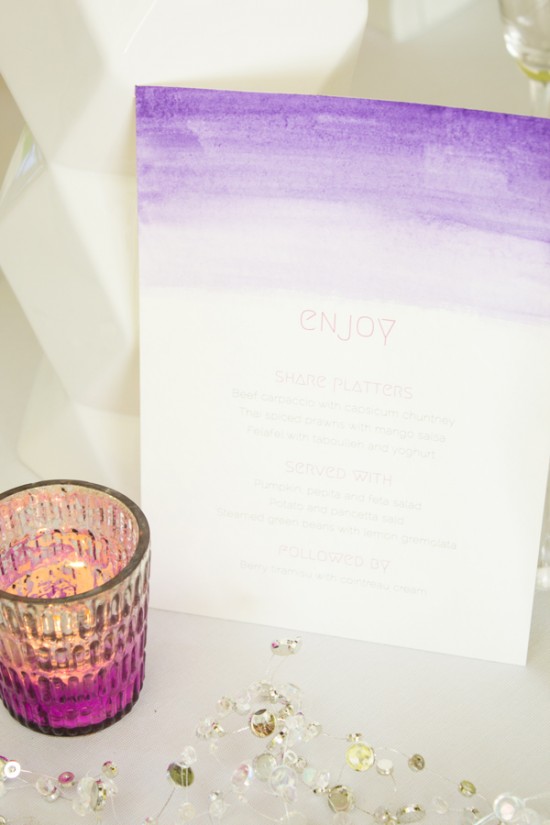
That’s all there is to it! It’s so simple and affordable you’ll want to decorate everything in watercolours!
Images by Akimbo
![]()
I am Alicia Parsons, the Atypical Type A. I live in Adelaide, South Australia in a modest townhouse with my new hubby Ryan (aka The Man). I am the owner and graphic designer behind Akimbo, which specialises in quirky invitations, announcements and greetings.
Alicia contributes regular DIY projects to Polka Dot Made. You can view her posts here.


Join the conversation