

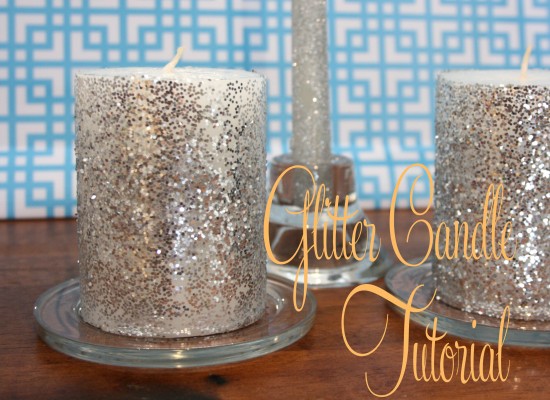
I’ll confess – I’m a bit of a sucker for sparkles. Not like in a ‘fairy princess’ fashion, but in a ‘shimmery, sequinned glam’ kind of way. When you can DIY an aspect of your wedding that will POP amongst a classic backdrop, you’re onto a winner. And when it’s this easy, you can adorn all your tables to set the scene for a night to remember. All this in 5 easy steps with this glitter candle tutorial!
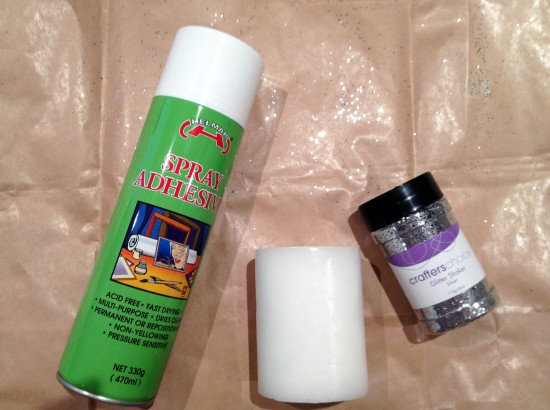
You will need:
- A candle, or many candles, preferably with a white base and unscented (guests can often be allergic or sensitive to scented candles). Shake up the sizes so you’re able to create clusters of these beauties
- Adhesive spray. You can find these at any craft store, or online. They range in price up to about $20
- Loose glitter. This can be in any colour you like. In fact, I think it would look particularly fabulous if you had different shades of glitter in a candle cluster, such as silver, gold and rose gold. This is totally up to you and your colour palette!
- Craft paper, or similar to work on (I used craft paper as it is a surface that doesn’t grab the glitter and also contrasts against the colours so I could see!)
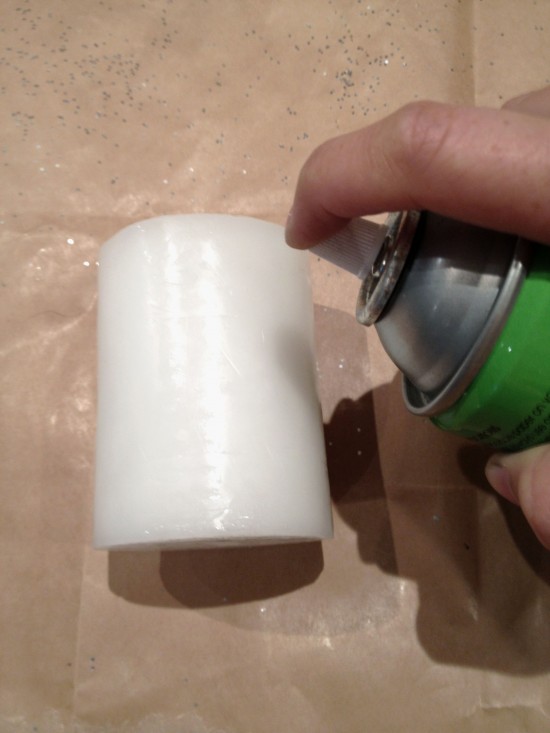
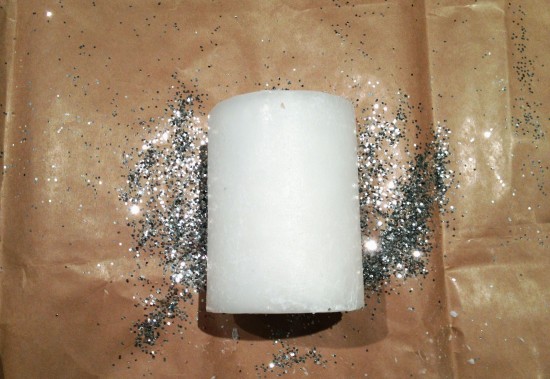
STEP 1.
On the paper, spray the adhesive around the candle. I avoided the top and the bottom, both for aesthetic purposes and because it’s easier. I preferred the splash of white at the top, and no one will be seeing the bottom. I held the nozzle quite close to the candle to ensure full coverage and as you want to have it quite tacky when you add the glitter.
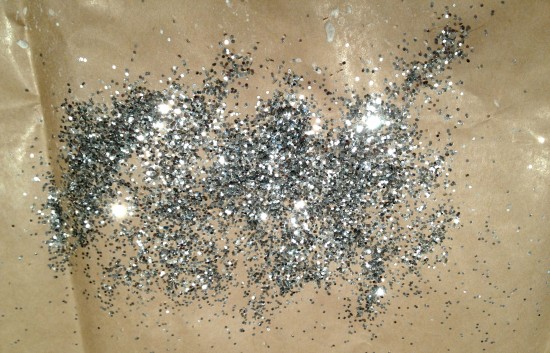
STEP 2.
Sprinkle the glitter onto the paper, ensuring an even spread.
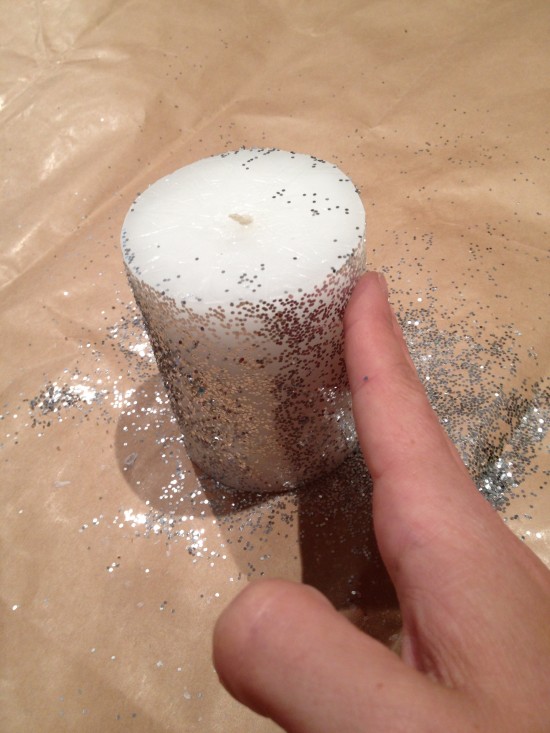
STEP 3.
Put the candle on its side and roll it back and fro to grab the glitter. I held the wick and the bottom of the candle, much like a rolling pin!
STEP 4.
To ensure that there is full glitter coverage, I wasn’t fussed getting glitter on my fingers to dab it into places it may not have picked up whilst rolling. Apply in a dabbing motion, don’t rub or you’ll take off the existing glitter. You can wear gloves, but the spray adhesive is very light and the glitter washed off instantly.
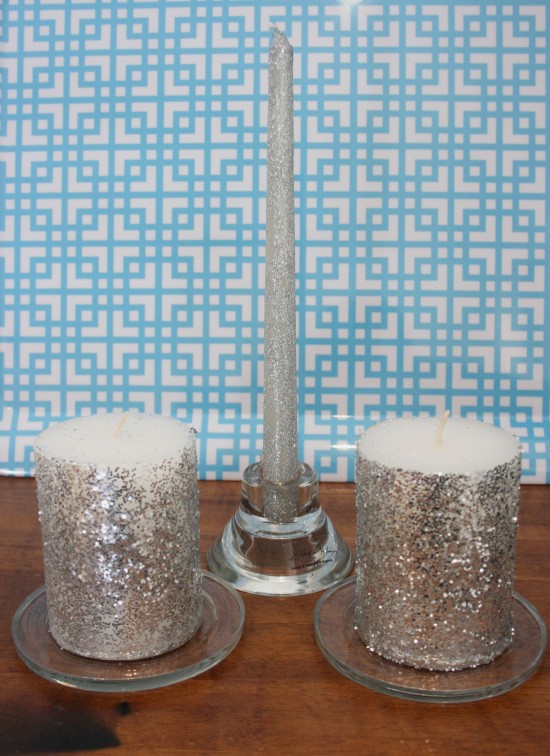
STEP 5.
Keep going! Basically, the sky is your limit on this one. I also did a slim long candle to shake up the levels.
This is a great DIY for those people who want to help you out for your big day, but don’t have a huge crafty ability. Maximum result!
Photography by Ms Herringbone
![]()


Join the conversation