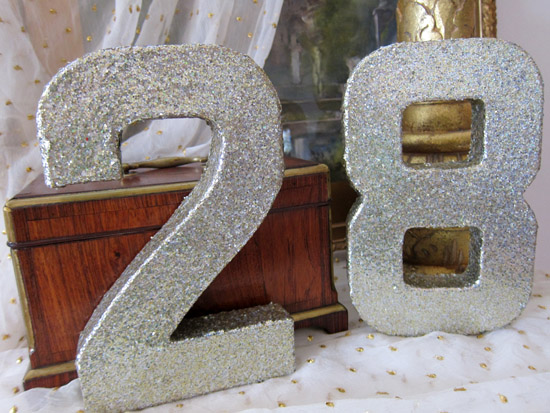
It’s been a glittery few months at Polka Dot HQ and there is plenty of glitter to come. I love using glitter at weddings, not only is it sparkly and festive but the metallic almost becomes a neutral, allowing you to pair it with any colour you like! Today’s tutorial is all about guiding guests to their tables with sparkly, glittery table numbers.
What You’ll Need:
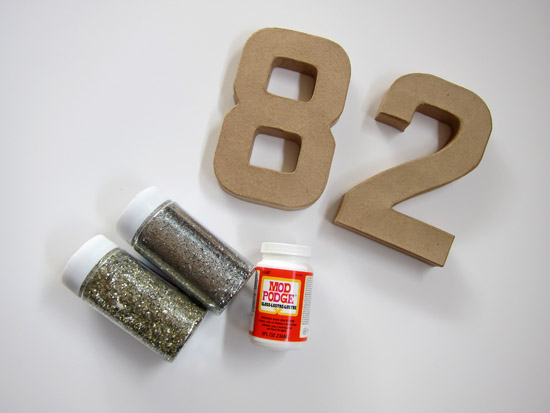
– Mod Podge
– Glitter in your colour choice
– Paper Mache Table Numbers (I found these at a local craft store)
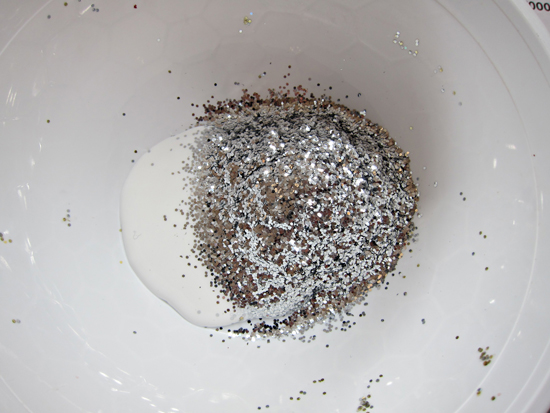
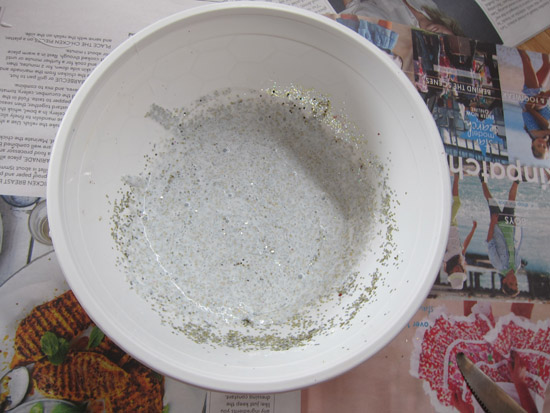
1. Combine glitter and mod podge, As with all my glitter tutorials, I’ve found the best way to make sure glitter doesn’t flake off with movement is to combine it with the mod podge so it is essentially held in the glue. I usually combine a few tablespoons with the glitter and mix so the glitter becomes completely coated.
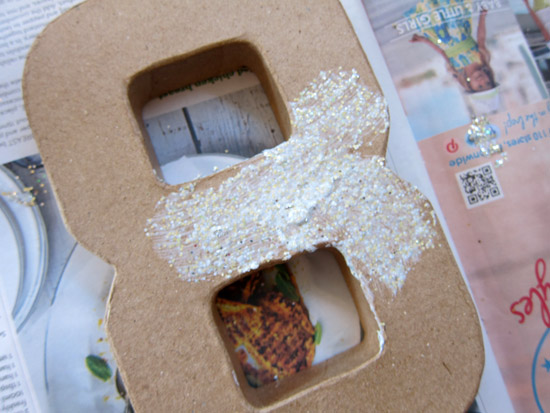
2. Start coating your number in the mixture making it nice and thick. It will look completely ugly, but mod podge dries clear so all is not what it may seem!
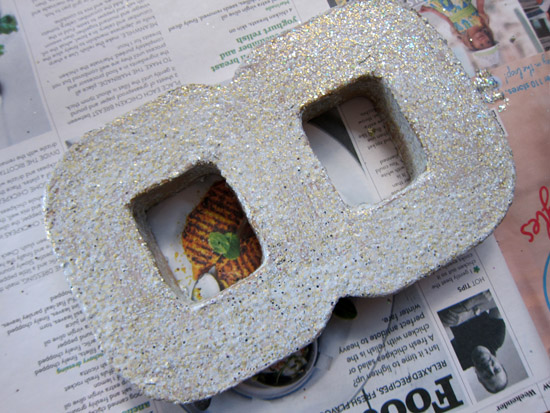
3. Wait to dry and then turn over and coat the other side. When dry, look for places where the brown card shows through and touch up. Let harden over a few days.
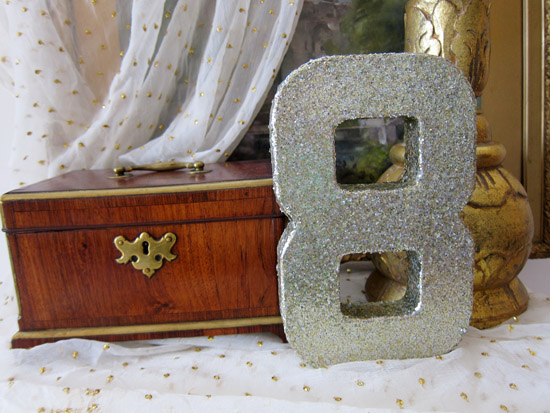
Such an easy way to add a little glitter to your wedding tables! These numbers work best if wedged between items as they’re so light, so consider leaning them against vases, wedging them between stacks of books or beautiful boxes.
![]()







Is it matte mod podge?
Hi Gemma
This is normal gloss modpodge. I imagine matte Modpodge would take away the shine of the glitter (smaller glitter is better, you don;t have to use so much to get it smooth)
Do you use a normal paint brush or a sponge type one? Thanks