

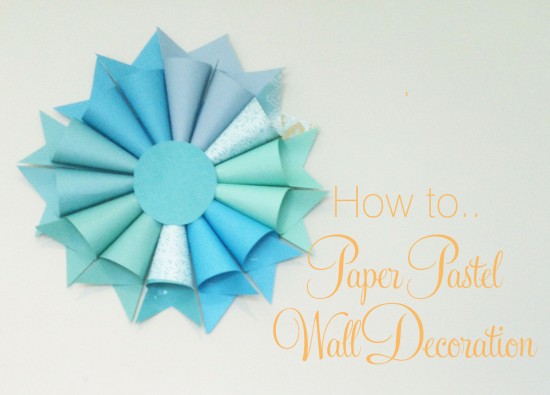
Inspired by the pastel palette of Easter, I’ve been playing with some paper, with inspiration from one Martha Stewart, and put together a simple but effective little DIY! It really lends itself to so many option, such as in clusters for a striking photobooth or dessert table backdrop, or perhaps as a eye-catching hanging decoration. You can make these in all sizes, and colours – it’s really up to you!
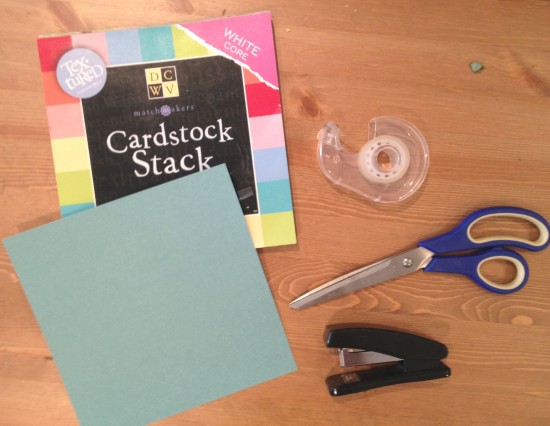
You will need
- coloured paper in squares (any size is fine, depending on the size of the pendant you want!)
- scissors
- stapler
- sticky tape (for backup)
- PVA glue
- pen or pencil
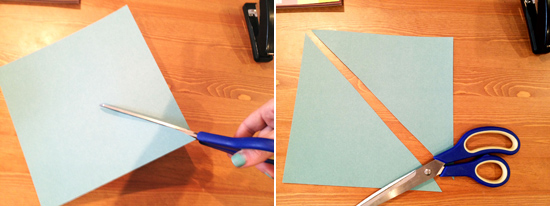
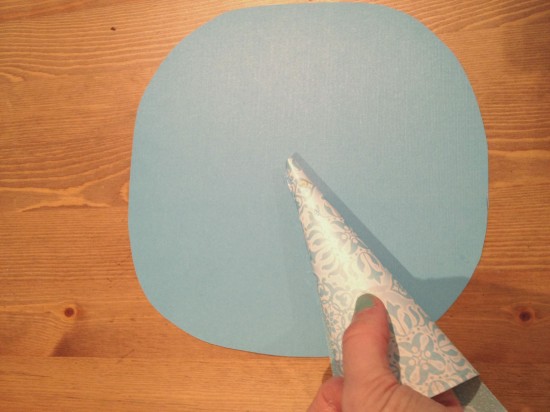
Step 1
Cut your square of paper in half. You can either draw a line to follow with a ruler, or go freestyle, as I did!
Step 2
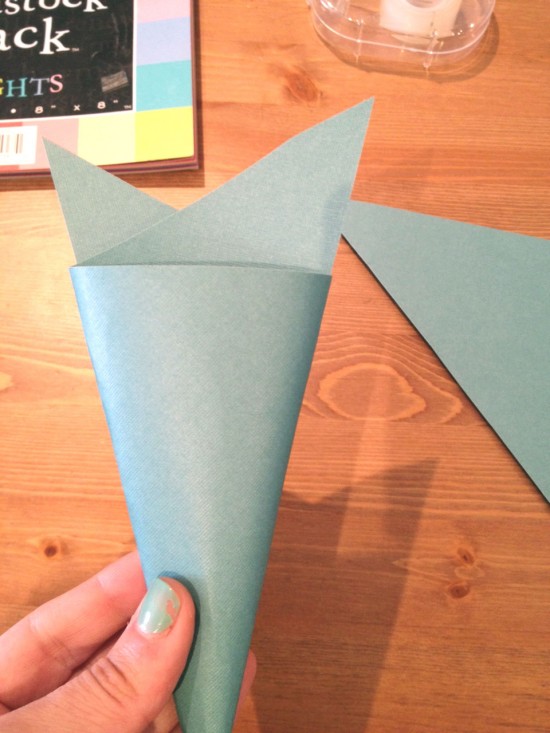
Hold the triangle so the longest side is at the top, and the opposite tip is between your thumb and forefinger. Start to roll it up, like an ice-cream cone
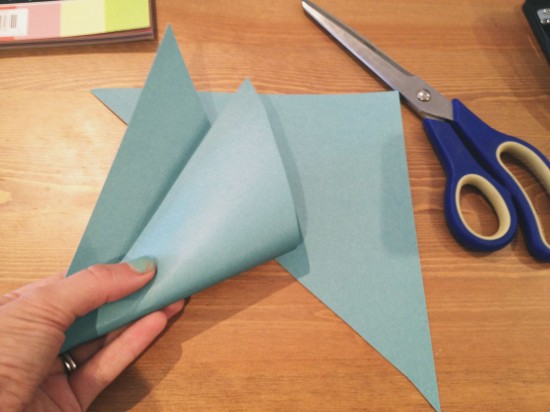
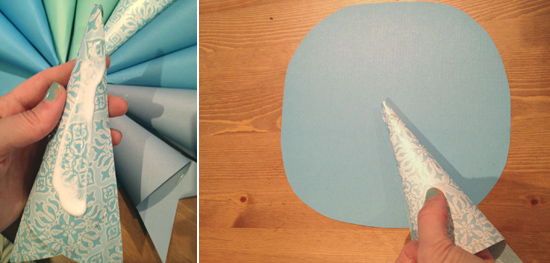
The two tip of the long ends should stick up, like so:
Step 3
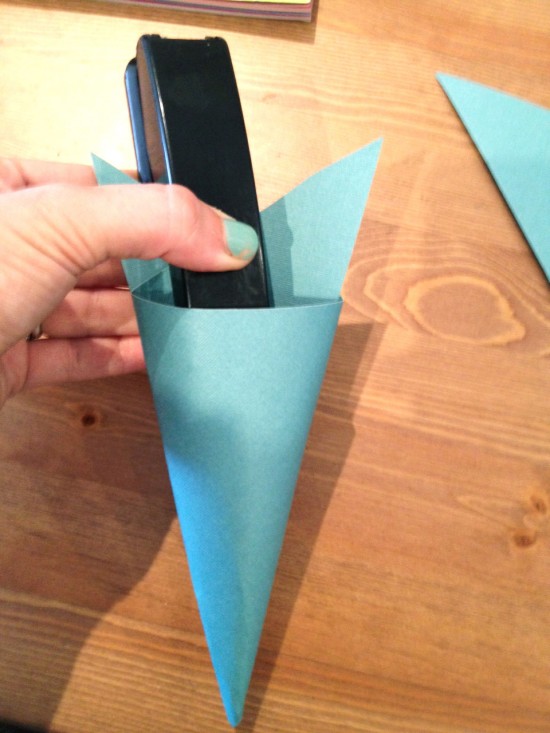
Being careful not to flatten the cone, staple the back to ensure the cone is secure. You can add some sticky tape along the seam here if you like, I found that I didn’t need to if you put the staple in the right spot, at the edge where the two sides meet.
Step 4
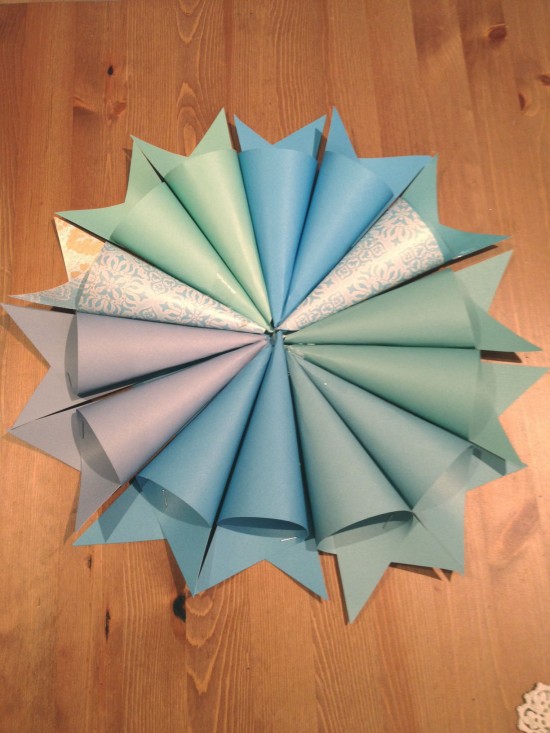
Make enough cones to form a circle, and arrange them as you’d like to see them!
Step 5
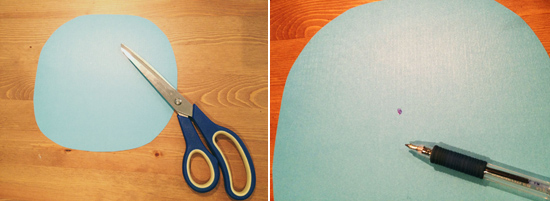
Take another piece of the paper, and round the edges. It doesn’t have to be an exact circle, it’s just so it can’t be seen when you use it as the base for the cones.
Step 6
Place a dot with a pen where the centre is, to ensure a neat and consistence circle when you’re placing the cones.
Step 7
Put some glue on the bottom end of the cone, as this will be the only part to touch the circle. (the top will stick out past it, so remember this when glueing on surfaces!)
Step 8
Once you’ve finished your circle, get a final piece of paper in a complimentary (or contrasting!) colour to the cones, and cut into a smaller circle. Again, the size will be in relation to the paper you have chosen. It should be about half the size roughly of the original piece of paper.
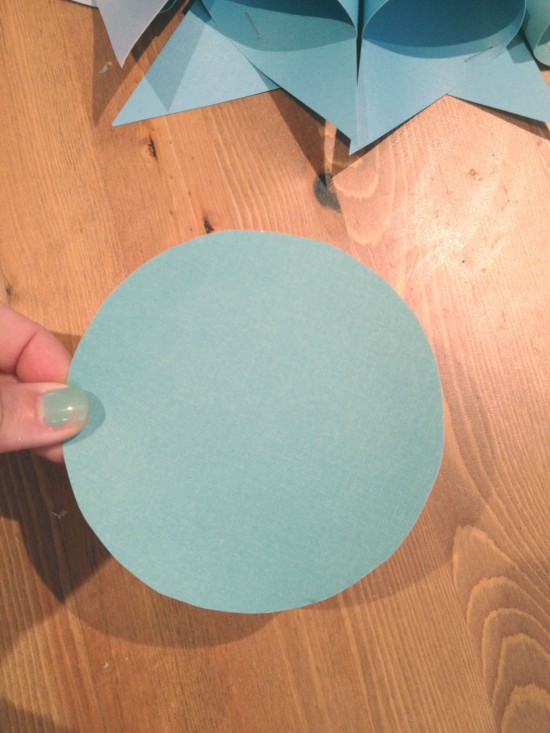
Step 9
Cover the back of the circle in glue, and place on the top centre of the cones, to cover the middle where they meet.

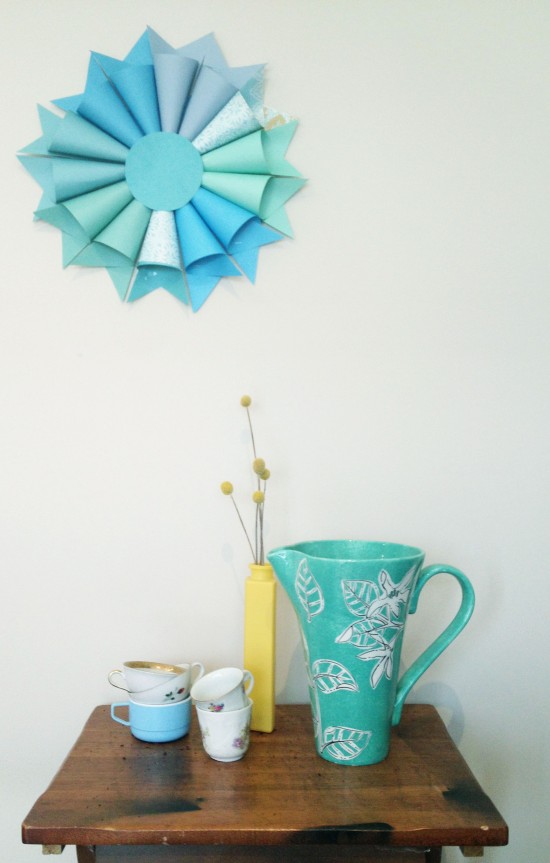
Step 10
Place where you wish! You can continue making these in different sizes, and perhaps in different shades. You could even add test to the centre circle, and use as banners or signs!
Photos by Ms Herringbone
![]()


Love this! I can imagine a few of them all stapled onto a big piece of foam core for a fantastic photobooth backdrop! Great work!
Woah this kind of web site is excellent i like looking at your content. Carry on the excellent operate! You realize, lots of people are searching game in this information and facts, you can encourage them to enormously.