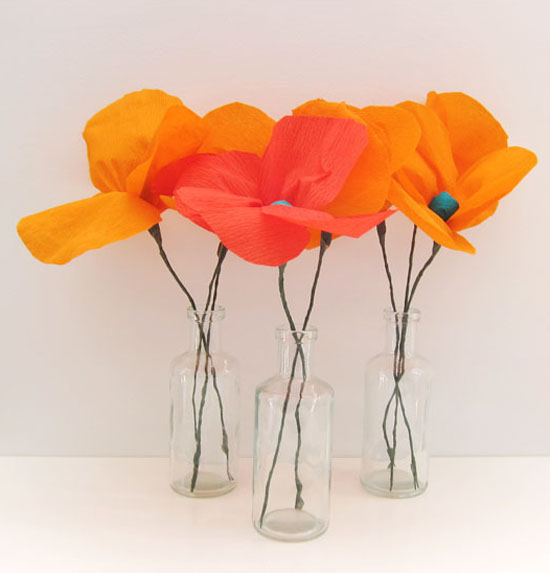
Making paper flowers is such an easy way to decorate a wedding. They’re cheap and fun to make and can look so colourful and happy! Today I’m sharing a tutorial for crepe paper flowers – poppies to be exact! A nod to the vibrancy and colour of Summer!
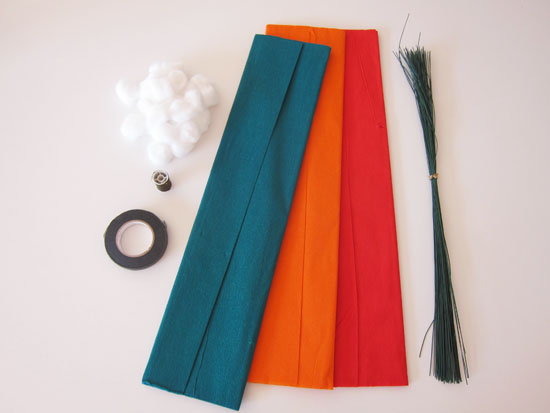
– Crepe paper in assorted colours – orange and/or red for the petals, green or black for the flower centre
– small cotton wool balls
– Florist wire
– Florist tape
– Sewing thread and scissors
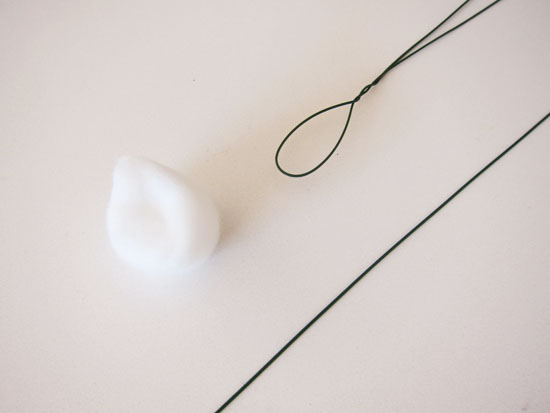
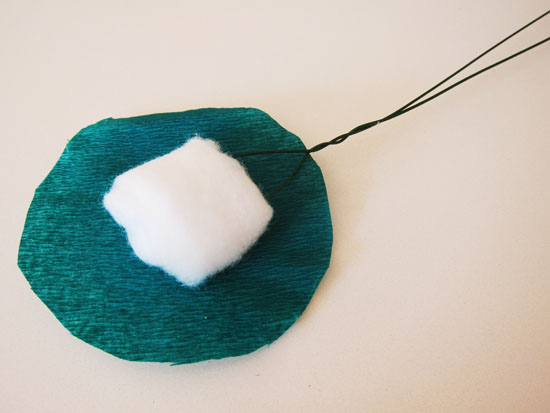
Take your florist wire and fold in half leaving a small loop at the top to wrap your cotton wool ball around. Twist the two ends of the wire down the length of the wire to make the stem.
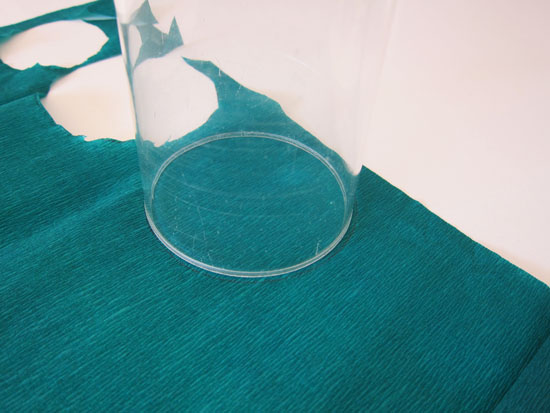
Using a glass or a lid trace around it and cut out your shape for the flower centre. The paper circle should comfortably cover the cotton wool ball and leave you some room for tying off – so be sure to cut your circle large enough. (Tip: Once you have determined the correct size of the circle, fold your crepe paper several times and using your original circle as your guide, place it on top of the folded paper and cut out several circles at once).
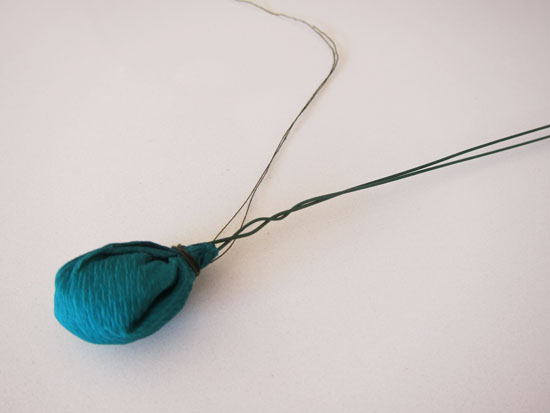
Push the wire loop into the cotton ball and cover with your paper circle. Cut a 20cm length of your sewing cotton and wind around the paper tightly and knot. (Tip: make this thread as tight as possible and be sure to tie a tight knot).
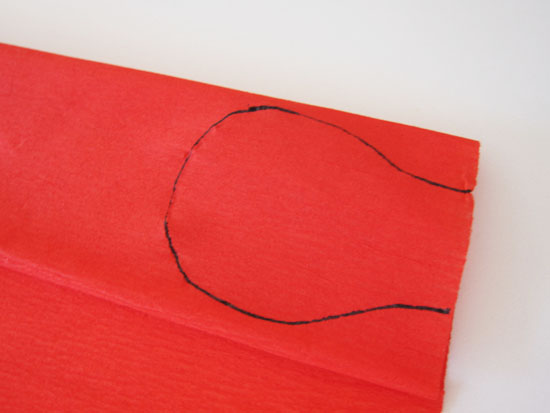
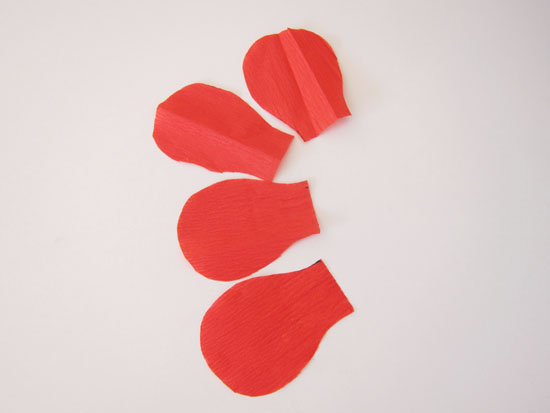
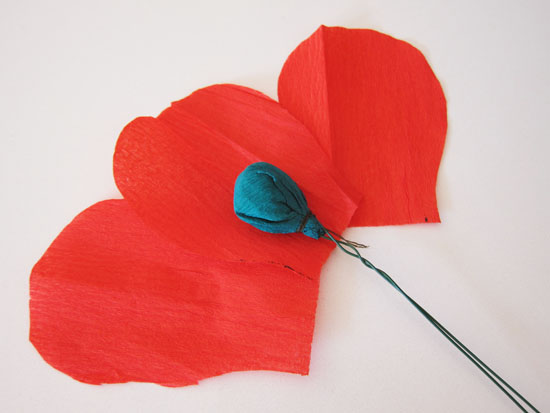
Fold over your crepe paper several times (so that you are cutting four petals at the same time) and draw a freehand shape as above. The shape doesn’t have to be perfect – just loosely resemble a petal! (Tip: make sure that the ‘crinkles’ in your crepe paper run the length of the petal, not across the petal).
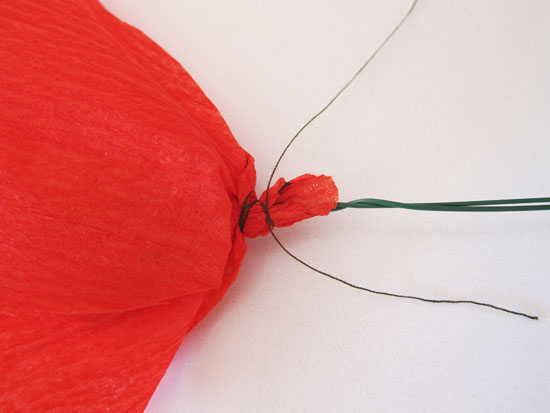
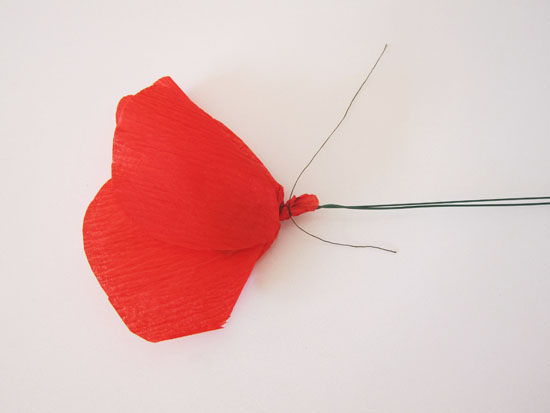
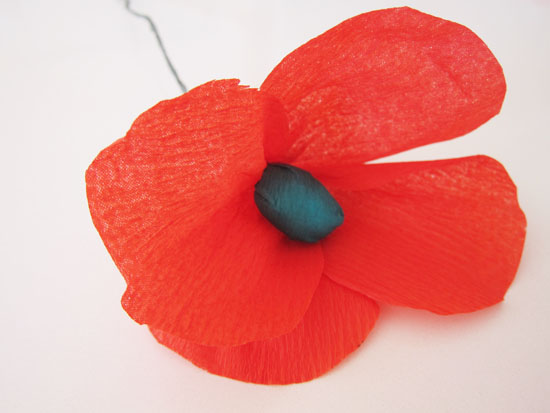
Start with one petal and ease the smaller end around the green ‘heart’ of the flower. Holding your flower in one hand continue to do this with your other petals, overlapping each one as you go. (Tip: as you arrange the petals onto the stem, make sure that each petal is sitting vertically so that it resembles a closed poppy bud).
Wind the sewing cotton around all the petals tightly, close to the base of your green centre. Knot the thread to secure. Cut long thread ends to around 1 – 2 cms.
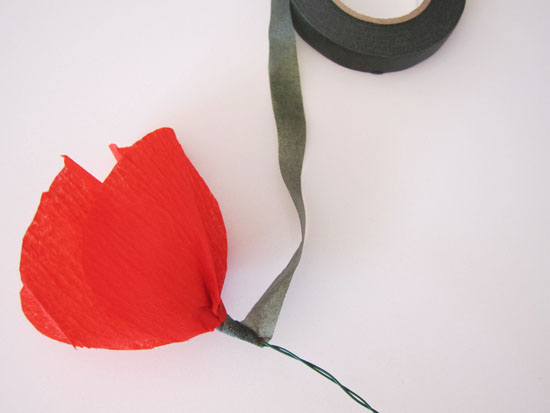
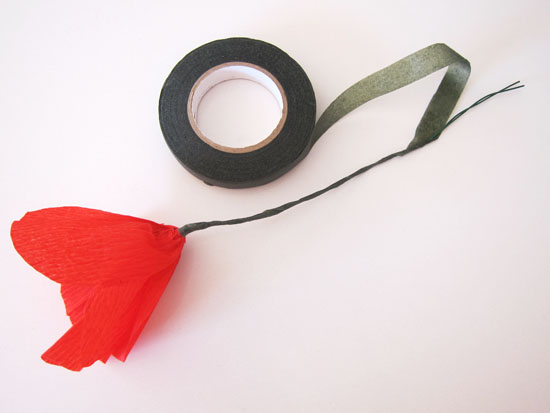
Now take your florist tape and start by winding it several times over itself, around the base of the petals (it sticks to itself), catching inside any loose threads and the edges of your petals. (Tip: this is the time to look inside your flower and see if you have tied off the petals too low beneath your flower centre. If you have, just start winding your florist tape up higher on the petals – towards the fat part of your flower centre. The petals need to look as if they are attached to your green centre when the flower petals are open.).
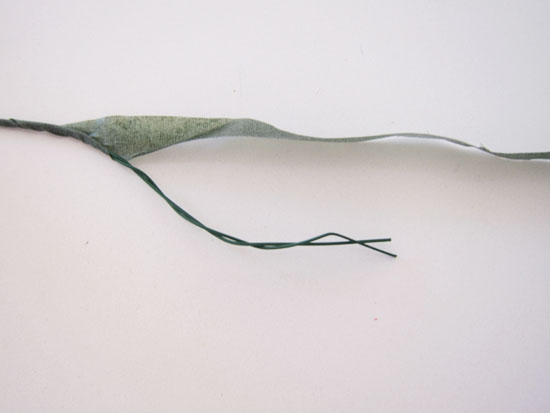
Once your petals are securely wrapped, hold the base of the flower in one hand and start to gently stretch the tape down the flower stem diagonally with the other hand, winding as you go, by twisting the flower and stem.
Once the tape has been wound to the bottom of the stem, wind it a couple of times onto itself to secure.
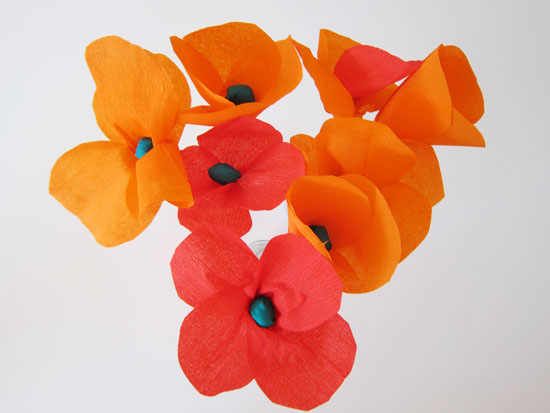
Now, you can gently arrange the petals to look like an open poppy, or leave the petals closed to look like a half open poppy bud. You can also gently stretch the edges of the petals to give a more ruffled look.
Pop into small glass vases to brighten your day or your wedding decor!






Such a great tutorial Ms P! Love it!
Just lovely!
You are so right about the poppies, they’re so cheerful, love the colors. Your tutorial is excellent. I’ll have to find some sheet crepe paper. These flowers are so happy looking, hope I can do them justice. Thanks for sharing a great project. Happy days
Saving so I can print out later.