

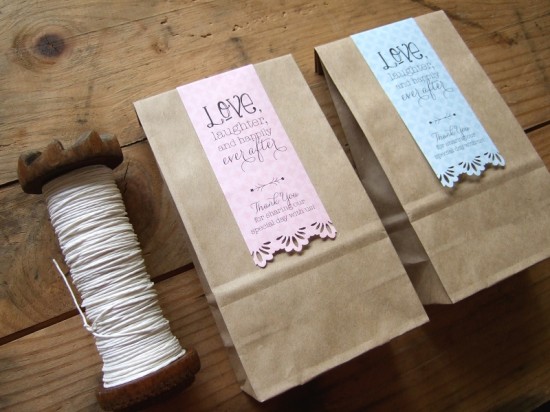
Paper bag wedding favours are a lovely way to thank your guests for sharing in your big day. Instead of a plain paper bag though, why not take it one step further and decorate your favours with a sweetly worded label – prettily punched and complete with a thank-you message!
Materials:
- Favour bag printable
- Paper bags
- Ruler
- Bone folder
- Scissors or craft knife
- Glue or double-sided tape
- Paper punch or scalloped scissors
Step 1
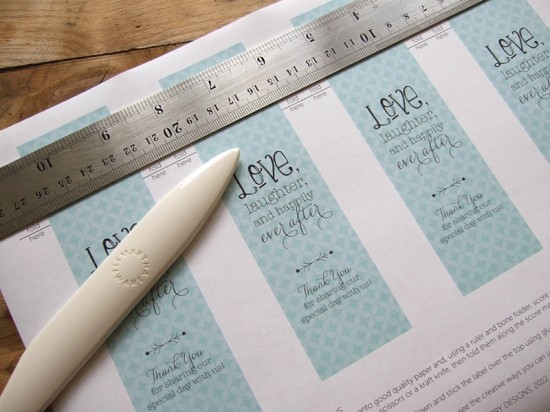
Download our free printable favour bag labels. Using a bone folder and a ruler, score across all four labels on the printable, along the line that says ‘fold here’.
Step 2
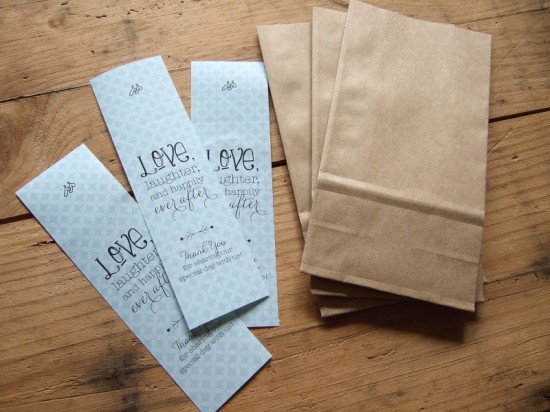
Cut out each label using a scissors or a craft knife.
Step 3
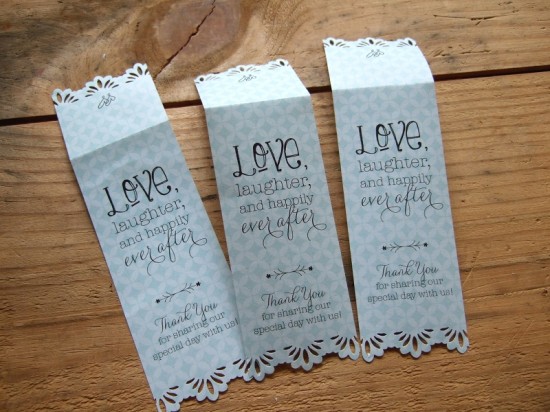
Once each label has been cut out, fold the label along the score line you made earlier, making sure the printed side is facing outwards.
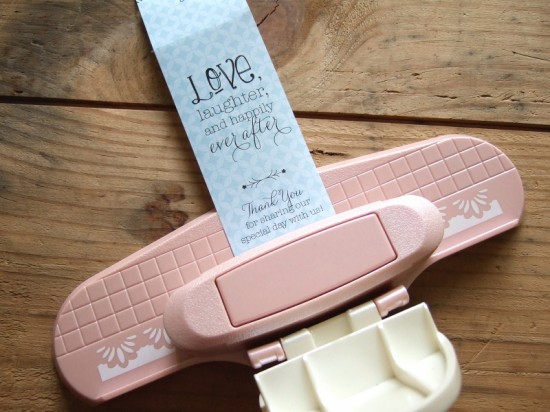
You can use these labels as is, however we designed them with some extra space at each end for you to add a little of your own creativity! If you’re after labels with a difference, try punching the ends with a paper punch or cut along the edge using scalloped scissors.
Step 4
Once the labels have been punched, fold down the top edge of your paper bags so that your wedding favours are safely enclosed inside. Then add some double-sided tape or glue to the back of each label and stick the labels onto the bags.

The Fun Part
These labels are easy to customise to suit your wedding! There’s a white label amongst the range of colours we’ve provided, which will print with no background colour. This means you can use any paper you like and it will show through as the background for the labels.
Try experimenting a little by using different patterned/coloured papers for an infinite number of looks – think kraft paper labels paired with white paper bags for a rustic wedding, use polka dot paper for a fun look, or try metallic paper for a little sparkle.
Using the paper that your wedding invitations were printed on is a great way to tie in these little favours with the rest of your stationery, or you can accessorise by adding rhinestones, wooden pegs or a little twine at the top to complete the look
Photography by Stelloberry Designs
![]()
Ms Gingham says: Now to find the perfect item to place in your bag! Consider chocolates, lollies scented soaps and candles or essential oils!
About Stephanie: Hi, I’m Stephanie from Stelloberry Designs. I own a Sydney-based stationery boutique that specialises in designing and handcrafting invitations for special events. I love paper, pretty bits and pieces, and innovative design.
Stephanie has more DIY posts for you to read here.


Join the conversation