Tip #1
Find the right design:
Firstly, determine what you want your invitation to convey – do you want it to reflect your venue or the overall style of your wedding? The story of how you met and fell in love? Your background or shared interests? Once you know the concept behind the design, then think about the style you would like to use to get this information across – modern, sophisticated, playful, traditional, vintage, romantic, quirky etc. Then find a great stationer who can bring your ideas to life!
Tip #2
Calculate correctly:
Remember you will only need one invitation per couple/family that you are inviting (not one per guest). The best way to figure out how many invites you need is to go through your guest list and calculate how many couples/families you have, and how many individuals. Then, if you are confident that your guest list is finalised, we always suggest ordering an extra 10-15 on top of what you think you will need – remember that guest lists have a mysterious way of expanding! It’s also much cheaper to order some spares upfront, as most stationers have minimum order requirements (and can’t just print one or two later if needed). It’s always better to have a few too many rather than not enough! Also keep in mind that if you are having your invitations or envelopes calligraphered, that most calligraphers will ask for 20% overs to allow for errors.
Tip #3
Choose a colour palette:
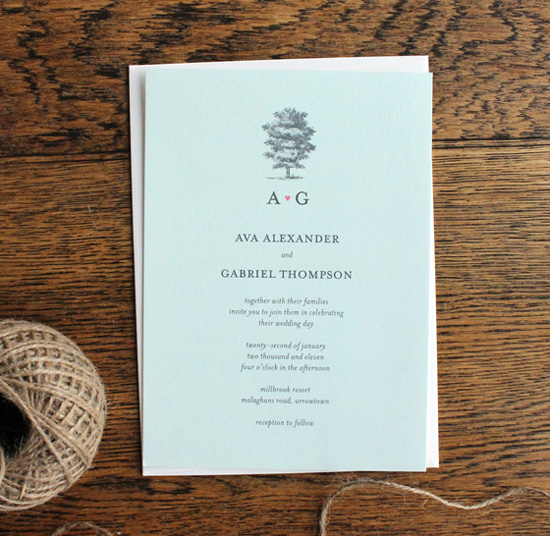
Don’t be afraid of colour! Bold, bright colours are big trends this year, and make a real statement. Some of our current favourite combinations are raspberry and navy, citron and charcoal, grass and turquoise, and cornflower and rose. Most of all, consider the season and style of your wedding when choosing colours, and go with what you love.
Tip #4
Working with a calligrapher:
Leave enough time for your calligrapher to do their job – most will need at least a week during the busy season. Book your calligrapher at the same time as your stationer and ask them how long they will need so that you can factor this into the overall schedule. Also ask how much they require for overs, before you finalise your order with your stationer.
Tip #5
Going DIY:
If you’re creative, have the time and don’t mind getting your hands dirty, then going DIY for your invites can be a lot of fun. Just make sure you start early and allow yourself plenty of time. It’s also a good idea to ensure that if you buy special paper, that it will go through the printer you’re using – buy just a few sheets to test on before you commit to a big purchase.
Tip #6
Less is more:
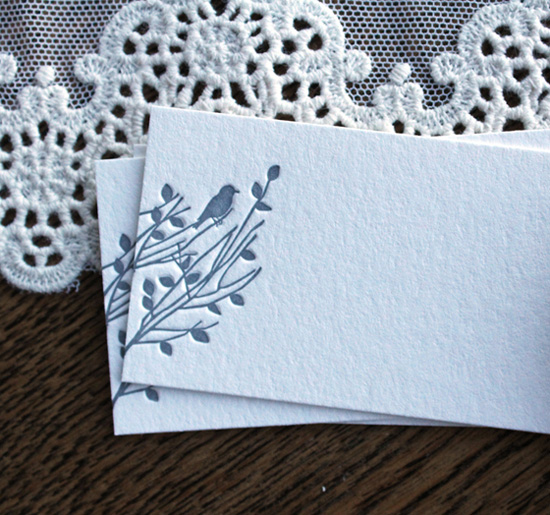
Instead of cluttering your wedding invitation with lots of extra information, include a mini insert card that simply says: “For more information, please visit www.robandjillgetmarried.blogspot.com” – see next tip below! Also, in the age of Google Maps and Navmans, providing directions is usually not necessary – your guests will all be googling your venue as soon as the invite arrives!
Tip #7
Have a website:
Sites like Blogger and WordPress allow you to easily set up your own free wedding website which you can then use to provide a host of extra info for guests, such as registry information, accommodation suggestions and more. Then, on your invitations, simply provide a line directing guests to your website. For guests who are not tech-savvy, you can use the content and photos from your website to create a wedding newsletter, and ask a parent or bridesmaid to post these out separately on your behalf.
Tip #8
Keep costs down:
A good stationer will be able to provide suggestions for ways to reduce the cost of your stationery package, without sacrificing the end result. Some of our favourite ideas for keeping costs under control include using smaller sized cards (petite sized invitations can be lovely!), printing in one colour letterpress instead of two colours, or using a reply postcard instead of reply card and envelope.
Tip #9
Splurge on:
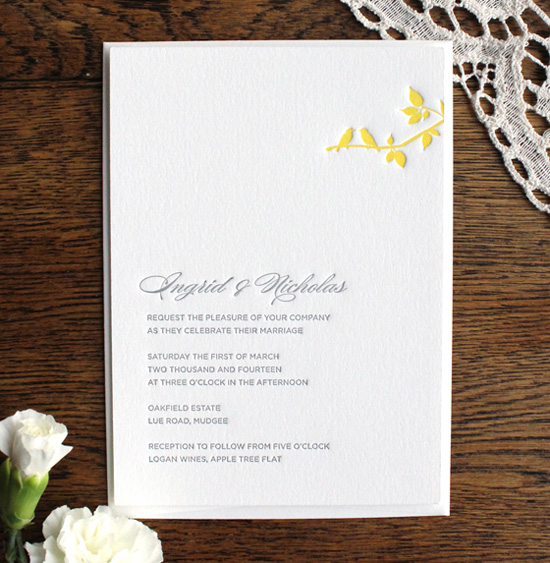
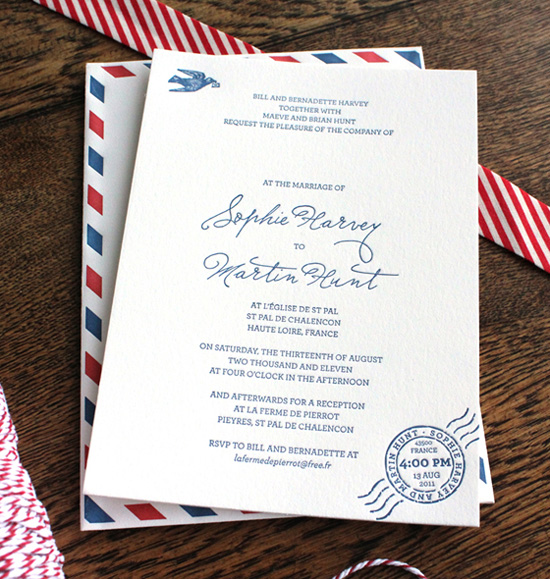
Letterpress is timeless and beautiful and makes even the simplest of designs look incredible when printed. We also love envelope liners, designed to match your invitation, to add a splash of extra colour or pattern to the overall look of your stationery. Adding a liner also allows you to add an extra colour to the palette – for example, you could print your stationery in just one colour letterpress, and introduce a second colour via the liner. Gorgeous!
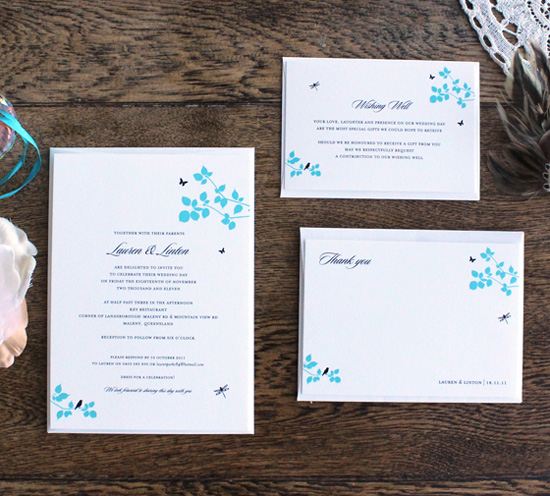
Images from Simple Things Press
Ms Gingham says: I absolutely love this post. I think the advice is practical and extremely helpful. The invitation designs are stunning also.
About Simplethings Press: Hello! I’m Sarah, owner, designer and printer at Simplethings Press, a boutique letterpress printing and design studio. We work with couples all over Australia, NZ and beyond to create simple, stylish and beautiful wedding stationery, and we love what we do! Our collection of wedding stationery (available in both letterpress and digital print to cater for all tastes, styles and budgets) can be seen here.




Join the conversation