Hey Polka People!
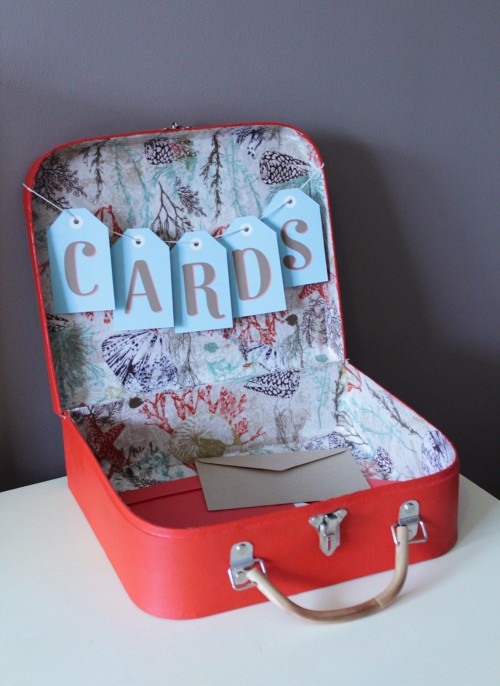
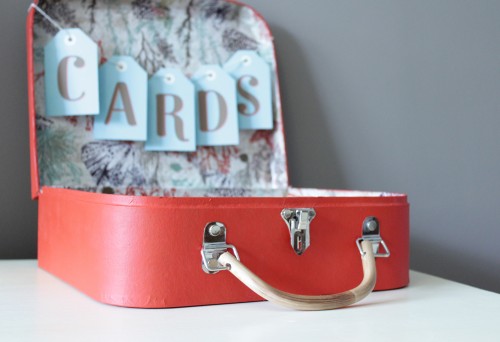
Add a touch of whimsy to your reception with this sweet suitcase card box decorated with – believe it or not – paper napkins! It can be adapted to suit any style and palette plus I promise it won’t just gather dust after the wedding day.
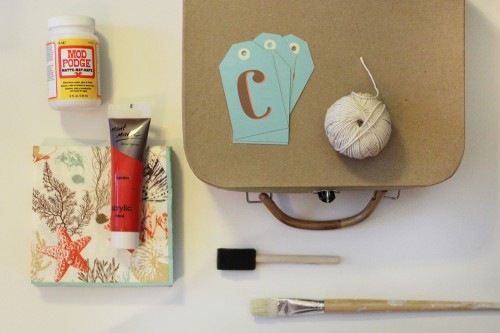
You will need:
- Cardboard suitcase (I bought mine at Spotlight)
- Paper napkins in your choice of pattern
- Free tag artwork (download here)
- Acrylic paint
- Mod Podge (Matte)
- Foam brush
- Large flat paintbrush
- Small flat paintbrush
- String or ribbon
- Sandpaper
Step 1
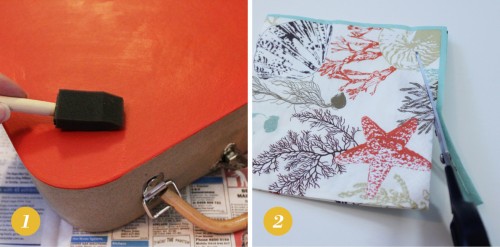
Apply two coats of paint to the exterior of the suitcase, using the foam brush for the large areas and the small paintbrush for around the buckles. Allow to dry.
Step 2
If the napkins have a border, trim if off.
Step 3
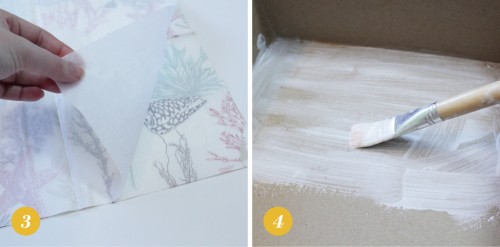
Peel the back layer of napkin off to leave only the printed layer.
Step 4
Apply a layer of Mod Podge to the inside of the suitcase.
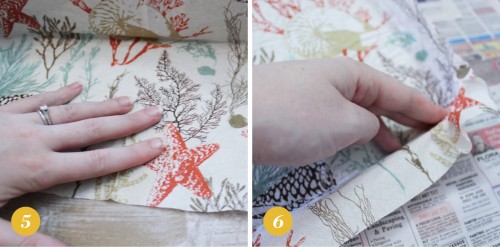
Step 5
Lay the napkin over the glued surface and smooth down flat.
Step 6
Repeat until all inside surface is covered, tearing the napkin edges to avoid obvious seams.
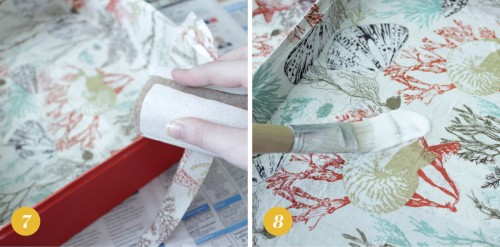
Step 7
Gently rub the edges of the suitcase with a sanding block to trim off excess napkin. Wipe off dust with a dry cloth.
Step 8
Finish with two or three coats of Mod Podge. Allow to dry thoroughly.
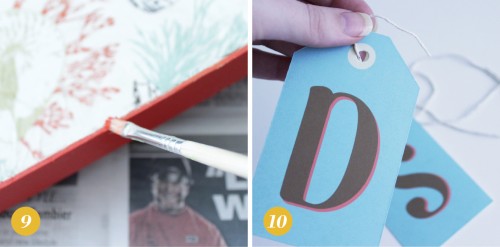
Step 9
Touch up any spots on the rim that are missing paint after being sanded.
Step 10
Download, print, trim and punch the ‘Cards’ tags. Thread onto string and tie around top of suitcase.
The suitcase will look particularly charming at a destination or beach wedding, but you can make it suit any theme by choosing appropriately patterned napkins (just keep in mind that patterns with organic and overlapping shapes work much better than bold designs such as stripes).
And after the big day, where better to store those treasured cards than in the card box itself?
Photography by Alicia Parsons
Ms Gingham says: A fantastic tutorial to sink your teeth into! Love the endless style possibilities and the fact that you won’t lose any of the gorgeous cards from your friends and family.
I am Alicia Parsons, the Atypical Type A. I live in Adelaide, South Australia in a modest townhouse with my new hubby Ryan (aka The Man). I am the owner and graphic designer behind Akimbo, which specialises in quirky invitations, announcements and greetings.
Read more fantastic DIY projects from Alicia here.




I already have a vintage suitcase I purchased from etsy but would LOVE to decorate the inside.
Where would you find patterned napkins like this?
Hi Emma, I found the napkins at a good quality newsagent. Good luck!
They are so cute 🙂
This is so cute. I am stealing your idea for my upcoming wedding. Theme Travel. I am going to glue some old maps at the bottom of the case. thanks for the great idea.
Maps would look amazing, Francy. Good luck!
I LOVE this! I never would have known this wasn’t a real suitcase. I love the color combinations you chose.
Thanks so much for this idea! I am going to do something similar but decorate the inside with patterened paper. Thanks for sharing 🙂
Need to know where to get the suitcases. Looked on web for Spotlight but came up empty-please help help
Hi Susan
Spotlight’s website is http://www.spotlight.com.au/ They don’t have many of their products listed online so I suggest phoning them or going into your local store.
If they don’t have any, try Googling ‘papier mache craft suitcase’ or something similar.
Hope that helps!
Alicia
Need to know where to get the suitcases. Looked on web for Spotlight but came up empty-please help
Hi!
I have just made this for my wedding! Fab idea! Looks great 🙂
I got the suitcase at Spotlight as well as the paints, glue, and string. I used Kaisercraft patterned scrapbooking paper, to line the inside and found these really cute little cardboard tags also in the scrapbooking section of Spotlight.
I used a clear gloss acrylic craft paint over the 2-3 coats of colour to make the case glossy. I am NOT a crafty person in the slightest but it has turned out great. Thanks!