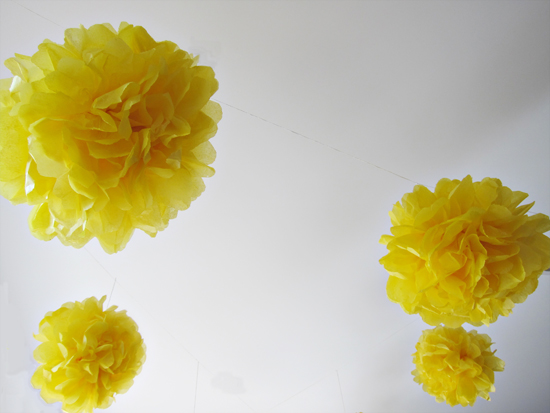
Tissue paper pom poms (originally designed by who else but Martha Stewart) have to be the easiest, cheapest and most effective decoration for a party, wedding or bridal shower and I thought, after seeing them used so often that I would try my hand at making them myself and devise a tutorial for you, based on the Polka Dot Principle of keeping it easy but fun!
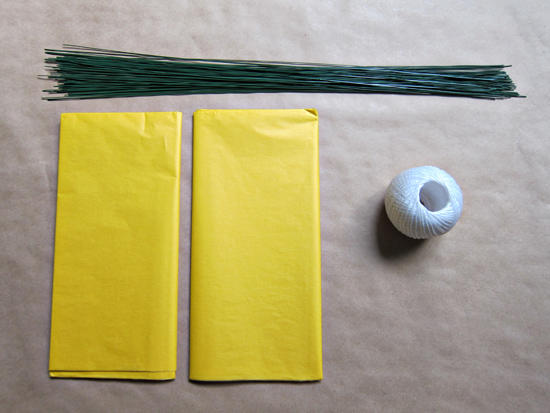
What you’ll need:
- Tissue Paper – I used one pack per pom pom (each pack contained five sheets at 500x750mm)
- 18 inch lengths of floral wire (or if you’re cheating and time poor, a stapler will do!)
- String to hang
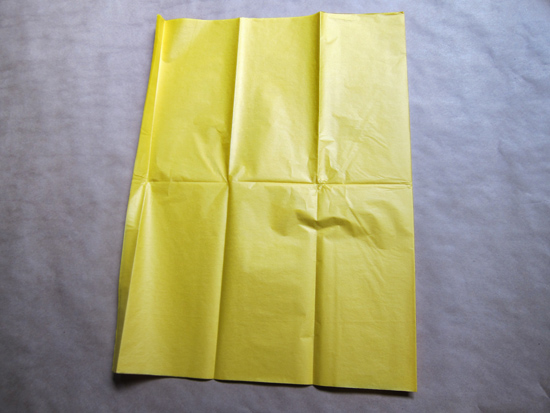
Step One:
Martha’s tutorial recommends eight sheets of tissue paper for this, but I could only find tissue paper in packs of five sheets (maybe it’s an Australian thing?) so instead, I opened out the sheets and cut them in half and then stacked them. I love the extra fluff of a ten sheet pom pom, and I found this size really good to work with. They ended up making pom poms about the size of a dinner plate.
Step Two:
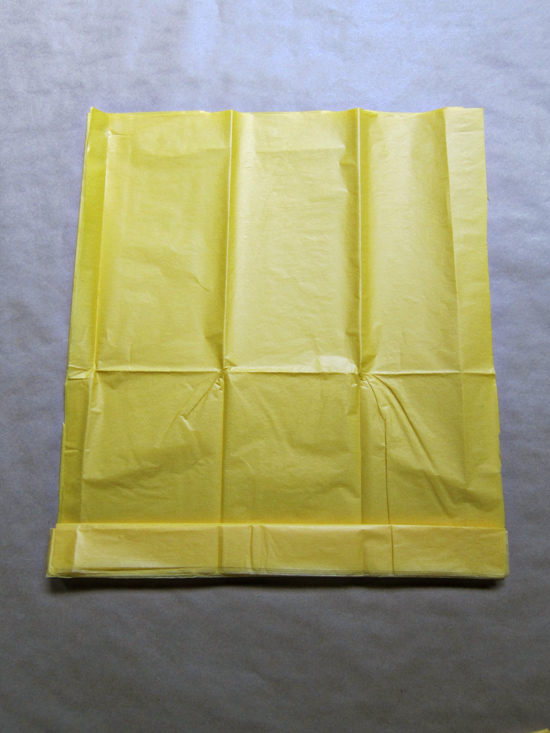
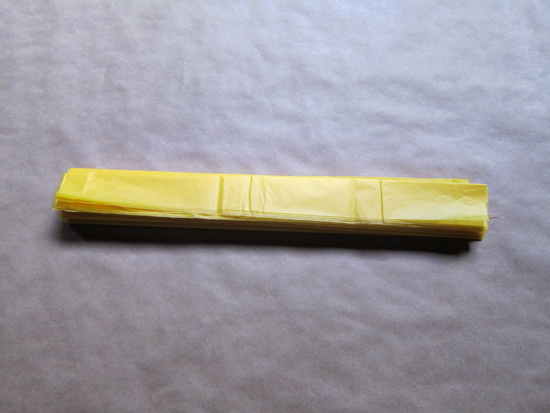
Accordian fold the tissue paper (I did this on the shorter side of my paper knowing that I didn’t want huge pom poms). Each fold should be around one and a half inches and it helps if you get your folds really tight and nicely creased.
Keep folding until it looks like this. One fold width.
Step Three:
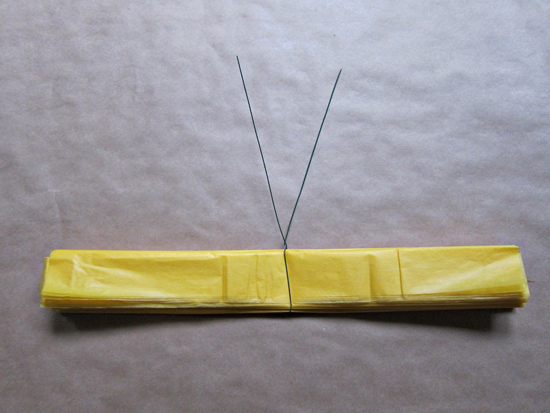
Bring your floral wire around the centre of your paper and twist off. If you’re lazy or run out of wire, I found stapling the centre worked really well. If you’re using long lengths of string you can still easily tie around the middle. (Plus I managed to avoid poking my eye out this way too!)
Step Four:
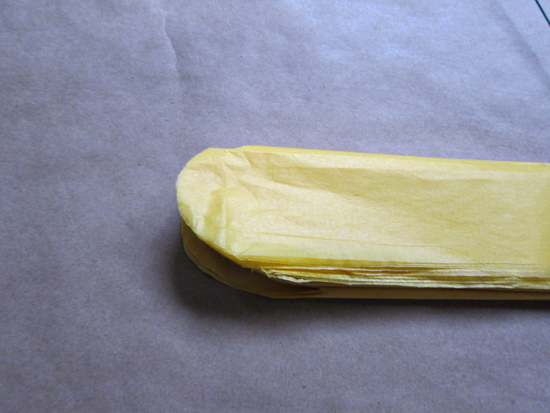
Cut the ends of your strip into a rounded or triangle shape. It’s recommended to do sharp points for a dahlia ball, but I loved the softness of rounded edges. Accuracy doesn’t matter a great deal here (because cutting that many pieces of tissue perfectly is really hard!)
Step Five:
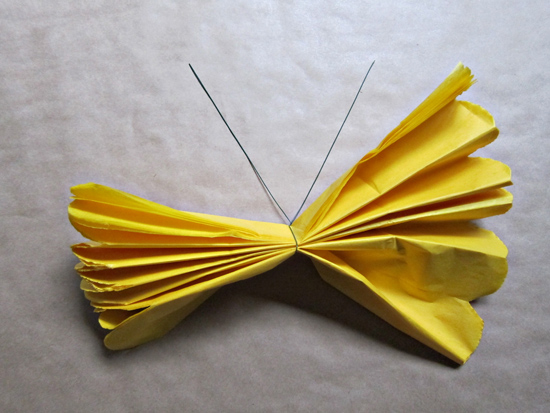
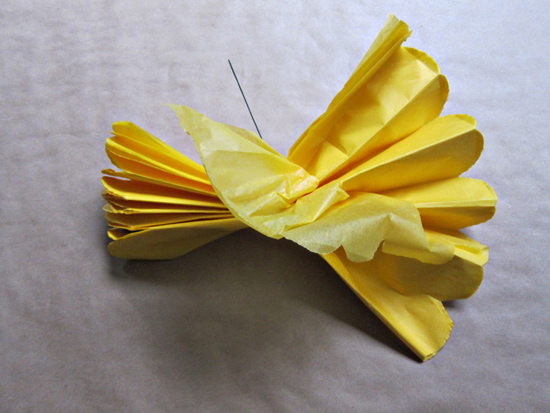
Start to separate out your folds by pulling gently so it opens out like a butterfly. Do one side at a time and be as careful as possible.
Step Six:
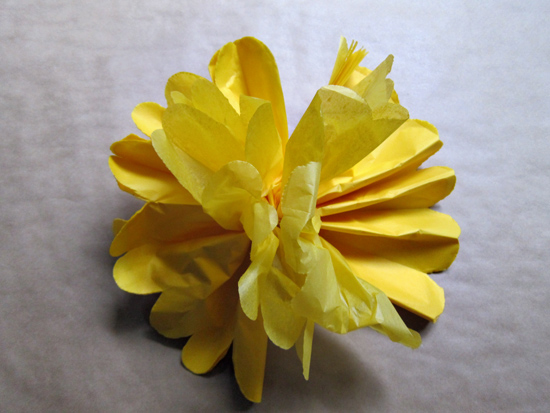
Here’s where it gets tricky! Start separating each piece of tissue. Pull the pieces towards you (as shown in the photo). When you’re feeling comfortable, it’s easier to hold the pompom with two fingers in the middle (pinching it) while you pull half the sheets out towards the top and half the sheets out towards the bottom. To get lots of fluff, make sure the centre of your sheets towards the wire is completely separated too.
Don’t worry too much about your shape, just keep carefully separating the layers.
Step Seven:
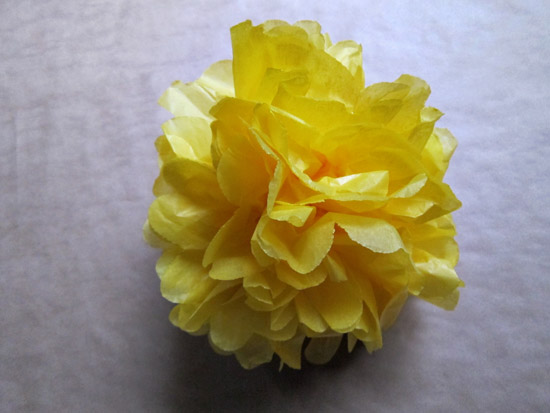
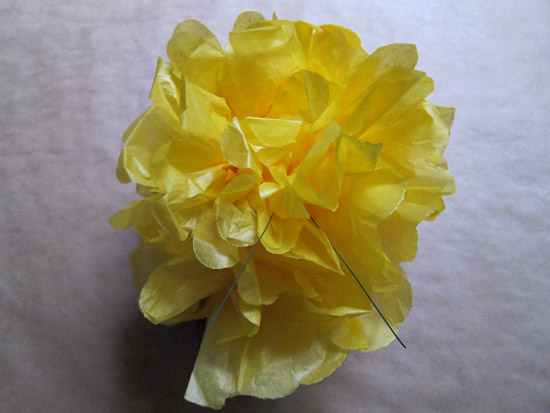
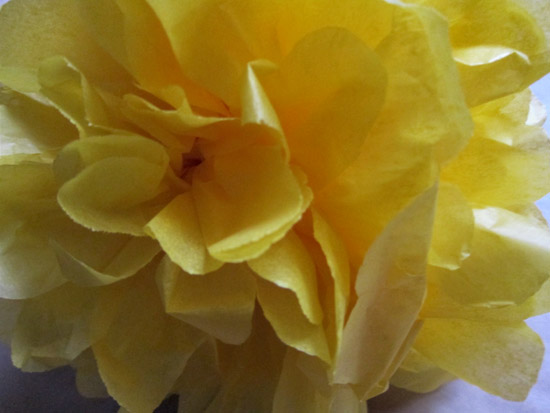
Voila! Behold your beautiful tissue paper pom pom! Now is the time to tie on your string and do the final fluffing to get your pom pom shape. The tissue paper is so easy to manipulate to get the shape and fluffiness that you desire. The more sheets you separate and arrange, the better, fluffier result you will have!
Photography by Polka Dot Bride




Thanks for sharing this! If only I had seen this last week, I just spent $40 ordering the Martha Stewart pom pom kits. At least I know where to look next time.
They’re probably more picture perfect Hilary and great if you’re running short on time! But these are really easy to make yourself when you have a few hours and so effective!
I want to try to make these for a high tea Im throwing for my Birthday next month – your pictures are the most realistic Iv found so thanks a bunch for sharing 🙂
Thanks so much Michelle! Do send us pictures of your finished pom poms (they are so much fun to make!)
I have just tried my first pom pom & its looks great. I used the ties from garbage bags around the middle (just joined 2 short ones together) – after all its a freezing Melbourne night & am to impatient to wait til morning to go buy floral wire! Thanks for a great tutorial 🙂
Great idea! To be honest I stapled the middle at the end and it worked perfectly!
I made about 40 of these for my kids school carnival and they were great!! Thanks!
Thanks so much Polka Dot Bride! I’m organising my 40th and wanted a cheap but effective decoration that would create an impact. I tried to follow the Martha Stewart tutorial but got lost. Yours was great and detailed. I’ve started making them and I think they will do the trick. Thanks again!
What a big call! Thanks so much!
Oragamies are cool
Thanks so much for this great, easy to follow tutorial!
I brought packets of tissue paper yesterday and they had 8 sheets each in them. Could I possible get 2 pom poms out of each packet, or will I need to use all eight sheets to make one?
Hi Melanie, I haven’t tried it with four but I think it would make for a less fluffy pom pom. The more layers you have (which is why I recommended the difference I did, that and they only seem to sell packs of 8 sheets in Australia) the fluffier it will be. You could try cutting it in half again and doubling it to make a very smell fluffy pom pom!
If you do try it with four let me know how you go!
Thank you so much for this tutorial. So easy to follow! I am going to use my pom pom’s in some family photo sessions I am taking over the weekend and they are turning out so well…once I have done some pics I will send you the link to have a look :o)
Ooo looking forward to it Jenny!
I am so happy with how my pom poms turned out in the family pics I took, here is the link to the sessions. Thanks again!
http://jennywrenphotographyblog.blogspot.com.au/2012/10/malcolm-mikarla-shanelle-and-arden.html
http://jennywrenphotographyblog.blogspot.com.au/2012/10/carl-jennifer-ruby-and-beau.html
Thanks for the great tutorial, I just made 8 rainbow ones for my daughters rainbow themed birthday party. FYI big w has 8 sheet packs for $1.98. Everywhere else I looked they where 3 or 5 sheets for $1.98.
Thank you for the great instructions…I have just made my first Pink PomPom and it was so easy…we will be usung these for decorations on Sautrday for our “Dress in Pink” Pink Ribbon Breakfast fundraiser for Breast Cancer Reseach…FYI Go Lo have 5 sheet packs for 99c…Thanks!
About to try making my first pom pom… very excited! I found packets of 10 sheets at “the Liquidators” $1.50! in Engadine for anyone in the Sutherland Shire.
I’m wanting to make 20 for sons 1st birthday 🙂
thinking about making a few garlands of these to hang vertically as a backdrop but smaller so possibly fiddlier and more time consuming.
hmm… I just tried making these with crepe paper instead of tissue paper (apparantly there is a difference) and they didnt turn out so good. I had to cut the paper as it only came in one long length. they are a bit flat and not as puffy. Do you think this is because of the paper or am I just not catching on to it as others have?
Hi Crystal. The flat and not so puffiness would be from the crepe paper- not you! The tissue has a thin crinklyness to it that allows you to really “fluff” it out. Plus it holds it’s shape, whereas crepe paper being thicker tends to drop and not be so easy to fluff.
Cyd did a tutorial over on The Sweetest Occasion using crepe paper- the process is different but they look similar http://www.thesweetestoccasion.com/2012/07/diy-crepe-paper-poms/
I love this look and i think i might just give it ago if i need to decorate something one day
Can I use Japanese paper in replace of tissue paper? because, unfortunately, I can’t find any here in the city I’m living in.
thank you so much for your wonderful tutorial, I had only 2 sheets of pink at home and wanted to start straight away, so cut both in half to have 4, then cut in half again to have 8, still came out beautifully.
thank you for sharing how to do this, I am holding a friends 60th birthday party and wanted to make some decorations, these are Awesome!
My children and I are making red, green and gold pom poms for an extra pizzaz for our Christmas decoration. We’ve just started making them today and having a lovely craft day. Thank you for your easy instructions. We are using Christmas ribbon for the ties.
Miss Polka, we made them for our christmas party and everyone loved it!!! THANK YOU!!!
we made a combination of aqua, hot pink and creme, it turned out wonderful! We didn’t even waste any little bit, I made them into super cute mini pom poms LOL, everyone loved it!
The pictures are here http://www.facebook.com/picturesandhearts 🙂
THank you once more and happy decorating everyone!
Wow! So simple! I looked at them and thought that they would take foreve, but one only took five minutes!
Excellent guide in creating some pom poms
Thank you
Excellent guide in creating some pom poms
Thank you
Thank you!! This is sooo easy, I’m making it with a pack of 3 sheets which is equating to 6 sheets once cut in half and I am not a crafty person AT ALL and the first one looks awesome!!! I’m doing it for my daughter’s 4th Birthday for which I have themed it pink 🙂
Where can you buy the tissue paper in different colours, i can get 500 sheets of white for $10 but i cant find any in other colours?? help
Ps I love in Sydney, Australia if that help.
Plenty of colours at newsagencies! However if you’re looking to buy in bulk, I use http://www.newdirectionspackaging.com.au/ They have 29 different colours!
Not sure how to trackback, but linked my post to your tutorial! Thank you for sharing it in such an easy-to-understand way! 🙂 http://sharethemess.blogspot.com2013/05/tutorial-thursday-tissue-paper-pompoms.html
Hi there,
Just finished making these pom poms in white, blue and green following your instructions and they look lush. To save on pennies we halved the tissue paper to make small pom poms (lily pad size). My husband even joined the effort with success. They’ll be used at our sons first birthday party next week. Thank you for making it so simple to do!
s any consolation, men are not good in handling heartaches.
When you accept reality instead of avoiding it, you eliminate an enormous amount of tension and worry
that is being felt by both you and your boyfriend.
One of the signs that your ex boyfriend is still in love with you is
if he often contacts you.
This is such a simple and cute idea! I’m sharing this on my blog today. I’ll be using green paper and creating pom poms for a St. Patrick’s Day party this weekend. Thanks!
This is so easy to make! Although, I didn’t read properly and accidently bought crepe paper instead of tissue paper. But still does the job 🙂
thank you for sharing this pom pom tutorial it really helps me for a good budgjet for my baby’s christining…
it such a cute and good idea..