I don’t know about you but I can’t believe that December has already rolled around. I’m sure like me, most people are so time poor during the holiday season. Between elbowing your way at the shops, to finding any available time to catch up with friends and family, it’ll be a wonder if you even find time to just relax.
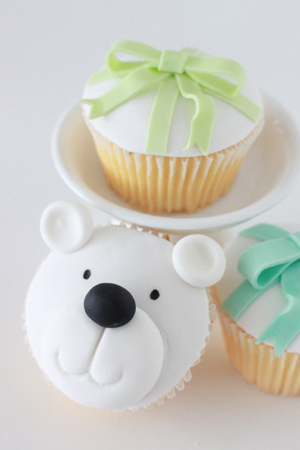
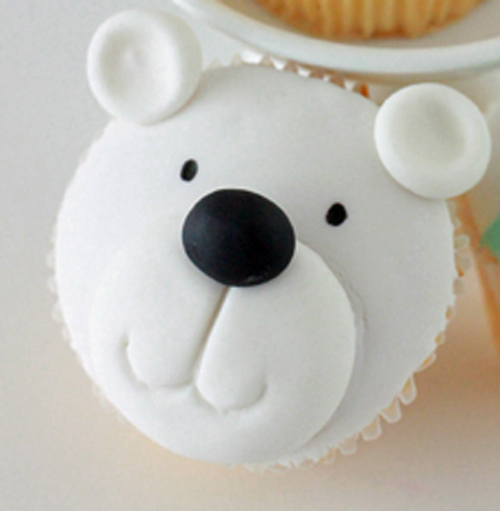
Creating sugar art always seems to relax me. It’s like I am transported to another sugary fun world and I forget all the hustle and bustle of the outside world. These two designs I have chosen above are simple but have great impact. You will need minimal tools and can easily produce many of them at a time to present as gifts on Christmas day.
What you will need:
– Circle Cutters
– Spatula
– White Chocolate Ganache or your favourite frosting
– Acatate or any flexible piece of thick plastic (ie. Overhead projector plastic)
– White Fondant
– Teal and Lime Green Gel Colouring Paste (optional)
– Black Fondant (this can be pre bought or you can also colour your own with black gel paste)
– Small Sharp Knife and Frilling Tool
– Balling Tool (optional – you can always use the end of a paintbrush)
– Rolling Pin
– Cornflour (for dusting the table)
– Black Edible Marker
– Paintbrush and Water
Covering the cupcakes
Using the spatula, spread a thin layer of ganache on the cupcake. This is to ensure the fondant has something to stick on and that any baking imperfections are removed.
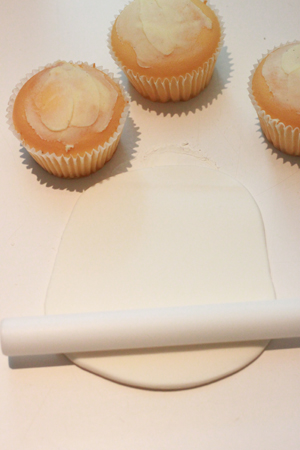
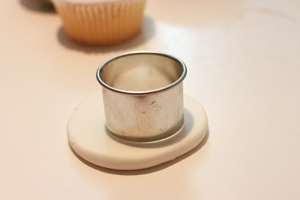
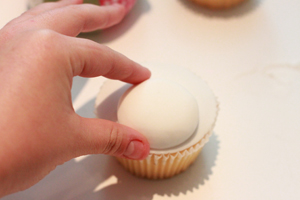
Dust a little cornflour on the table and roll out the white fondant icing. Hold the circle over the cupcakes to work out what size you will need. Try to go one size bigger if your cupcake has a big dome. Cut the circles out of the icing and place over the cupcake. Be sure to keep any unused icing covered if you are not using it or else it will dry out.
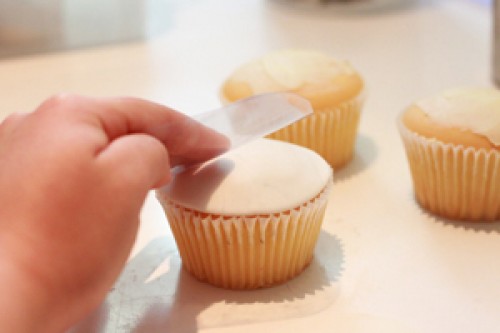
Using the acetate, gentle rub and buff the fondant so that it smooths onto the cupcake.
Polar Bear
Roll out some white fondant – make sure it’s thick as this will be his snout.
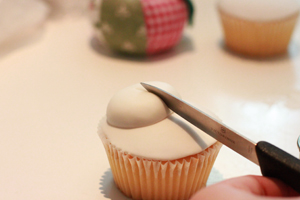
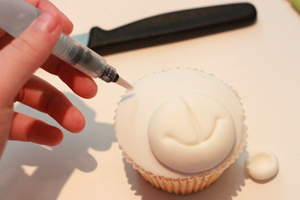
Cut out some smaller circles and using the paint brush and some water, stick it onto the bottom part of the cupcake. Use your fingers to smooth out the edges so they are rounded.
Use a knife to make an indent down the middle of the snout and then use the frilling tool to indent the mouth.
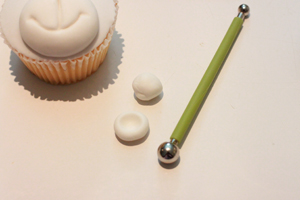
Roll out two small balls and using the balling tool, press down on the balls to indent them. Stick them on the top of the cupcake to form the ears.
Roll some black icing into a ball and stick it on top of the snout with some water. Use the edible marker to draw on the eyes.
Christmas Bow Cupcakes
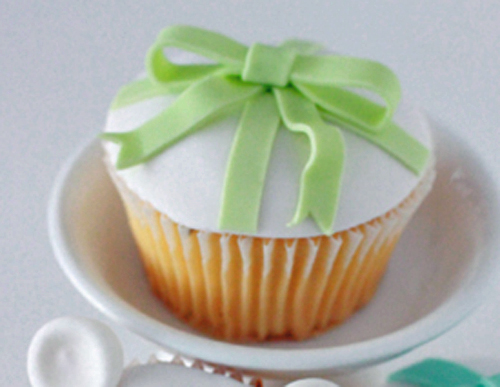
Roll out the light green and teal fondant (one at a time) and cut out thin strips. Stick the strips onto the cupcakes with some water and cut off any hanging fondant on the sides.
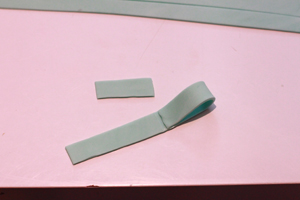
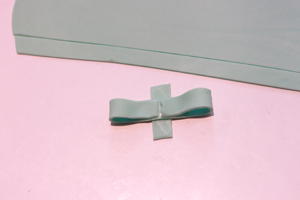
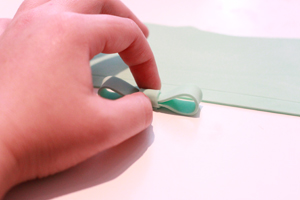
For the bow, you will need one long rectangular strip and one shorter strip. Brush a little water in the middle of the longer strip. Fold the two edges to meet in the middle as shown below. Wet the smaller strip and place the bow on top of the strip. Fold the strips down onto the middle and then flip the whole bow so that the seams are not showing.
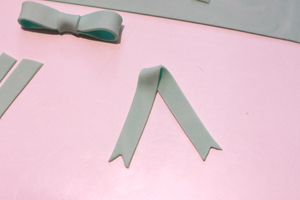
For the tails, cut a V shape on the ends of a long strip. Fold the strip in to a V shape and stick it on to the cupcake with water.
You can make it wavy or just place it flat if you like. Apply more water and then stick the bow on top.
Photography by Sharon Wee
Ms Gingham says: It’s beginning to look a lot like Christmas! I love that these aren’t the typical red and white holly based designs. The polar bears are so cute. Thanks Sharon!!
About Sharon: Years ago, after discovering a passion for baking and cake decorating, Sharon started making cakes and cupcakes for her friends and family. Her belief is that any edible creation should taste as good as it looks and should be remembered long after it has been consumed. After being encouraged by her friends and family to sell her creations, Sharon Wee Creations was born. Sharon specialises in creating custom designed edible goodies and loves experimenting with new flavours and designs. Now, years later, her creations have been on TV, in magazines and on the radio. She enjoys creating figurines, teaching and is constantly thinking of new cake designs in her head. In her spare time, you’ll find her visiting patisseries, dreaming of holiday destinations, cooking up a new dessert recipe or playing volleyball.
Want to learn all the tricks of the trade? Enrol in one of Sharon’s cake decorating classes here.






thanks for the kind tips and pictures to go with it it all makes much more sence to see a picture to what you are decribing thanks again i am going to make some today
keep them ideas coming i would love to see more
Can you use gum paste to make the polar bear faces? What type of fondant did you use?
Hi Jessica, gum paste will work, I used Bakel’s fondant 🙂
Hello, how much fondant icing roughly would you need to do 24 polar bear cupcakes? Thank you!