

The ring has been slipped onto the finger, all of your family and friends have been notified and the champagne has popped. The few days, weeks or even months after getting engaged can be a bubble of love, adoration, excitement and just plain living on cloud nine.
Remembering this time is important – it’s a special time in your lives, momentous and worth savouring every detail. A very quick and beautiful way to pay homage to your engagement or proposal story is to save the cork from that bottle of champagne and display it in a plain shadow box with a favourite fabric as the background.
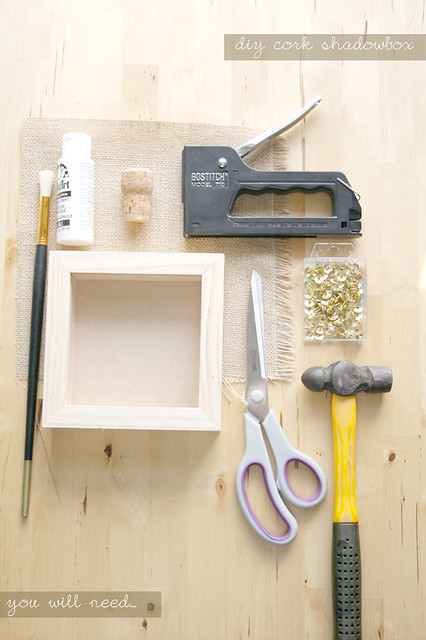
You will need the following:
– 5 x 5 inch raw pine shadowbox frame (I got mine from Bunnings but you can also get them from craft supply stores)
– paint
– paintbrush
– small nail or tack
– fabric (I chose a rustic burlap but you could use a vibrant print or solid colour to suit your wedding theme or home decor)
– scissors
– staple gun
– hammer
– your cork!
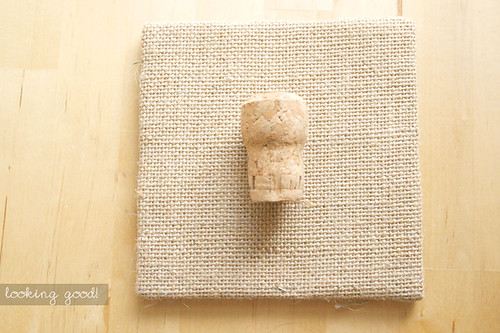
Step 1 Measure and mark with a dot or ‘x’ the centre of your shadowbox frame’s backing board. This will be your guide for where your nail or tack will go later to hold the cork in place.
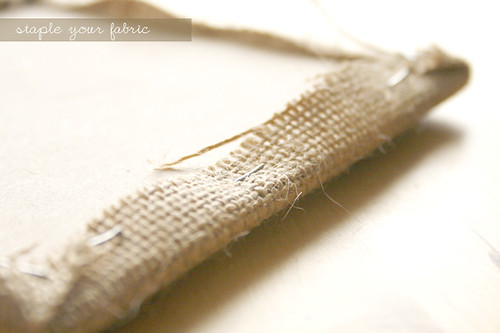
Step 2 Cut the fabric to suit your shadowbox frame’s backing board. I cut mine with about a 1 inch overlap at each side. Using your staple gun attach the fabric to the back of the backing board, tucking and folding the edges to make neat corners.
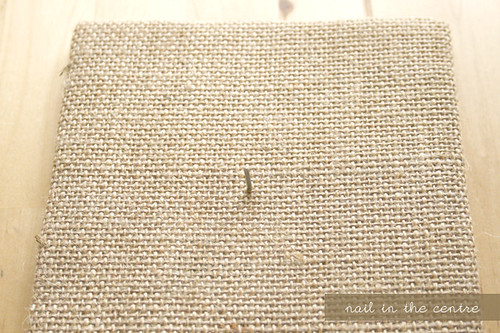
Step 3 Using the mark you made earlier in the centre of your backing board, hammer through your small nail or tack from back to front of the backing board. You should now have your shadowbox backing board covered in fabric with a small spike in the centre to attach the cork.
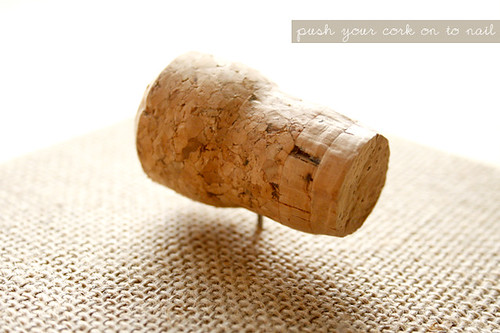
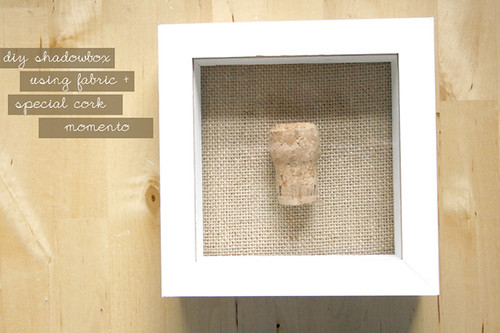
Step 4 Gently push the cork onto the nail and adjust to get the best angle, using a nail pushed through from the back will create the illusion that your cork is ‘floating’ in your shadowbox frame. This method (rather than glueing) also means you can easily remove the cork if you should ever want to display it another way, the cork will have just a tiny hole from the nail.
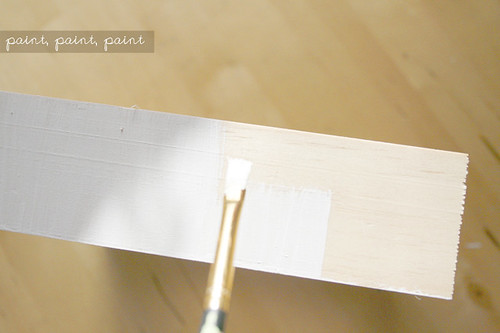
Step 5 Paint your shadowbox frame a colour which will compliment your fabric choice. I chose a simple white as our wedding theme and colours are all white with rustic touches like burlap, twine, kraft paper and wood. I also chose white as I’d like to eventually display the cork shadowbox in a little white frame gallery of our’s and our loved one’s weddings in our hallway. Using all the same colour but different style frames is a great way to link them all together.
All done After you’ve given your shadowbox frame a few coats of paint you are ready to pop the backing board, with cork attached, back into place. A simple, yet effective, way of displaying an otherwise discarded piece of your history!
You could also add other items to the shadow box likes leaves, river pebbles, dried flowers you may have gotten from your fiance, special momentos that have meaning to you both or a gift you got instead of an engagement ring. Other options for the background could be printed scrapbooking paper, photocopied text from a favourite romantic book, sheet music from your favourite song or a vintage map from a special place, which could be glued on to the backing board.
Photos by Emma Durkin Photographics
![]()
Ms Gingham says: “We are so excited to be following Emma on her wedding journey and what better way to start than the popping of a champagne cork! This is an easy project to complete and would look fantastic in amidst other wedding memories. Stay tuned for more of Emma’s fantastic wedding planning stories!”
Emma says: I am a 24 year old country girl who lives on a sheep and potato farm in the beautiful green Gippsland hills, Victoria. My hubby-to-be and I are high school sweet hearts and are planning an early summer 2011 wedding on our farm, full of rustic elegant touches, hay bales, lace, kraft paper and logistical nightmares of having a marquee wedding in the middle of a paddock! I share all our adventures on my blog Cinderella at Brindabella.


This is a great idea! We have the cork from the bottle of taittinger we got straight from the vineyard earlier in the day that he proposed.
My fiance & I saved a shell shaped like butterfly wings from a romantic trip to the Whitsundays & have displayed it in a shadow box frame. And I’ve saved the cork from a bottle of Moet we were given as an engagement gift.
I love this idea Emma! I’ve been collecting our “occasion” corks for the past few years and writing on the bottom of one (sentimental much?) so this project touched my heart.