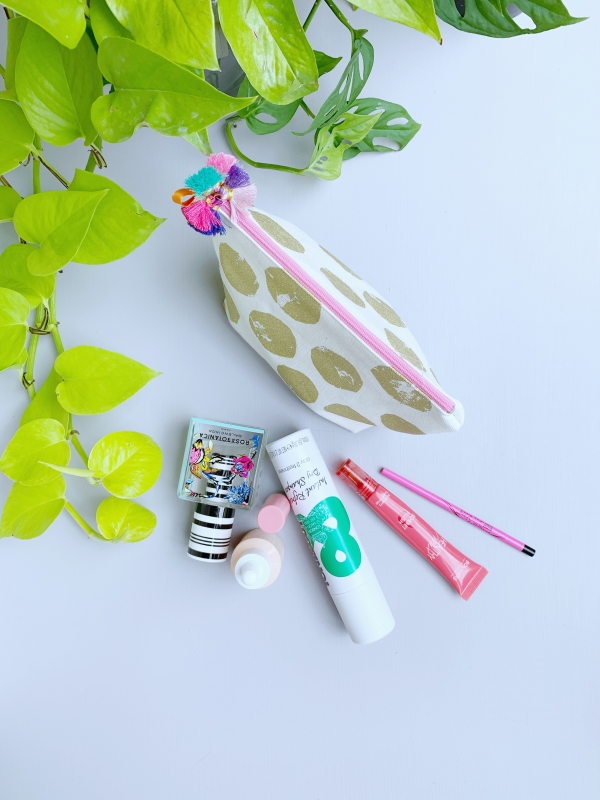
Sewing a fabric purse can seem a little overwhelming if you don’t know where to start. Never fear! Here’s a step by step tutorial for you, laid out simply, so you can make a gorgeous bag your pals will adore, and use well after the wedding!
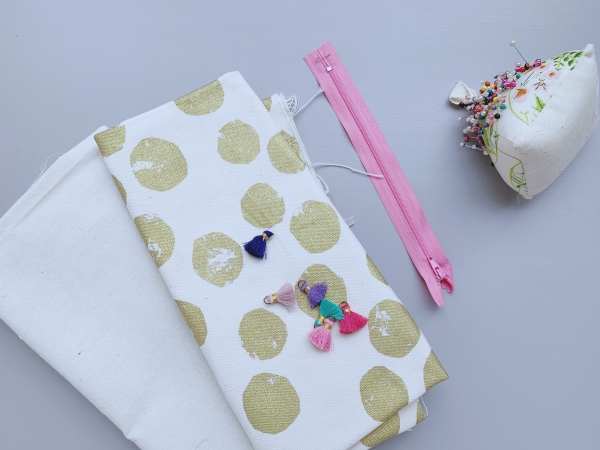
I couldn’t resist this heavy cotton duck fabric covered with golden polka dots, it seemed like the perfect material for us dotties! Heavier fabric is far and away easier to work with, especially if you’re a novice. You don’t have to make a boxy bottom, if you’d like to keep the sewing more simple, but in zipper and lining colour, you can matchy match or mix it up.
What You Will Need:
- 4 rectangles of fabric, the same size
- Zipper
- Pins and fabric scissors
- Tassels or pom poms (these were purchased from Kmart)
- Sewing thread
- Sewing machine
- Iron and ironing board
Step 1. Cut out four rectangles of fabric, two for the outer of the bag, and two for the lining. For this tutorial, the fabric measured 20x24cm, with a 20cm zipper. Lay one piece of lining down, right side up. Lay the zipper along the top seam, face up. Lay one piece of outer fabric on top, face down, and pin along the zipper. Using the zipper foot on your machine, sew along the zipper.
Step 2. Lay the second piece of lining fabric down, right side up. Flip the first piece of fabric round so that the zipper is on the outside, and lay on top of the lining. Layer the second piece of outer fabric, face down, on top, pinning along the zipper.
Step 3. Open up the fabric, press with a hot iron, avoiding the plastic zipper. Still using the zipper foot on the machine, top stitch along both sides of the zipper. Unzip the zipper halfway.
Step 4. Open the fabric out, and pin the outer fabric together (facing in), and the lining together. Sew around the entire bag with a flat foot, leaving a gap (very important!) in the lining approximately 8cm long. Trim the excess fabric away.
Step 5. If you’re wanting to make a boxy bottom, pinch the corners together as shown, 5cm in from the side. Sew across the corners, and trim the excess fabric. Begin turning the bag inside out.
Step 6. Pull the lining out and press with a hot iron. Sew a neat seam to close the lining. Now for the fun bit! Using some brightly coloured ribbon, tried a bunch of pom poms or tassels on to the zipper. Fill the bag with some treats or your essentials and you’re done!
About Ms Honeycomb: My heart and home in Scotland and Australia, I am a florist, flower lover, writer, baker, stylist and sew-er of lovely things, with my darling toddler forever keeping me on my toes!


Join the conversation