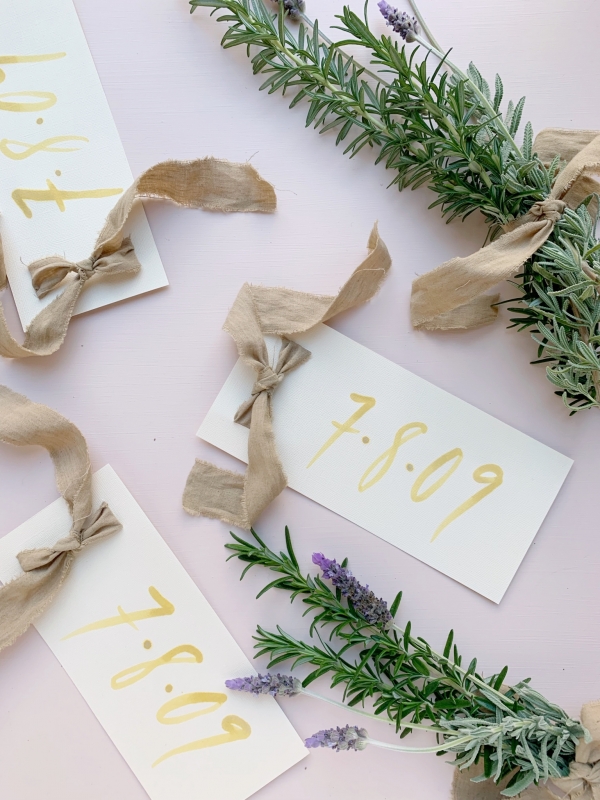
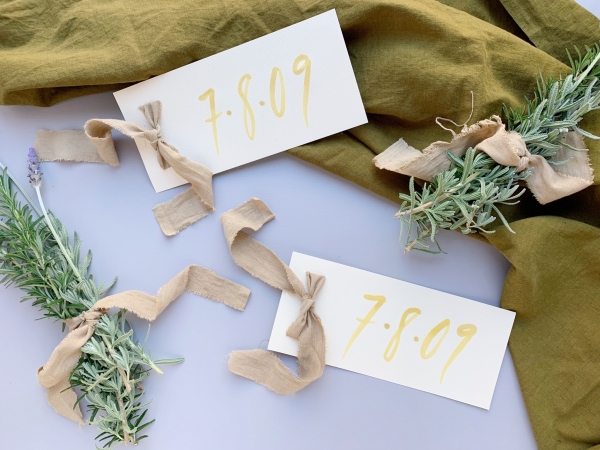
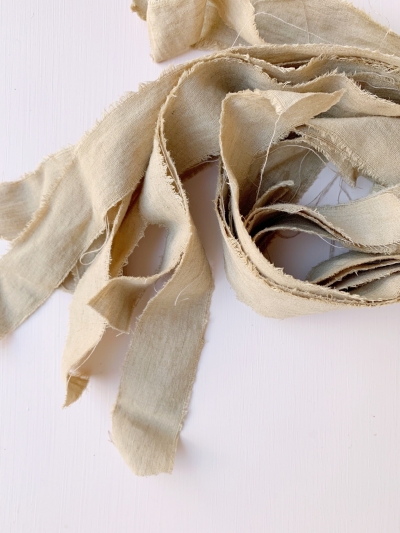
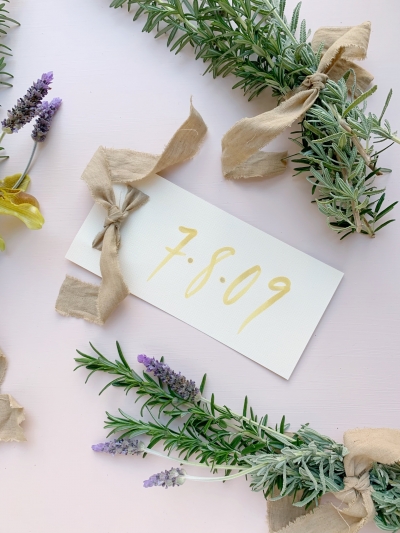
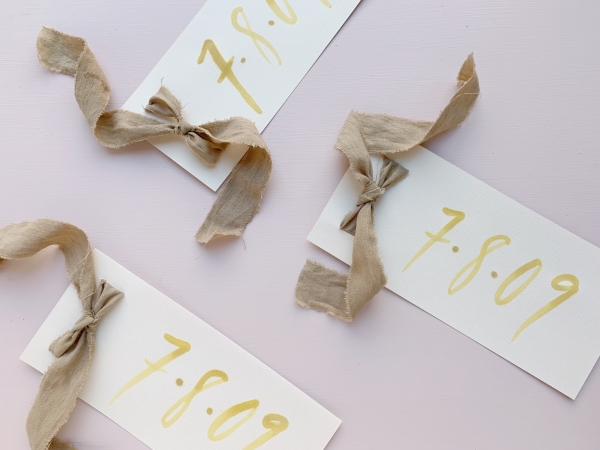
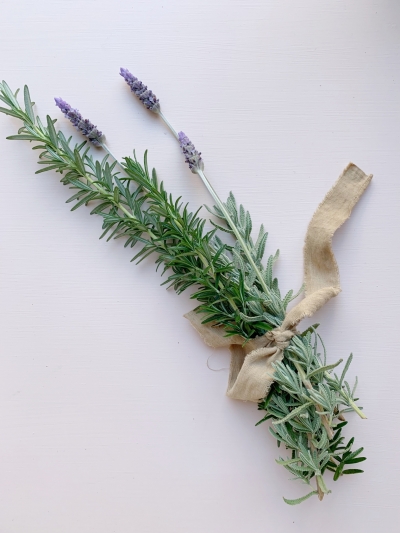
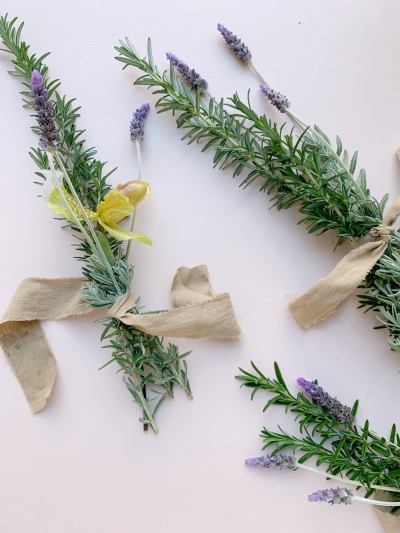
Dyeing fabric to use as ribbon for your wedding adds such a sweet touch, I am as keen as mustard to show you how! Bind your invitations together with customised strips of linen or wrap small bunches of blooms for your guests, the options are limitless!
For a stable colour, there is no doubt using a store bought dye is an excellent option. However, if you’re looking for some variables and love a less uniform outcome, natural dyeing is the way to go. Have a look online for the best way to achieve the colour you’re after. For this gorgeous mustard, avocado pits and rose petals have been used. I am deeply suspicious the rose petals have had little effect with the pit doing all the hard work, but we shall never know for sure!
What You Will Need:
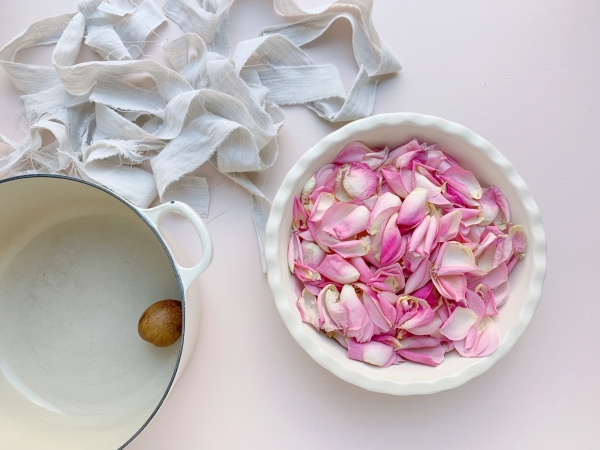
- As many avocado pits as you can collect (this will affect the depth of colour). For this tutorial, one pit was used. You can also use the skins – ensure they are clean.
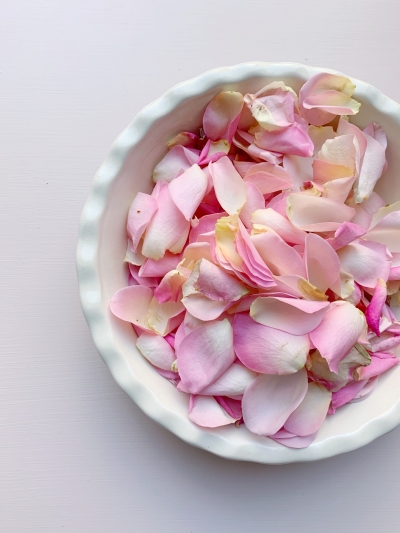
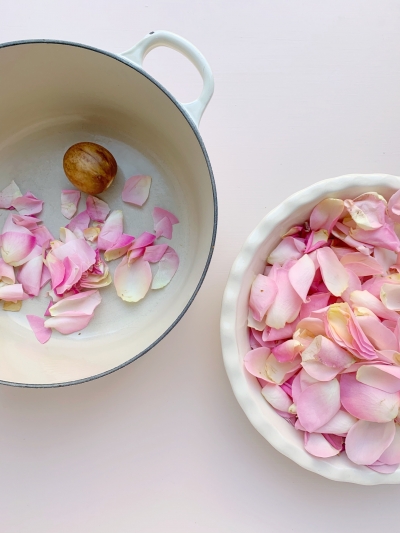
- Petals! One bunch of pink roses was used for this tutorial. There is a huge array of items that can be used for natural dyeing, it’s worth experimenting!
- A natural fabric – linen, cotton or silk work well. Ensure the fabric has been washed, and doesn’t have any fabric softener on it
- A large, heavy based saucepan
- Water, tongs, a hotplate
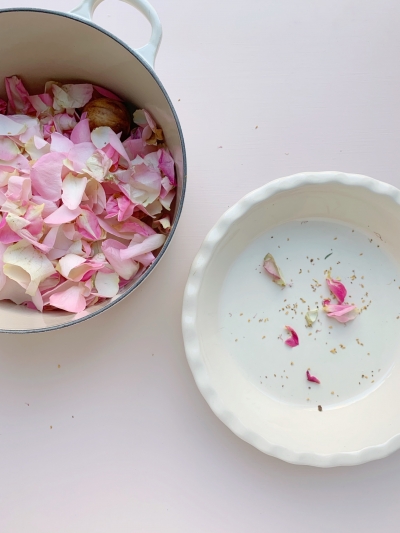
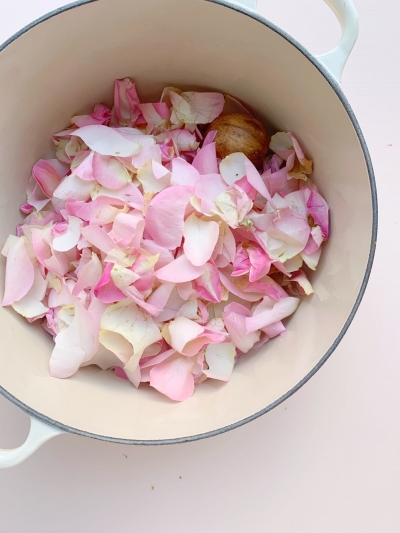
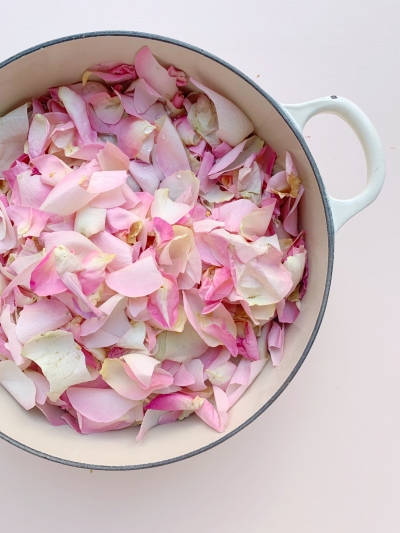
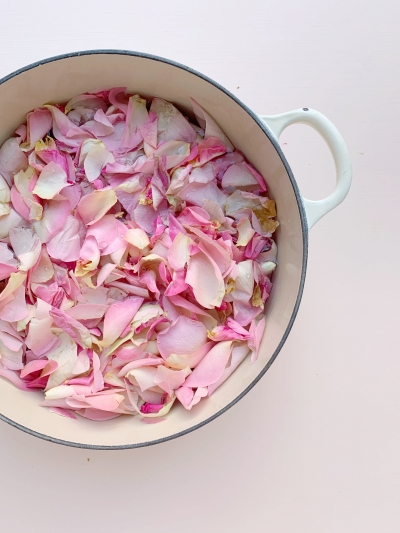
Step 1. Gently remove the petals from the rose heads. Roughly tear the petals as you place them into the saucepan, and pop the avocado pit (and skins) in too. Cut or tear the fabric into strips.
Step 2. Once all of the petals and pits are in the saucepan, fill the pan with water, and bring to the boil. When the water is boiling, reduce it to a simmer and, with the lid on, allow it to simmer for up to 4 hours (longer still, if you have the time!).
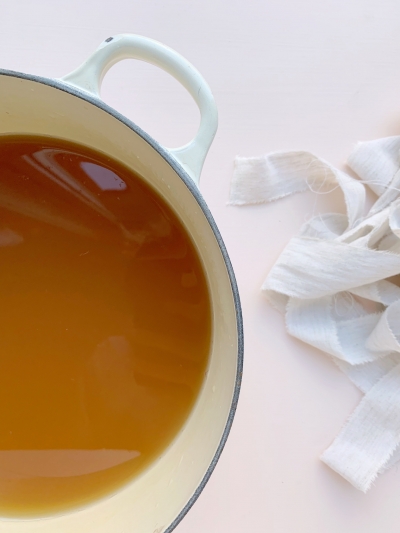
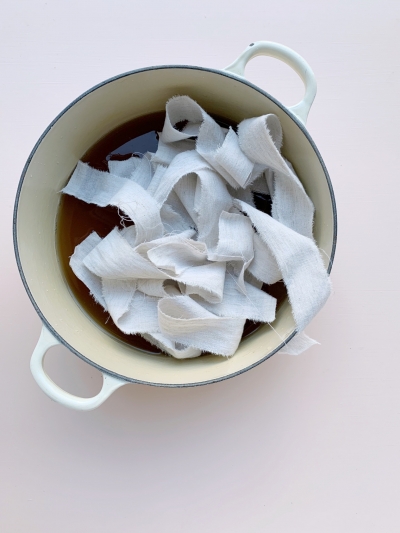
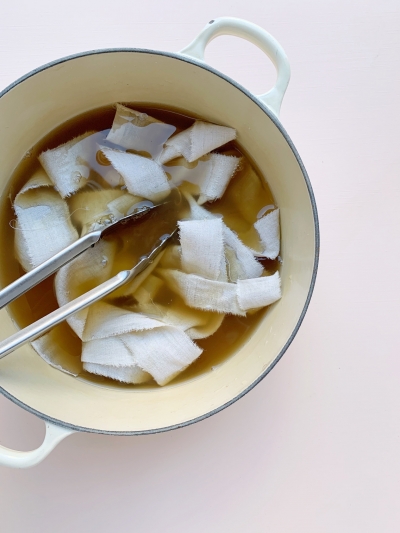
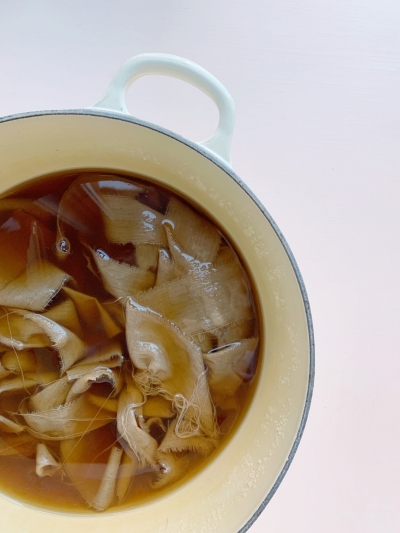
Step 3. Remove the pan from the heat, and allow it to cool. Strain the liquid, discarding all the petals and pits. Return the liquid to the pan. Pop in the fabric strips, mixing them thoroughly in the dye mix. Bring the mix to the boil once again. Once it has reached a boil, turn the heat back down to a simmer, and leave it for another 2 hours (or longer again, if you have time).
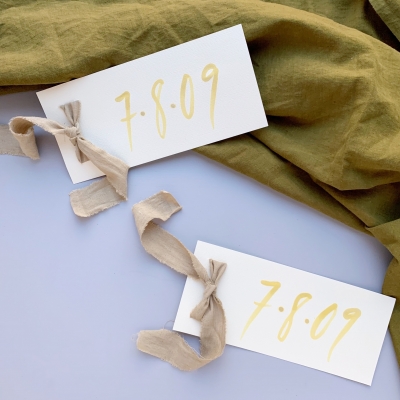
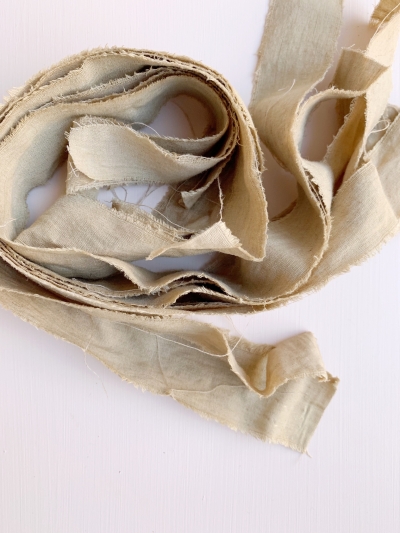
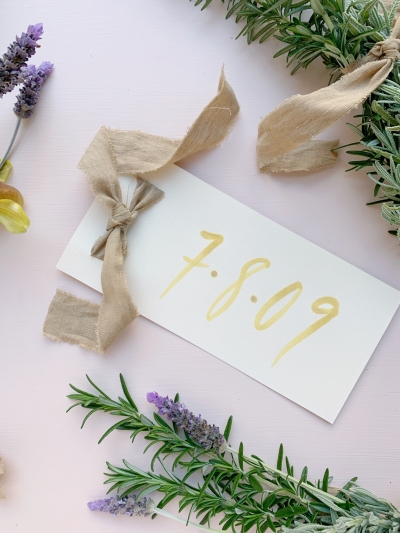
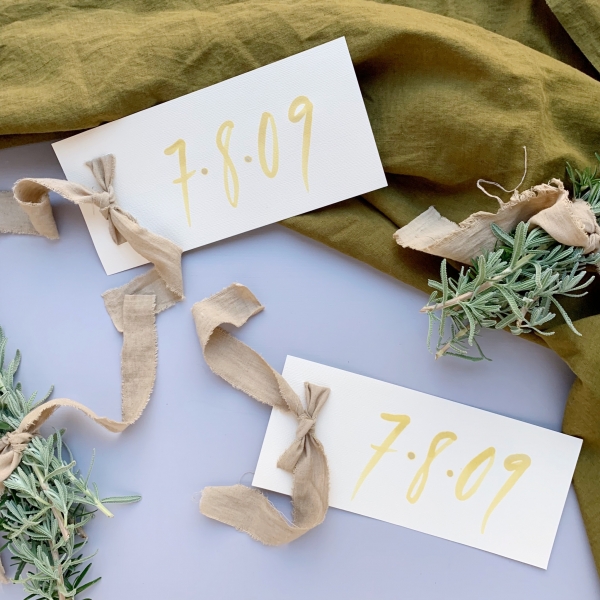
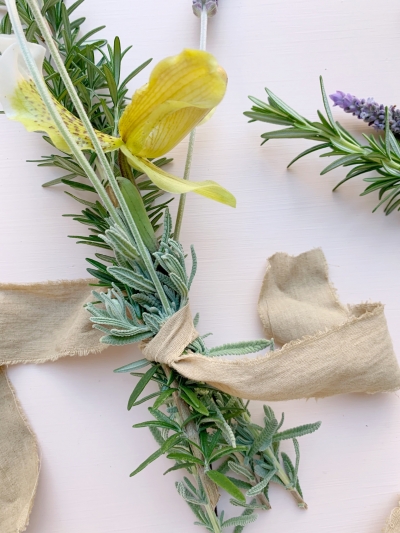
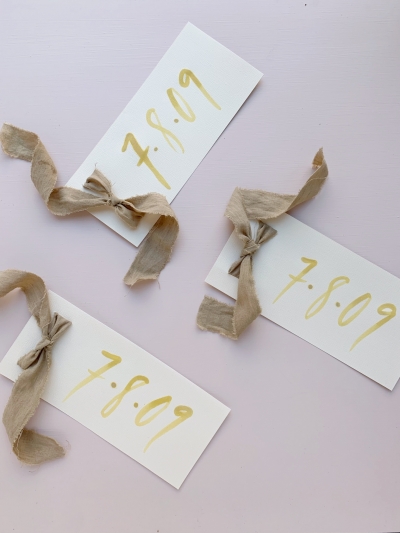
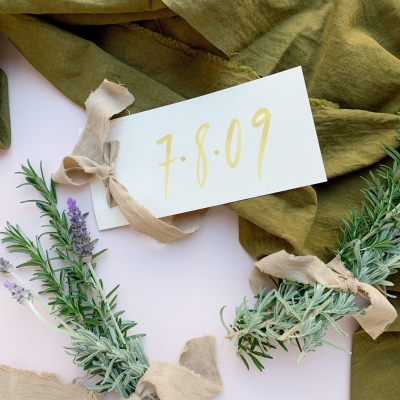
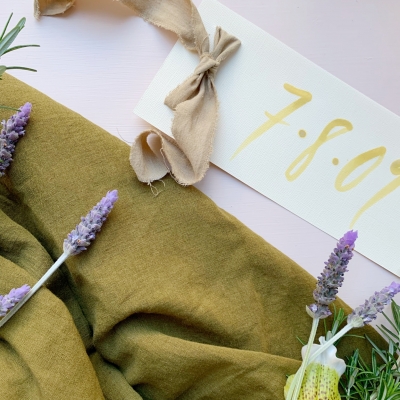
Step 4. Remove the pan from heat, and leave the fabric in the pan, letting it cool. Once it has completely cooled, remove the fabric and hang to dry. When the strips are dry, you can use them for all manner of beautiful wedding DIY items! Wrapping invitations, tying guest favours or for bouquets of freshly cut flowers, naturally dyed linen ribbons add a gorgeously rustic touch to your styling.
Ms Zebra Says: What a fun way to experiment with natural dye! Well done Ms Honeycomb on another fab tutorial! Love it.
About Ms Honeycomb: My heart and home in Scotland and Australia, I am a florist, flower lover, writer, baker, stylist and sew-er of lovely things, with my darling toddler forever keeping me on my toes!




Lovely tutorial – loving the natural look of the dyed ribbon – great for any wedding look too!