
Image via Little Flamingo Stationery
There’s much to organise for your wedding, but one of the most important parts is organising the dreaded…seating chart! Alas, once you’ve nailed it and happy with where your inappropriate Uncle Ted is sitting and have ensured that no one will be left out, you need to tell everyone where their seats are! Such an easy way to save a few pennies is to DIY the name tags. Hence, we’ve rounded up our favourite DIY Table Name Tags so you can try them yourself and customise them to your theme! Happy DIY’ing!
FREE DIY Printable Place Card Template and Tutorial by Little Flamingo Stationary
If you’re wanting to DIY but aren’t inclined to get out the arts & crafts per se, then these printable place cards are perfect! Satisfy your own design, complement your theme and away you go with a more formal look!
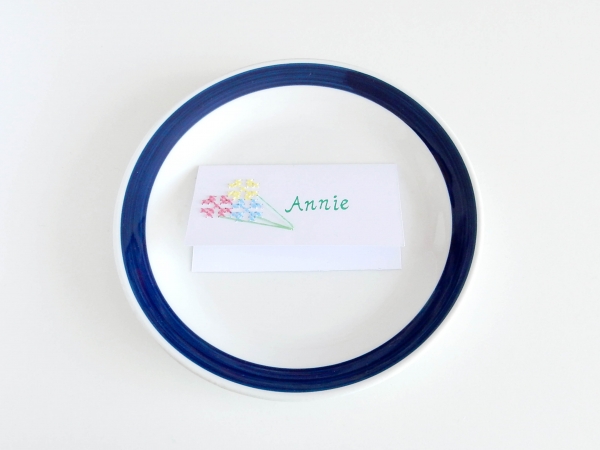
Cross Stitch Place Cards Tutorial by Charlotte
For those who love something more intricate, why not try your hand at a cross stitch place card? Select your own colours to create unique floral designs – sure to wow your guests! Winner!
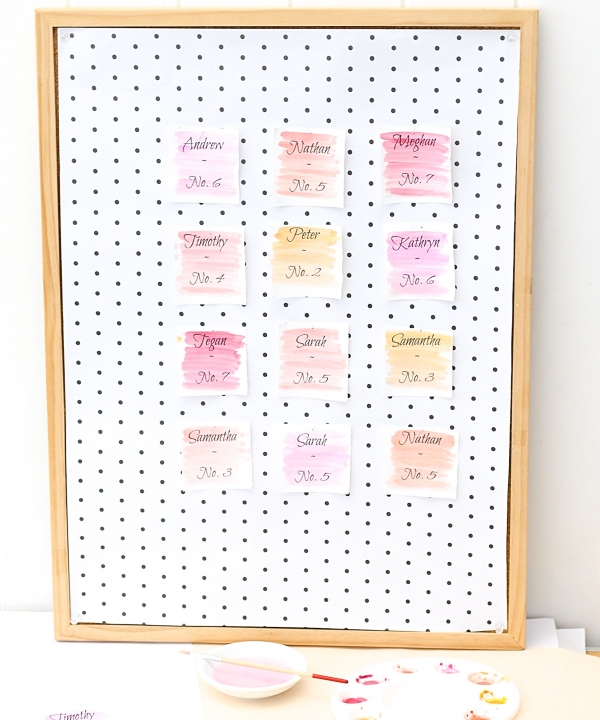
DIY Watercolour Seating Cards Tutorial by Jessica Derrick
Inject your own personality into these gorgeous watercolour seating cards! Unleash your inner creative and use any colours that complement your theme – and a font that speaks to who you are as a couple. It may even be a little cathartic to paint up a storm amidst the craziness of wedding planning!
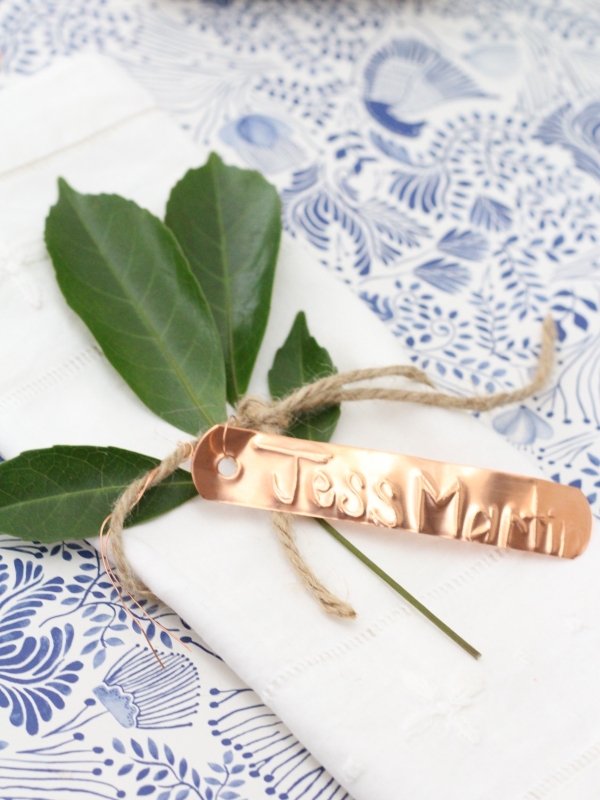
DIY Embossed Copper Name Tags by Jessica Derrick
What a fabulous idea to take your DIY to a new level – and use these copper name tags to write your guests names! The only tricky part to this, is learning/thinking about spelling the names backward! However, if that’s the only catch, it seems like a no-brainer to us to give these a try!
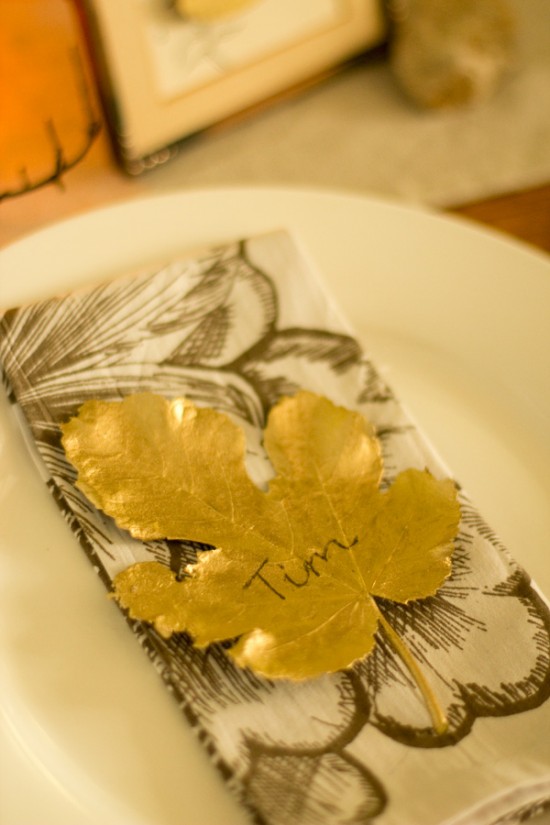
Gilded Leaf DIY Wedding Place Cards by Alicia Parsons
For an elegant and eye-catching DIY place card, using gilded leaf may be a great option! There’s something super glam about gold – which may suit your theme to a T! This wonderful tutorial steps you through using natural leaves & exactly how to keep the gilding sharp.




Join the conversation