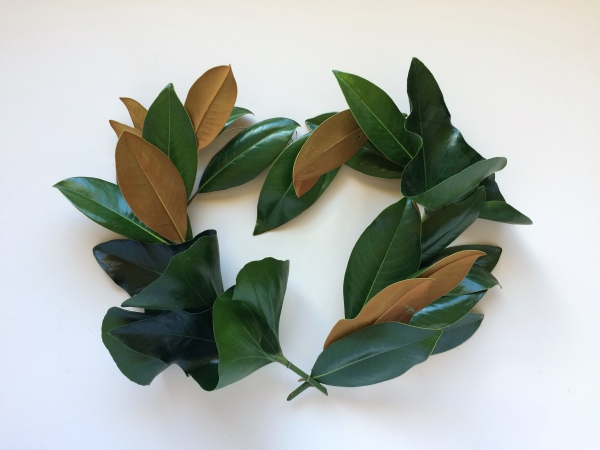
There is something lovely about loads of lush foliage. This magnolia foliage, heart wreath tutorial will have you whipping up event decor to please even the biggest botanics fan! You can tailor this wreath to suit any theme by using different greenery, adding blooms, keeping things simple or by going as opulent as you please!
If you’re planning to decorate a space for a kitchen tea, bridal shower or even the big day itself, this wreath can be made a day in advance, which allows plenty of time for some pre-party pampering! Make several in different sizes for a stunning feature wall, place one at the entrance way or above the drinks/gifts table or attach them to an outdoor trellis. Using magnolia foliage will ensure your wreath will last several days and may even make a gorgeous gift for someone special!
What You Will Need:
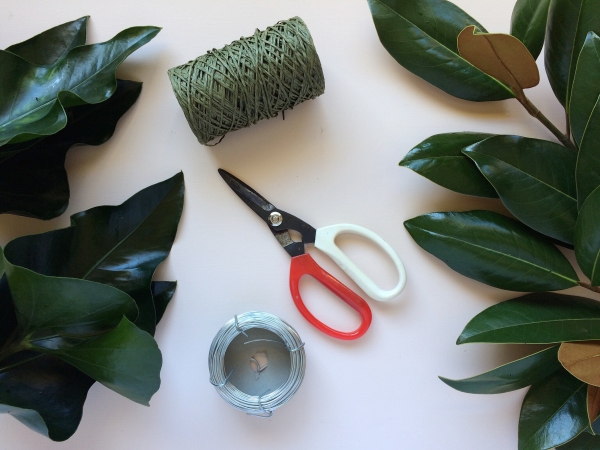
- Chosen foliage – I used half a small bunch of magnolia and several small tropical leaves. Consider using eucalyptus for a softer look (and divine scent!), camellia for a similar effect to the magnolia, or even ferns for a vintage feel.
- Heavy gauge wire
- Wire snips
- Flower snips
- Florist twine (you can substitute this for normal string in a pinch)
What To Do:
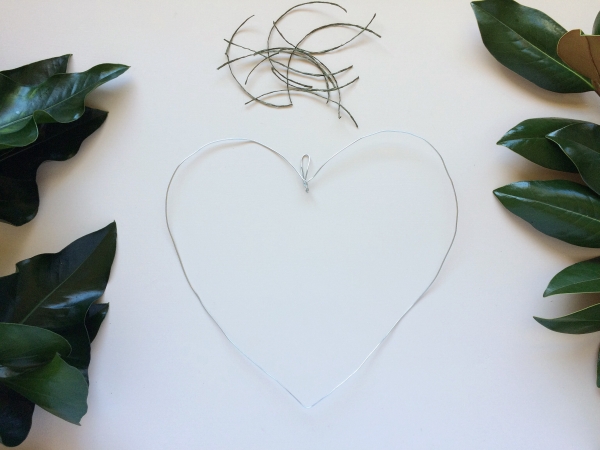
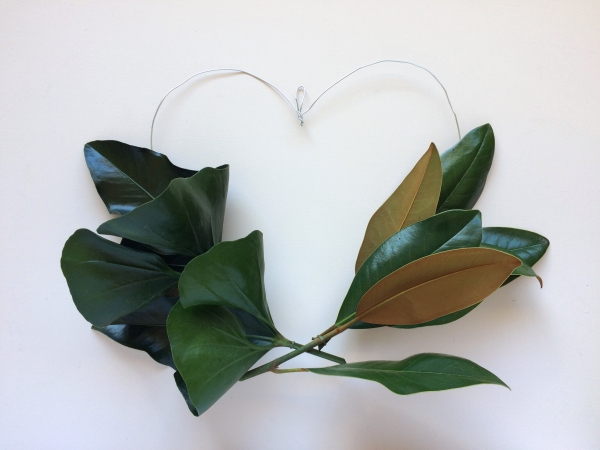
Step 1. Decide on the size and shape of your wreath, and use the wire to create your chosen design. Ensure the wire is fastened securely (you may need small pliers for this if the wire is particularly strong) and add a small loop at the top so that it can be easily displayed. Cut short lengths of twine, approximately 5-8cms long.
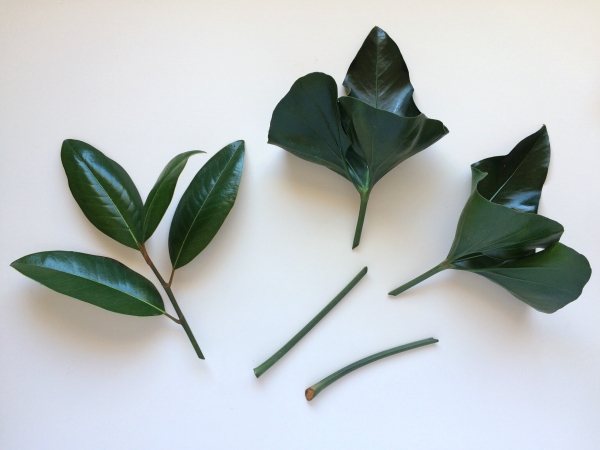
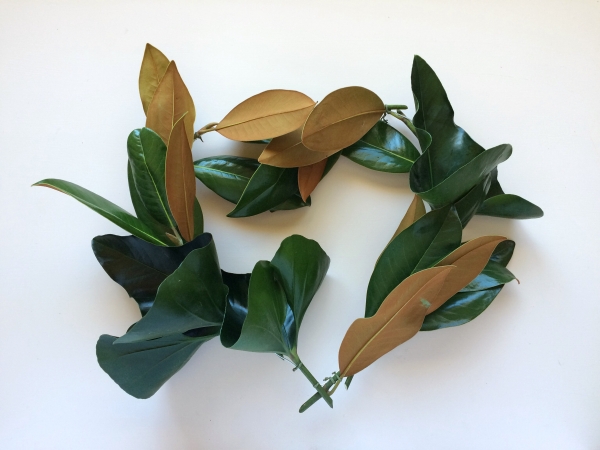
Step 2. Prepare your chosen foliage. If using longer pieces of foliage (such as eucalyptus), leave them long. If using larger varieties of foliage such as tropical leaves or magnolia, trim the stems and select nice glossy leaves. Leave approximately 10cm of bare stem to make attachment easier.
Step 3. Begin attaching your foliage with the florist’s twine, ensuring every piece is secure. You will need to secure each piece of foliage at two different points on the stem to stop the foliage slipping about.
Step 4. Continue to add foliage, being aware it may look a little messy during the process. Use extra pieces of twine to add pieces in or to adjust leaves as you go. Once you’re finished adding foliage, neaten up loose pieces and trim any oddly hanging leaves. Hang on the wall and hey presto – you’ve just made a gorgeous fresh foliage wreath!
All images by Ms Honeycomb
Ms Zigzag says: These wreaths are so beautiful for any event or for no occasion at all. I’ve always wondered how I could make one myself and now I know. Thanks, Ms Honeycomb!




Join the conversation