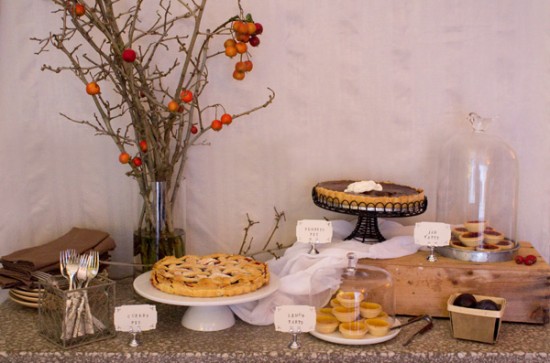
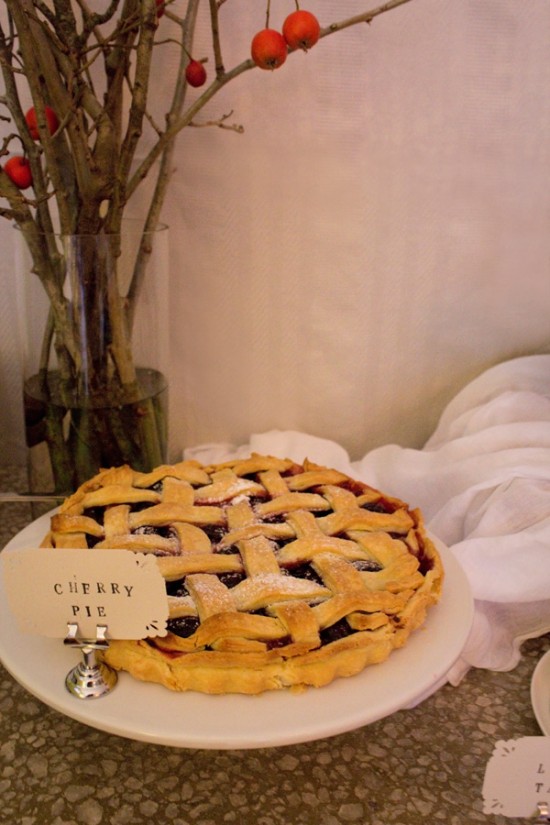
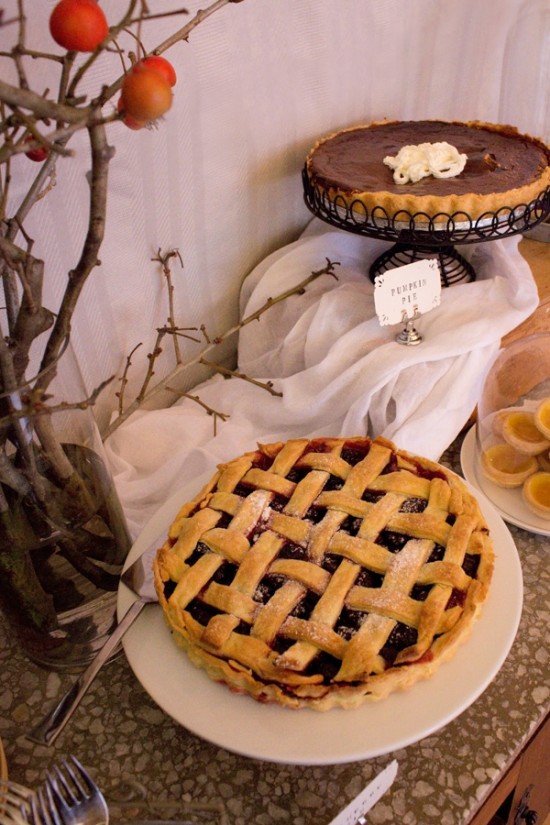
You’ve drooled over the cherry pie and pumpkin pie recipes, today we’re going to pull the whole idea together with a pie buffet.
Ready? I thought so. Let’s get stuck into the tasty details!
Be realistic
Firstly, let’s be real here. Doing all the cooking and set up for a dessert table at your own wedding is all kinds of crazy.
This is intended for a more low-key event such as an engagement party, kitchen tea or an informal backyard wedding. Even in those cases, don’t do it all yourself: enlist a few friends/family members who are good bakers to help you.
Choose your recipes
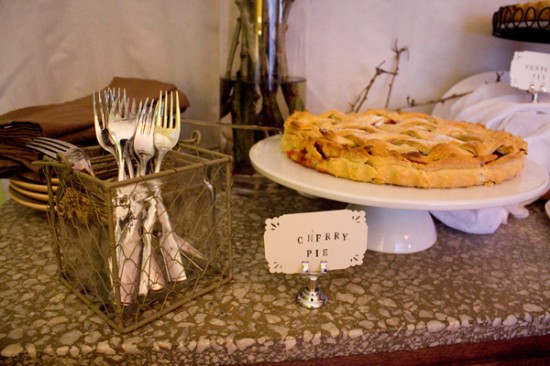
Grab the recipes for the cherry lattice pie and pumpkin pie that I’ve already shared. Consider recipes that can be served room temperature so you don’t have to worry about last-minute cooking or finding enough storage space in the fridge.
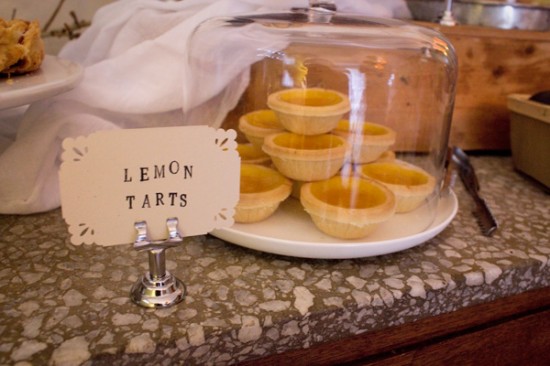
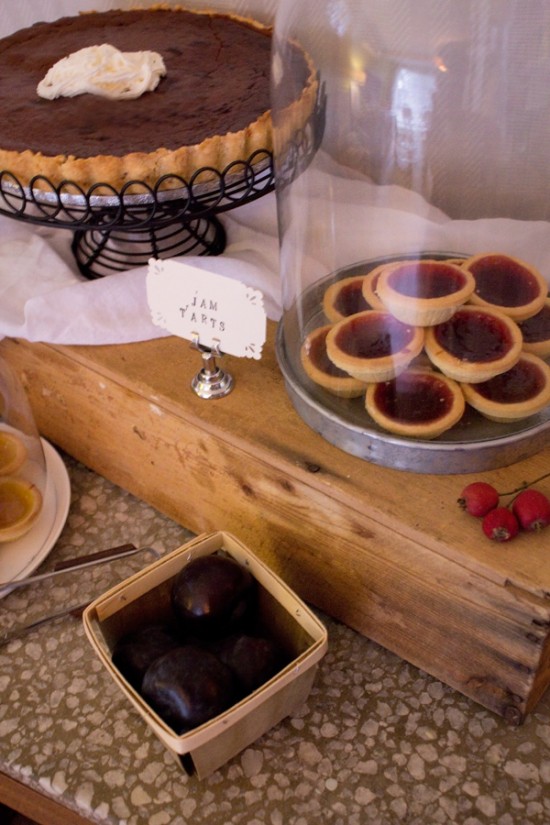
You can achieve the homestyle look while keeping your sanity intact by mixing the homemade ‘star’ dishes with store-bought basics (such as these lemon tartlets).
Select a table
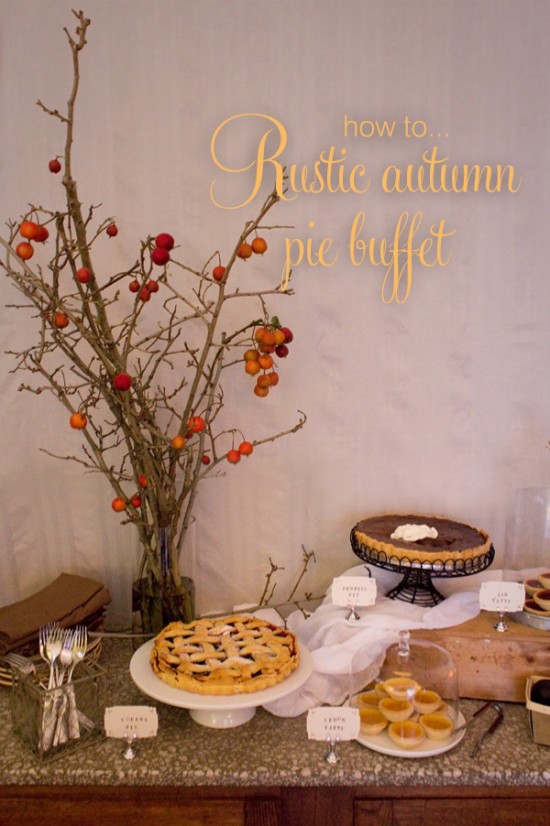
If you have a suitable table such as an old farmhouse table or a charming antique dresser – easy! If not, simply cover a table or trestle with a hessian or linen tablecloth.
Gather your servingware
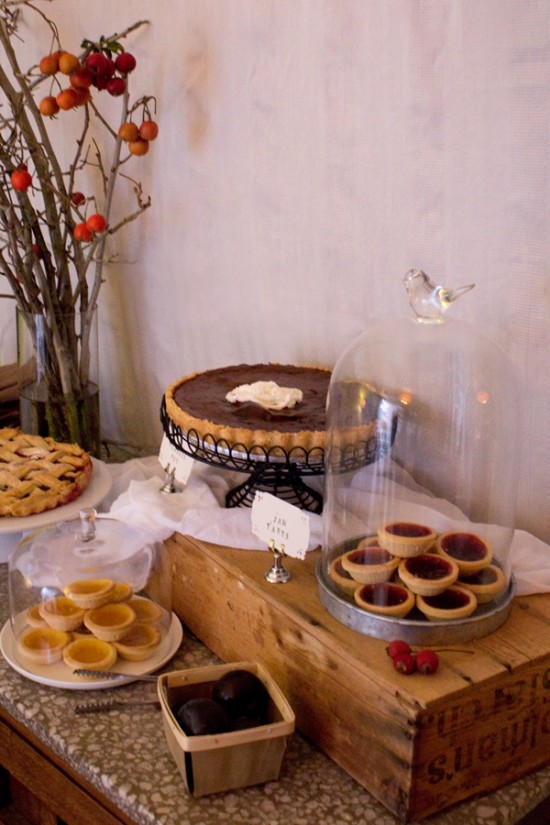
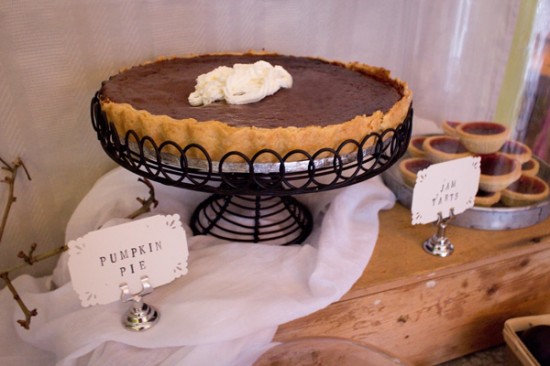
Buy, borrow or hire your cake stands and dishes (those shown are available to hire from Little Sweet Styling). These days you can even buy porcelain pedestals that suction onto the bottom of an ordinary plate to turn it into a cake stand.
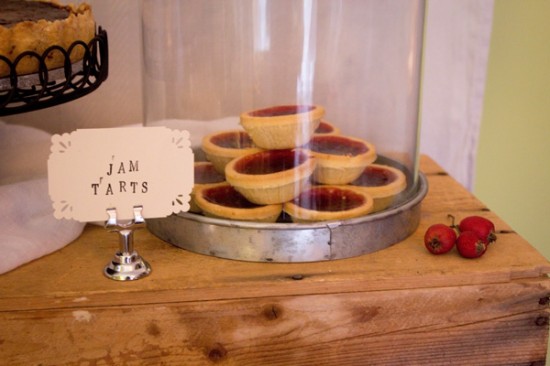
Try to use a variety of dishes – for example a mix of cake stands, flat plates and cloches – for an interesting look. I’ve opted for wire and metal for a country-style look, plus a few plain basics.
In addition to your cake knives and servers, you’ll also need to allow enough plates, forks and napkins for your guests. Keep them on the table to allow guests to serve themselves.
Layer it up
The visual trick to any kind of dessert table is to vary the heights, so grab an old crate or suitcase to raise up the dishes at the back of the display.
Style the details
Consider what’s behind the table: if your location isn’t blessed with a suitable background, you can make a simple and inexpensive backdrop using fabric.
Add some stunning seasonal branches for an eyecatching focal point. Finish off with a few sprigs of berries or pods and a punnet of seasonal fruits.
Label the dishes
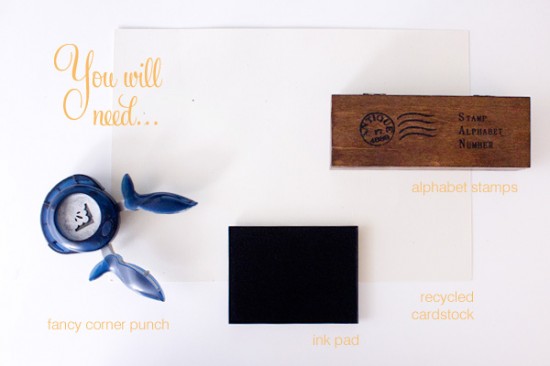
Complete the table by making these simple tags using basic materials.
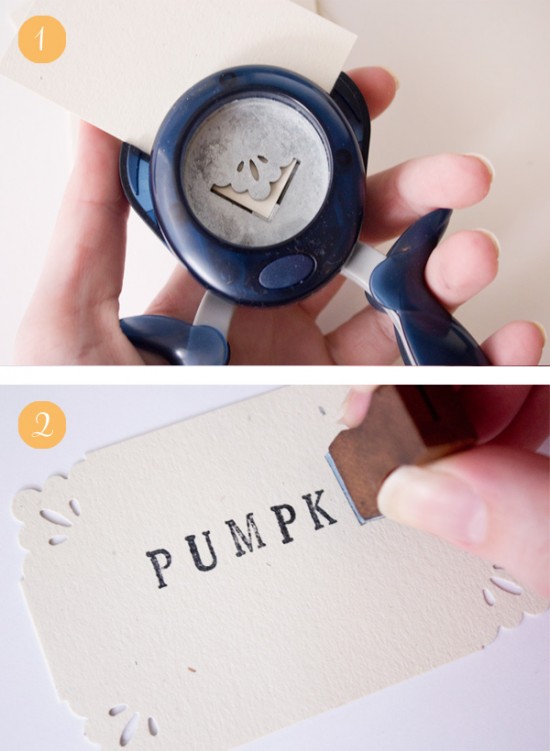
Simply cut some recycled paper into rectangles approx 9x5cm, fancy up the corners using a paper punch and stamp on the pie names using rubber alphabet stamps.
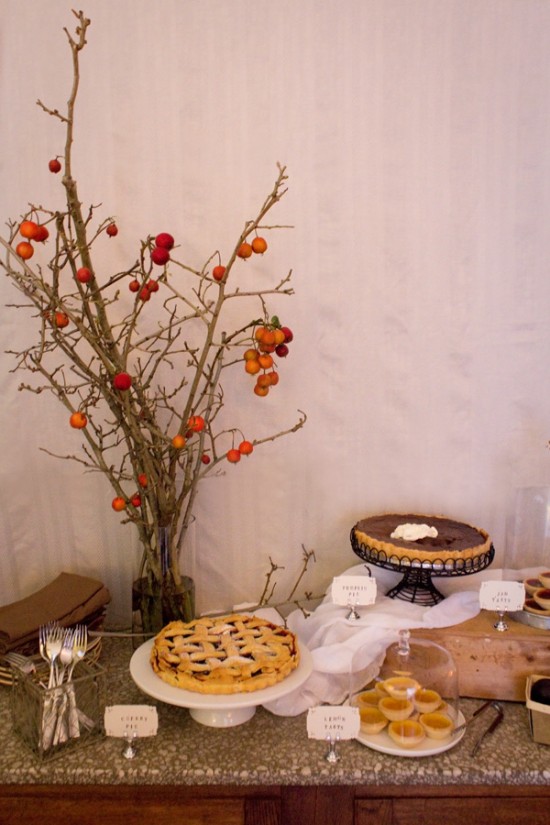
There you go: a charming homestyle pie buffet that is as beautiful as it is delicious!
Props kindly supplied by Little Sweet Styling.
Tutorial and tutorial photos: Alicia Parsons of Akimbo.
![]()
Ms Gingham says: Great styling tips and I love how easy those little labels are!
I am Alicia Parsons, the Atypical Type A. I live in Adelaide, South Australia in a modest townhouse with my new hubby Ryan (aka The Man). I am the owner and graphic designer behind Akimbo, which specialises in quirky invitations, announcements and greetings.
Alicia contributes regular DIY projects to Polka Dot Made. You can view her posts here.





Have always loved the concept (and of course the scrumptiousness) of a pie buffet! Your presentation and those cute DIY labels are just lovely!
How gorgeous Alicia – on this cold rainy afternoon I could eat any of these – you’ve styled the table so beautifully!
Thanks ladies! It was definitely a tough job 😉
Please let me know if you’re looking for a author for your site.
You have some really great articles and I believe I would be a good asset.
If you ever want to take some of the load off,
I’d absolutely love to write some material for your blog in exchange for a link back to
mine. Please blast me an email if interested. Cheers!