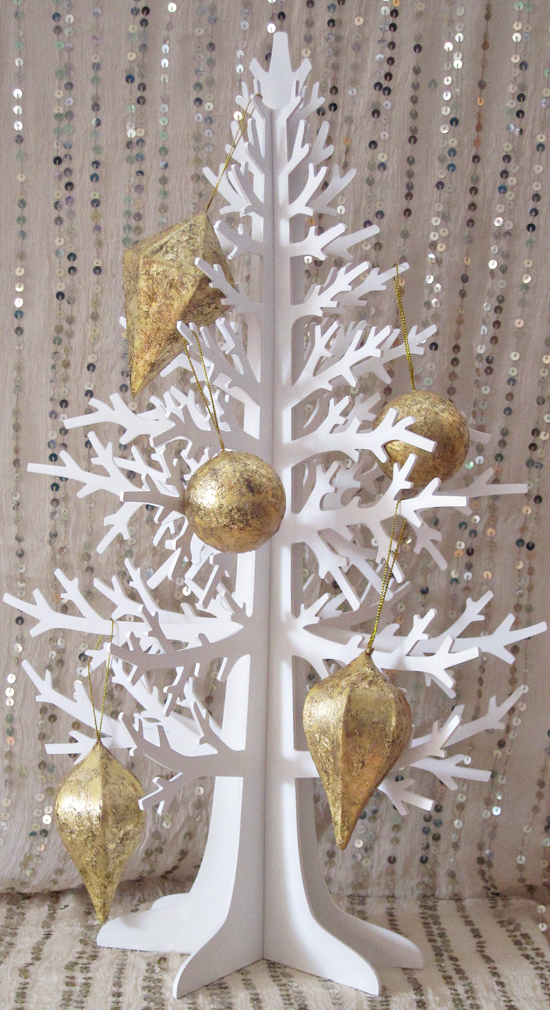
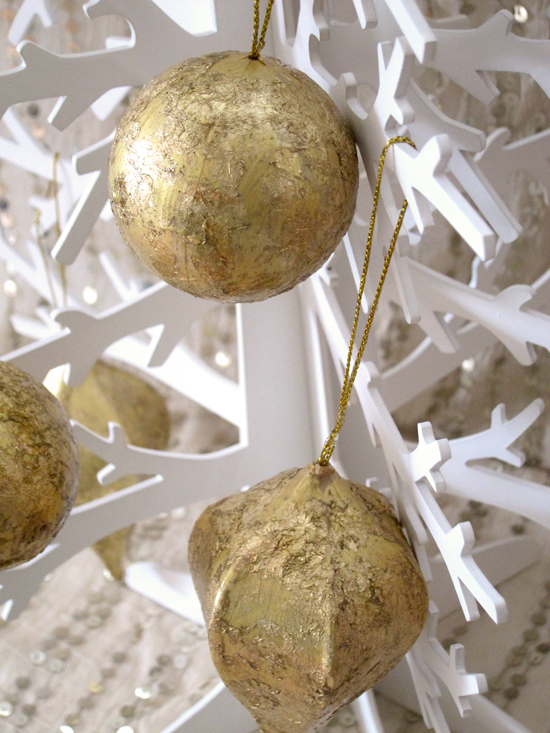
What’s Christmas without a few homemade touches? We created a series of Christmas DIY projects that are easy to translate to your wedding and other celebrations! Gold leaf is such an effective and beautiful crafty touch and so much fun to use! I made a set of Christmas ornaments but you could easily take the gold leaf to a number of shapes for beautiful wedding decorations.
What You’ll Need:
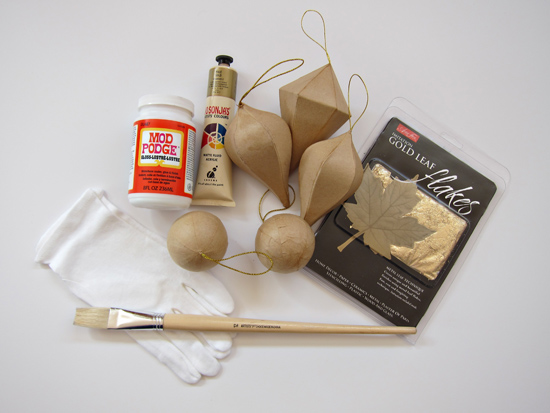
– Paper decorations in your choice of shape, colour and size (I found these at Riot Art & Craft)
– Modge Podge
– Gold leaf flakes (Riot Art & Craft)
– Paint in your colour of choice (I used Soft Gold from Jo Sonja from Riot Art & Craft))
– Cotton Gloves (from Riot Art & Craft)
– A brush to apply the paint
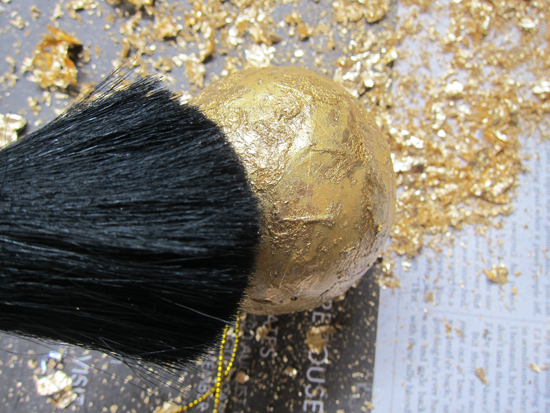
– Do note I added a soft blusher brush I found at the supermarket (to brush away the excess gold flakes)
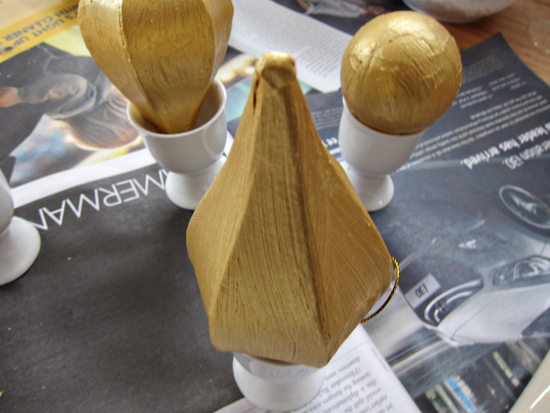
– Egg cup or a glass to sit your ornament in
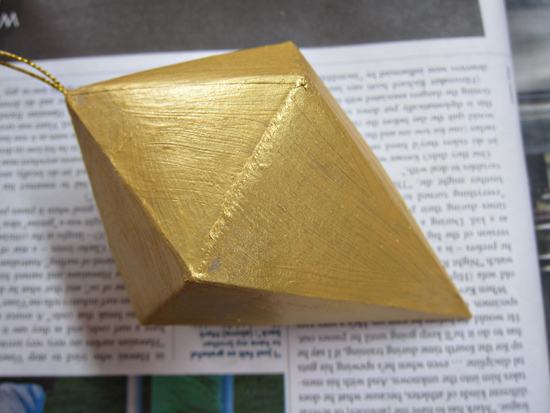
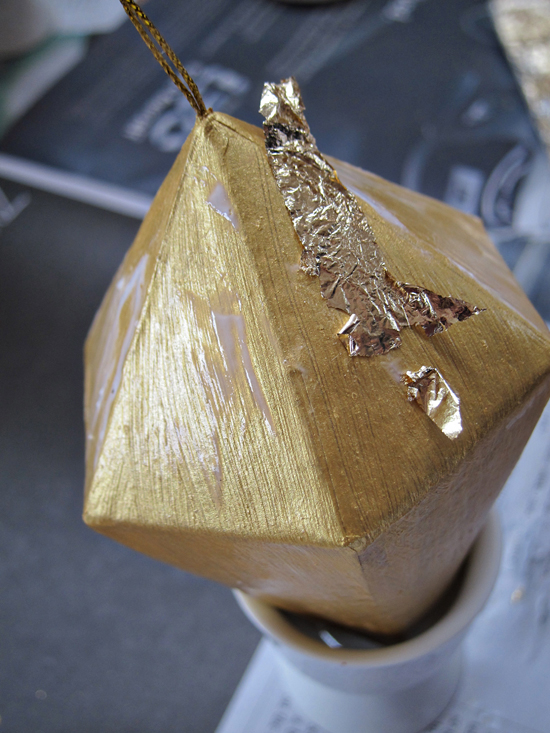
1. Paint your ornaments in your desired colour choice. I chose gold but it’s even prettier to use something like powder blue, green, black, an oxblood red. It’s completely up to you and your colour schemes!
Your paint job doesn’t have to be perfect, but do ensure it’s covered so none of the base ornament can be seen.
2. When the paint is completely dry, pop on your gloves and working quickly, paint a thin layer of Modge Podge on part of the ornament.
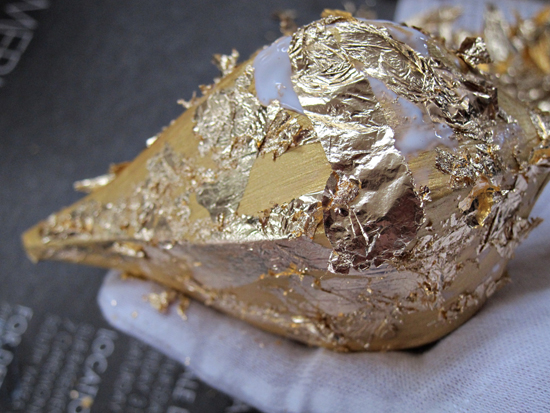
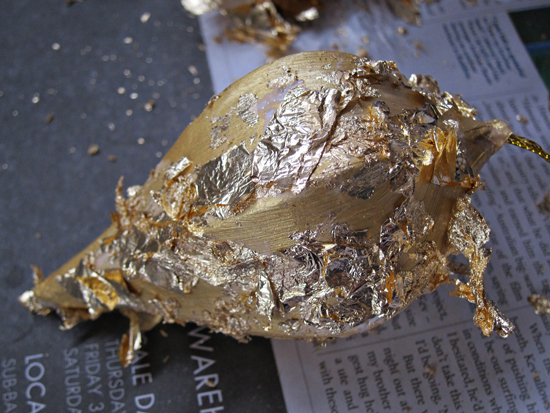
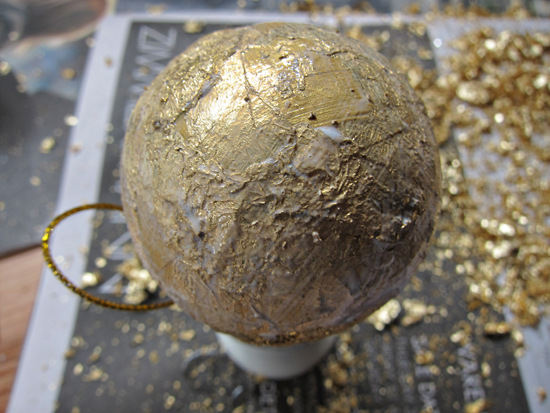
3. Start pressing your gold leaf into the glue. Use your cotton glove covered fingers to make sure the gold leaf is securely attached. (We chose to randomly cover the ornaments with gold leaf, rather than have the gold leaf covering the whole ornament).
Tip: if want the whole ornament to be covered in gold leaf with no base showing, it might be better to use gold leaf sheets rather than flakes.
Don’t stress if it looks like a complete mess! Just keep working with the glue and gold flakes to make sure the areas of the ornament are covered to your satisfaction.
4. Wait until the glue is completely dry and use your soft brush to brush away your loose edges. This is a really messy step but it essentially “buffs” your ornament! You can save the fallen flakes for future projects (so be sure to do it over newspaper on a still day inside!).
5. When smooth, cover in a thin layer of Modge Podge which acts as a sealant and protects the gold leaf from any damage.
6. Let it dry completely and then add an extra coat of Modge Podge if needed!
7. Enjoy!
![]()






Quick and easy to follow tutorial! Got to add this to my ‘must try’ list!