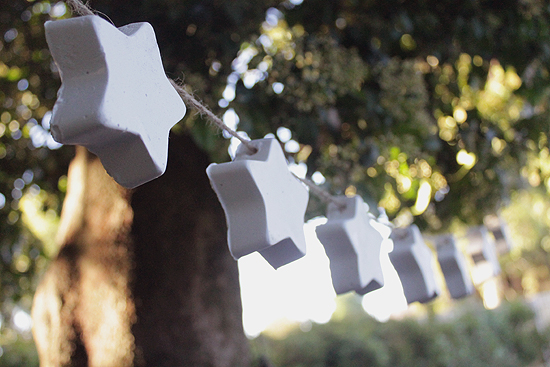
I just love the way this bunting looks and best of all, it’s super easy to make… albeit a little bit messy!
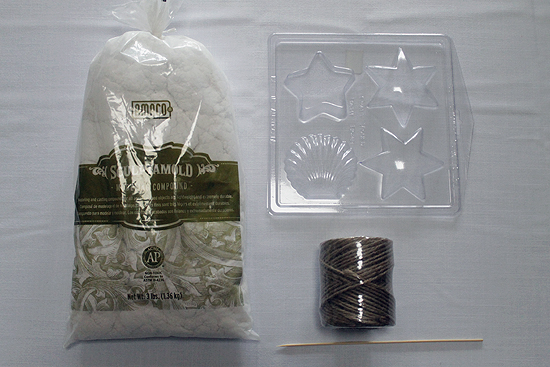
You will need:
- A bag of sculptamold modelling compound. I bought mine from Riot Art and Craft but you can get it here too.
- Soap mold of your choice. Again, I got mine from the craft shop but if you can find one that has your shape only and not a variety of shapes you can do more at a time. These hearts and flowers would be nice for a wedding too! You can buy the mold I used here.
- A roll of twine to string the bunting on.
- A wooden or metal skewer.
Step 1.
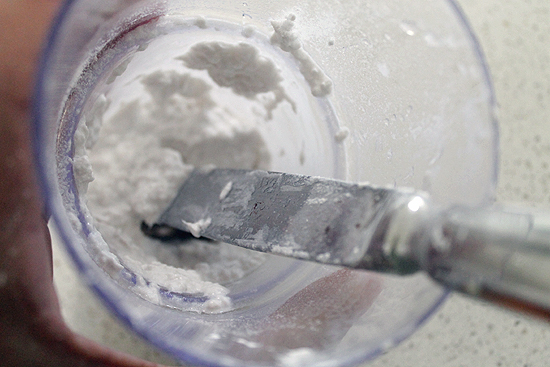
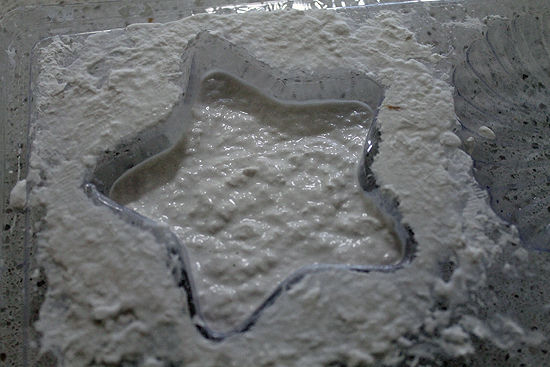
Mix enough modelling compound to fill the amount of molds you have. I found that a good handful mixed with enough water to make the compound the consistency of porridge was enough for one of my molds. You can’t mix it all up at once because it will set while you’re waiting and then it’s useless. (I found this out the hard way!).
Step 2
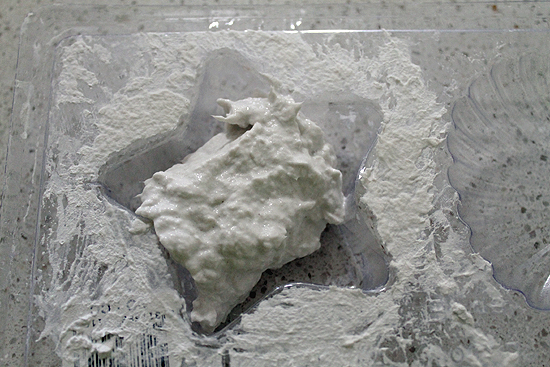
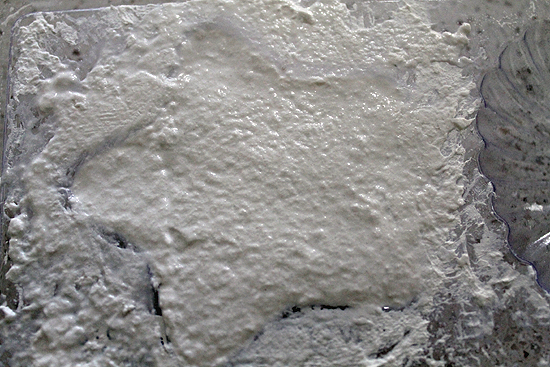
Fill your mold 2 thirds of the way and give it a couple of strong taps on the bench to get rid of any air bubbles and then fill to the top. Tap the mold on the bench again and leave to dry.
Step 3
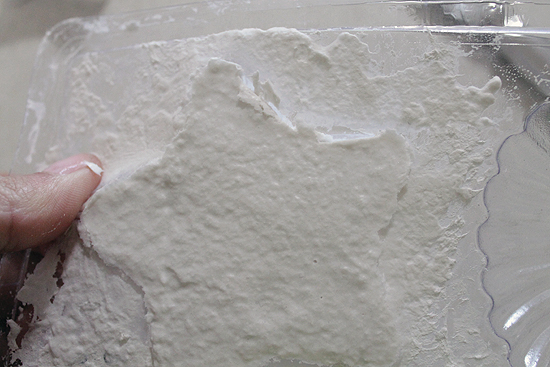
The compound needs around 30 minutes to dry enough to pop out of the mold. A couple of taps on the bench and gentle press will help it slide out.
Step 4
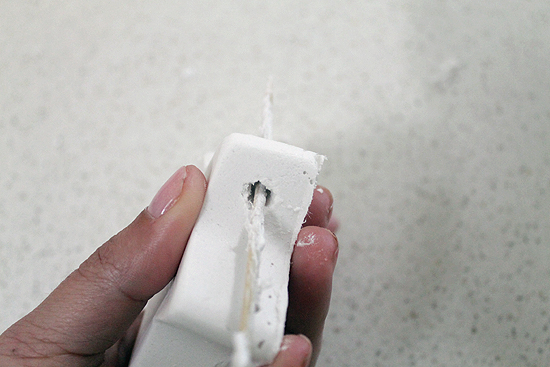
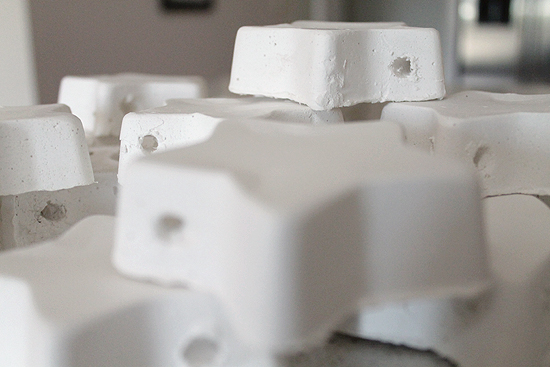
Once it’s out, use your skewer to make a hole in the top of the star or anywhere you wish for your twine to pass through. Do this gently so you don’t crack the still setting shape. If you do crack it don’t stress, gently push it back together and it will dry up fine.
Step 5
You now have a choice of letting the shape dry on it’s own (which will take several days) or popping it in a fan forced oven for 4 hours at 90 °C. I chose to bake mine and they were perfect! This modelling compound is so great because the end result is really light not heavy like clay. It’s easy to work with, doesn’t stain your clothes, is non toxic and washes off your hands easily too! Repeat the process until you have as many stars as you need. I got 20 out of half a bag.
Step 6
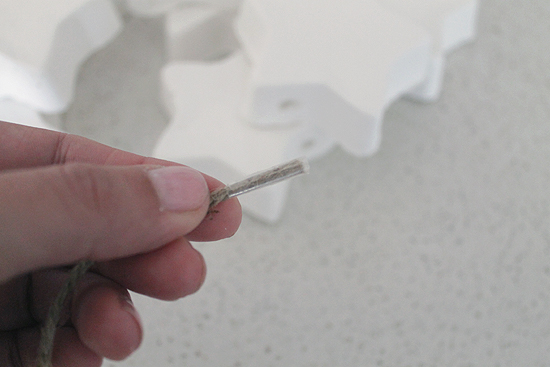
Now the fun bit. Wrap some tape around the end of your twine (kind of like a shoelace) so that it’s easy to thread and pass the twine through your shapes.
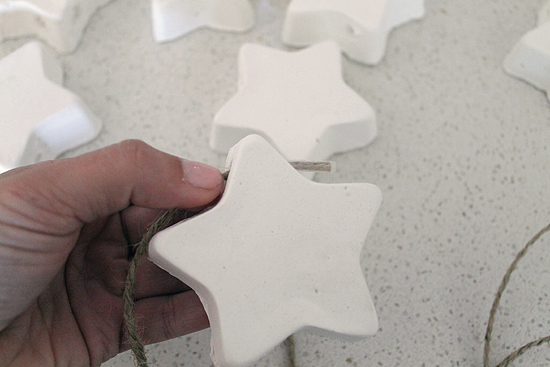
There you have it! String it up wherever you like. You could paint the shapes if you like or you could try mixing papers and glitters in with your compound when it’s wet. Personally, I love the simple, pure white!
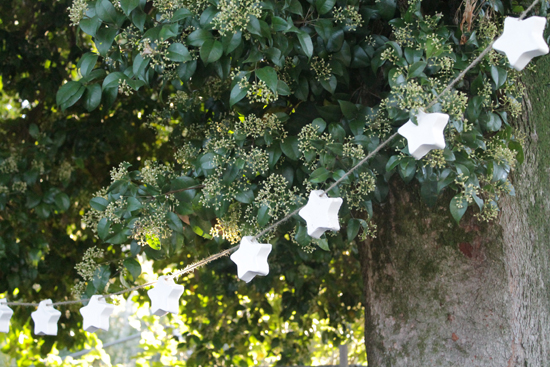
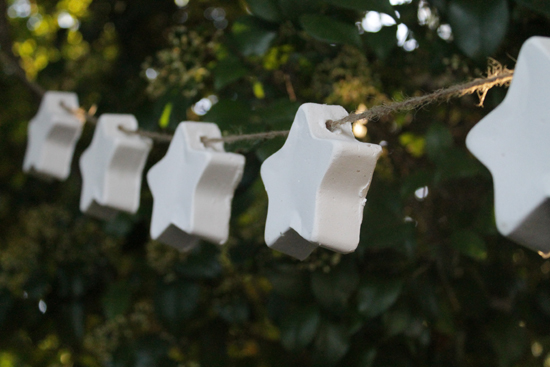
Photography by Ms Gingham
![]()







Love the simple look of these – not everything has to be glittery and over the top at Xmas!
Wow! This is a gorgeous idea. Definitely saving it for a rainy day!