There’s nothing like candlelight to set the mood at a wedding.
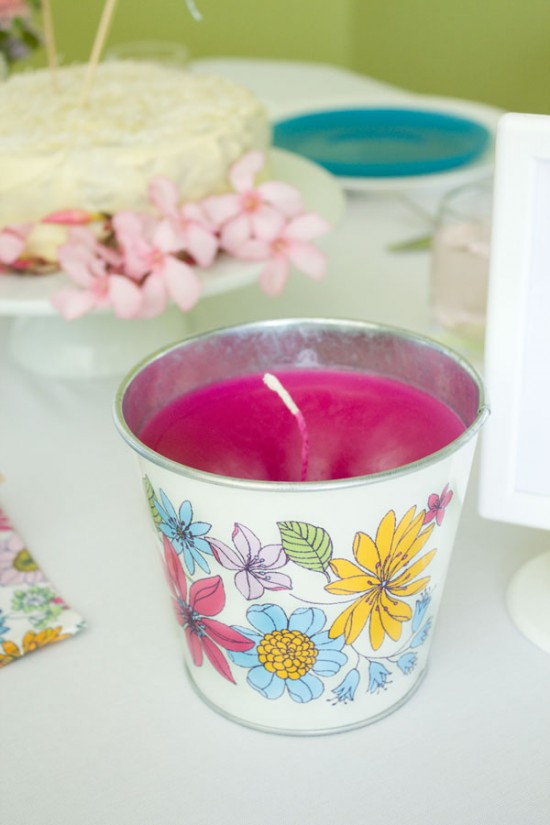
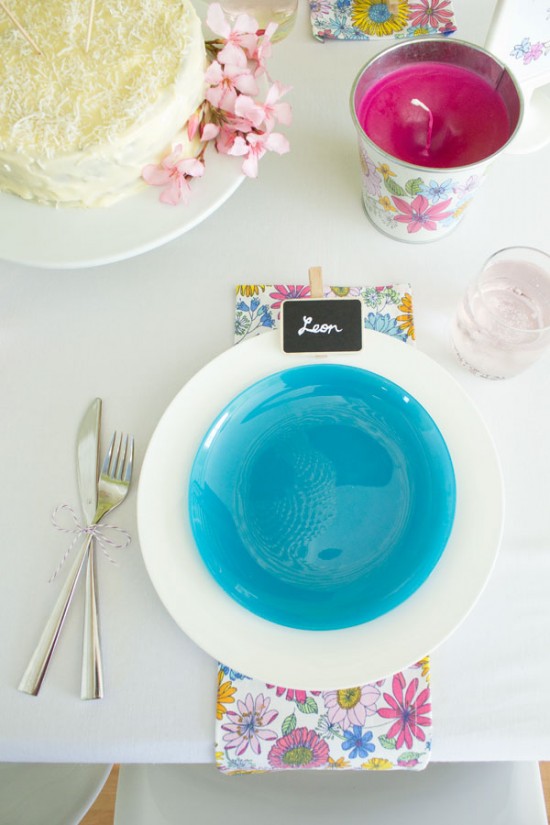
You don’t have to just stick to a few tealights though – make your candles a feature on their own with these colourful floral pots.
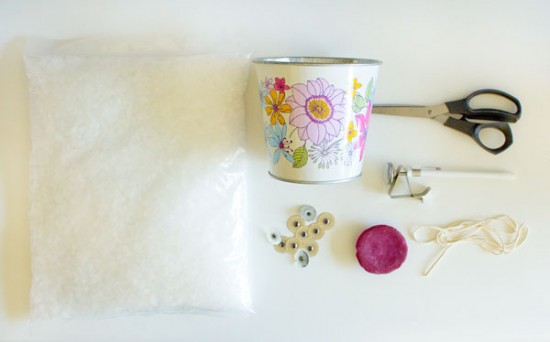
You’ll need:
- Ikea Försommar pots
- Parrafin wax beads (around 500-750g of beads per tin)
- Wax dye
- Candle wicks
- Wick tabs
- Candy thermometer
- Scissors
- Saucepan and bowl (or double-boiler if you have one)
- Mixing spoon
- Bamboo skewers
- Heatproof jug
I bought the candle supplies here, or you could try your local craft store.
Safety note: Working with hot wax is dangerous, so make sure you take proper care. Wear shoes, long sleeves, apron and rubber gloves. Ideally there should be someone else home (but no small children around).

1. Place the bowl over a saucepan of simmering water. Add wax to bowl.
2. Add a small amount of dye, according to packet instructions. Allow to melt, stirring occasionally. Insert your thermometer and keep an eye on it to ensure it doesn’t overheat (exact temperature will vary according to the type of wax so check your packet for details).
3. Meanwhile, thread some wick through a wick tab. Cut to a few centimetres longer than the height of the tin.
4. Dip the wick into the melted wax.
5. Set wick and tab into the base of the tin.

6. Wrap the top of the wick around a bamboo skewer and rest on the top of the tin.
7. Ensure your wax has fully melted and the dye has spread evenly throughout.
8. Remove the bowl from heat and very carefully pour wax into a heatproof jug. Then pour wax – again, taking great care – into the tin about 2cm from the rim.
Don’t worry if the wick has come unstuck, simply adjust the skewer until the tab is centred again. (You may wish to complete this step over a lined baking tray in case of spillage.)
Set aside and allow to cool and harden to the touch. If the wax has sunk in the middle, fill the hole with some additional melted wax.
9. After a few hours or until completely set, unwind the wick from the skewer.
10. Trim the excess wick.
You can play around with colours and pots to suit your theme and even add scent if you wish (try citronella for an outdoor celebration).
A bit more involved than many of my tutorials here, but it’s definitely worth the effort to create some one-of-a-kind decorative table lighting.
Images by Akimbo
![]()
Ms Gingham says: I love that this is a more involved tutorial… something we can really sink our teeth into! If you make these candles we’d love to see some pictures of yours!
I am Alicia Parsons, the Atypical Type A. I live in Adelaide, South Australia in a modest townhouse with my new hubby Ryan (aka The Man). I am the owner and graphic designer behind Akimbo, which specialises in quirky invitations, announcements and greetings.
Alicia contributes regular DIY projects to Polka Dot Made. You can view her posts here.





This is really detailed! Thanks so much. Love this idea.
Thanks Anna! I love Lover.ly 🙂
Hi there! Would you mind if I share your blog with my facebook
group? There’s a lot of folks that I think would really appreciate your content. Please let me know. Many thanks
my web site :: Marvin