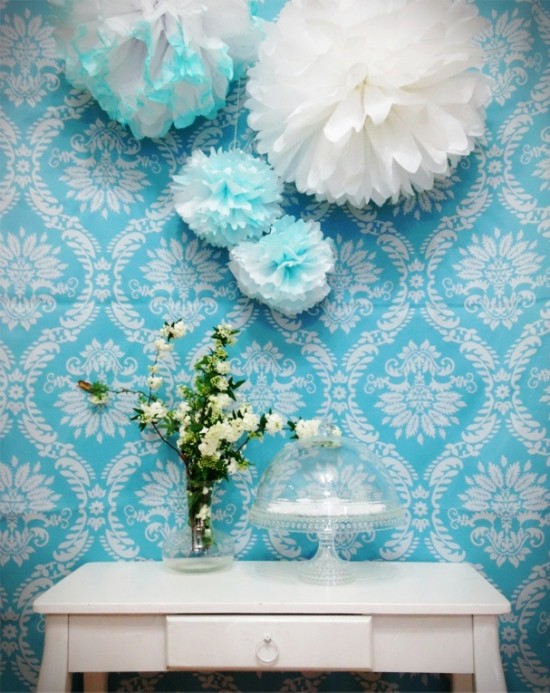
Tissue paper pom poms are so popular at the moment for weddings, bridal showers and all kinds of celebrations. They are seriously pretty with their soft petal layers and flower shapes. Did you know you can easily make them yourself? We made some dip-dye versions just to add a little variety but the method is the same. In the picture above we made small pom poms for the dip dye, a large plain white and another large white pom pom that we dipped the petals in the left over colour and left to dry.
Step 1. Use a packet of tissue paper for each large pom pom, approx. 8 layers. For small pom poms, cut the paper into quarters.
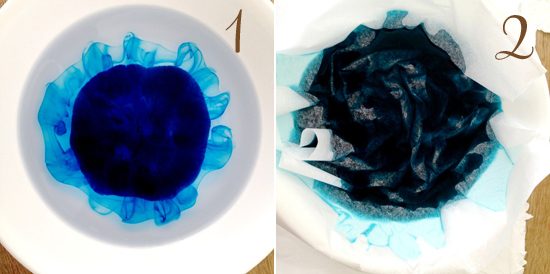
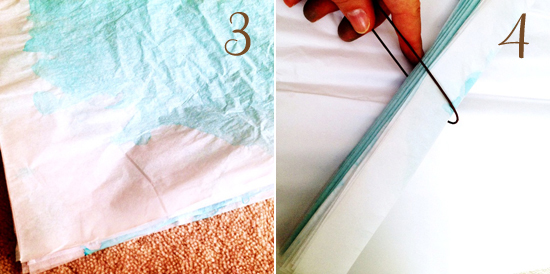
Step 2. Mix some food colouring and water in a bowl and dip each layer of tissue paper individually. Then pat each piece with an old towel and leave to dry.
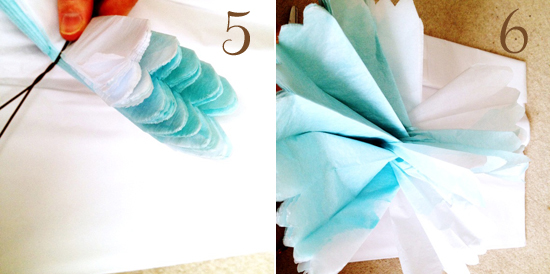
Step 3. Once dry, it is important to line up the layers as best you can. Start folding the short side up 1.5 inches and then back 1.5 inches (accordion style fold) until you have folded up the paper layers the whole length of the tissue. Trim off any excess. We then used florists wire to create a loop to slip over the accordion folded tissue paper and lined it up in the centre. Cut ‘petal’ shapes out of each end of the strip of folded tissue (you can choose how you want this; spiky, soft, basic curve, it’s up to personal preference).
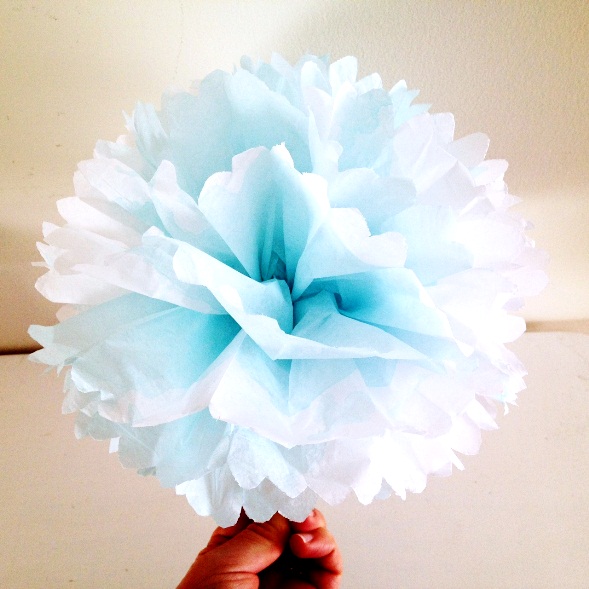
Step 4. Very gently, while holding the wire, separate the layers as closely to the centre as you can without tearing them. If they do tear slightly, don’t panic, you probably won’t notice in the end. As you separate the layers try to create a fullness and round shape. We attached string to the wire for hanging. Do you love the outcome? We love how the colour gently fades from blue to white in the flower shape pom pom. Now to make some pink ones, can you imagine how pretty that would be!
Images by Twiggy Nest
![]()
Ms Gingham says: A very lovely variation on a classic!
Anna says: “I am a decorator, artist and blogger who loves DIY. With years of experience in teaching I have created an ever growing blog full of easy to follow tutorials. I take my own photos and pride myself on originality and a fresh perspective and twist on well known ideas. Although my blog has a range of ideas for all ages and styles I love creating wedding and party inspired DIY and I loooooove flowers, fresh, fabric or anything floral! “





This was a lot more fiddly than I thought! I put too little food colouring in the bowl, then the paper rips so easily when wet… Waiting for my first batch to dry but I think it’s still too faint. It looks so good in those pics though!
Hi Michelle, just saw your comment now. I found it easiest to dip one sheet at a time and put it on an old towel and pat dry. It does look really faint but it is amazing how once all the layers are dry and stacked and then made into a pom pom the colour really starts to show. Don’t give up yet 🙂
Thanks Twiggy Nest!
OK I decided that doing this outdoor was a bad idea… so I dyed it indoors, with a garbage bag under the towel, and I used a hair dryer. So much easier!