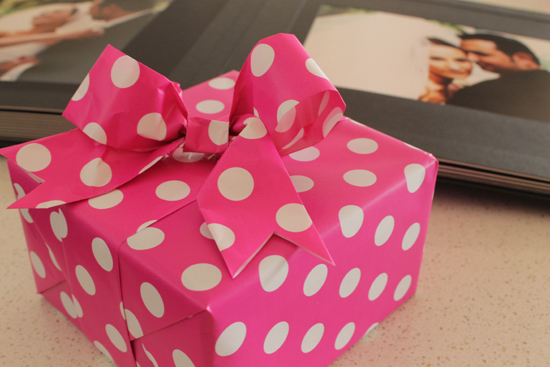
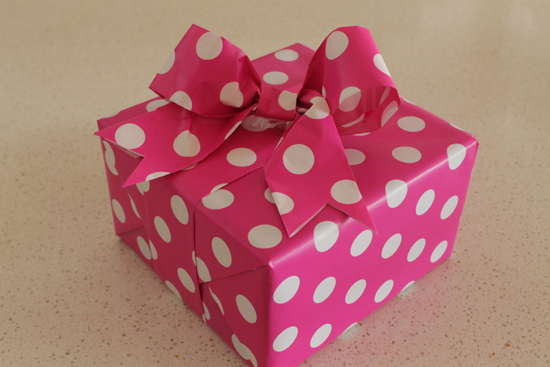
Looking for a pretty and unique way to wrap your next present? I started making these cute little bows when I didn’t have any ribbon one day and now it’s my favourite way to wrap my presents! It’s super easy, looks impressive and people never fail to comment on how clever you are!
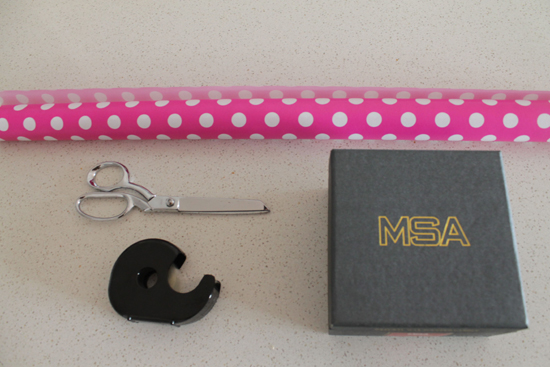
You will need:
1. Your present. Mine is a luscious scented candle in a jar in case you’re wondering…
2. Chosen wrapping paper (not too thick as the bow will rip as you try to shape it). Mine is polka dot of course!
3. Scissors
4. Sticky Tape
Step 1
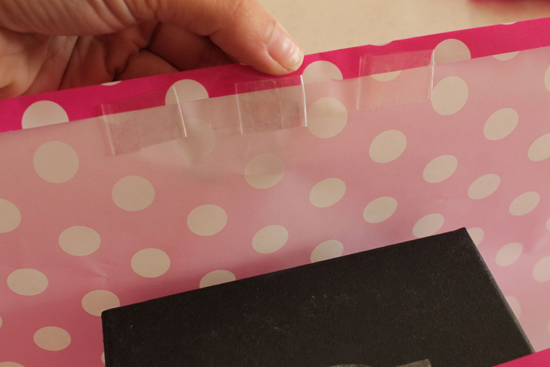
Measure and cut the amount of paper you will need to wrap your present. Wrap your present around one side and secure with a small piece of tape on the actual present. Fold over the edge of the other side and secure with another small piece of tape. Fold some pieces of tape onto themselves to make them double sided and stick them close to the edge of the paper. Fold over and secure down. This way your tape doesn’t show from the outside. You could also use double sided tape.
Step 2.
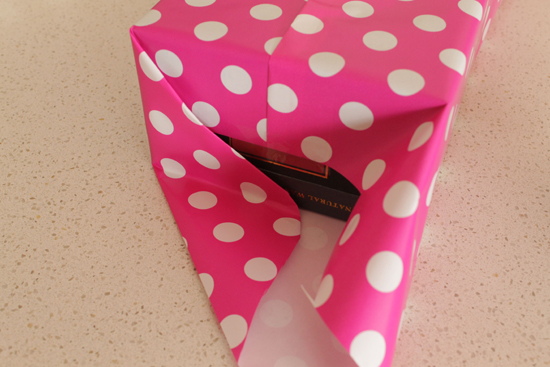
Wrap the sides. Cute the wrapping paper to length, then on the piece that you are going to fold down, cut out some of the excess paper. This will ensure that the fold is neat and not bulky. Make sure you secure your paper to the box, and use the double sided tape technique for an invisible finish. See images below.
Step 3.
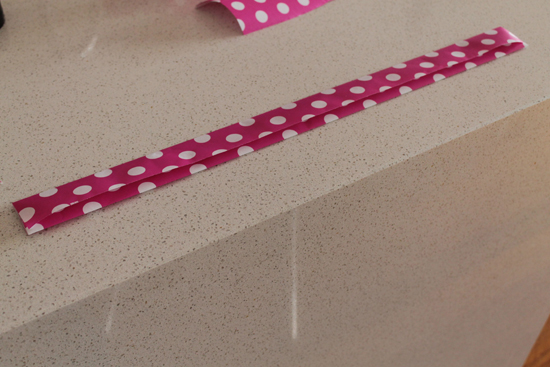
Now it’s time to make your ribbon. Cut a length of wrapping paper long enough to go around your present. Fold both sides of the paper in lengthwise as below. Fold one end over and secure with a small piece of tape. This will make the end look finished and you won’t be able to see where it was cut to length. Wrap it around your box and tape down. Don’t stress too much about it being invisible because your bow will cover the join.
Step 4.
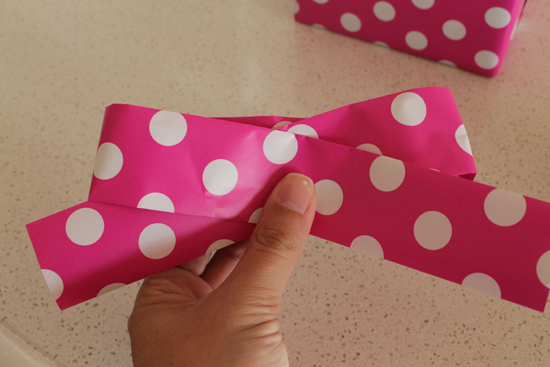
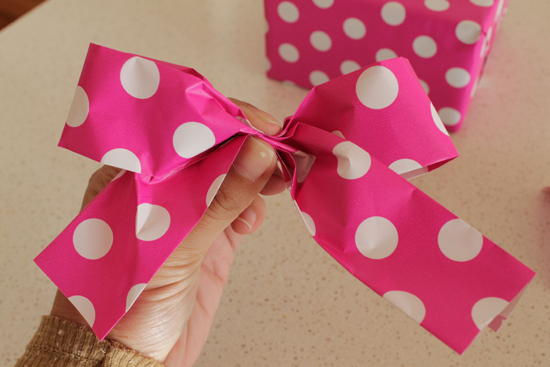
Take another piece of paper the same length and width as your ribbon. Fold the two ends over each other and pinch in the middle. Gently otherwise they will tear.
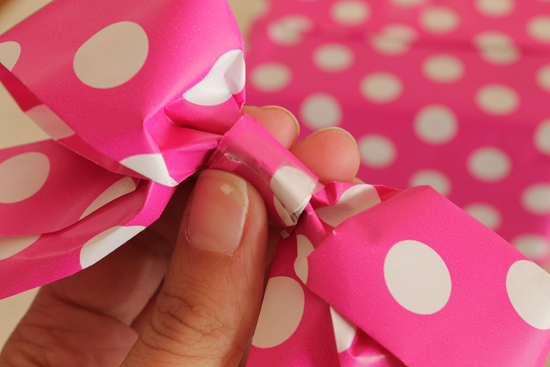
Another piece of paper will replicate the knot of the bow. This one should be thinner and around 5 cm long. Wrap it around the centre of the ribbon where you fingers were pinching the bow together and secure.
Step 5.
Secure your bow onto the ribbon where the join is using the double sided tape method. One piece of tape in the centre of the knot, and one on each of the ribbon ends. Cut the ends into inverted v shapes and viola! Done!
Photography by Ms Gingham











This is so cute! It would look really good with a contrasting colour for the bow, too 🙂
I love this!!