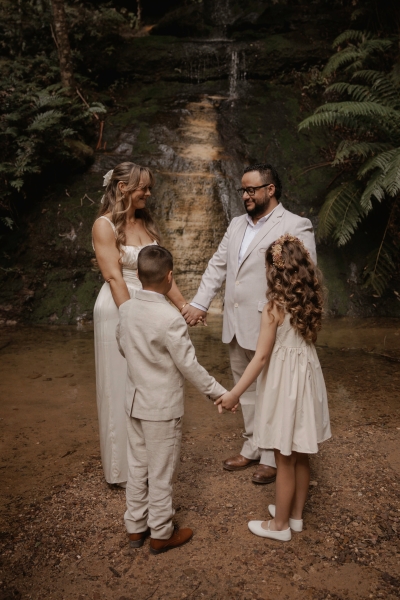
Image by Luke Simon Photography
Today I’m excited to finally share the first of several projects from my own wedding! I had very few flowers at my wedding and my handsome groom’s lapel was no exception. Here’s how I created the fabric boutonniere for him …
You will need:
- Wire
- Fabric scraps
- Thin satin ribbon
- Button
- Pliers or wire cutter
- Craft glue
- Sticky tape
- Scissors
- Pin
1. Cut leaf shapes out of fabric and cut wire at least twice the length of leaves.
2. Glue wire onto back of fabric (be careful not to use an excessive amount or it will show through some fabrics). Allow to dry.
3. Meanwhile, feed a longer piece of wire through the buttonhole.
4. Loop wire around and twist back on itself to secure.
5. Tape around the wires of the fabric leaves to secure together.
6. Repeat with wired button. Trim wires to desired length (try a third of the total length as a rough guide).
7. Feed a length of ribbon through the buttonhole.
8. Wrap one end of the ribbon down the length of the wire, then back up again. Tie a knot with the other end of the ribon.
9. Loop the ribbon through the buttonhole three times, tying a knot after each to secure.
10. Trim the excess ribbon. On the day, secure to lapel with a pin.
The options for this are endless. Try experimenting with different fabrics, ribbons and buttons, or even more quirky bits and pieces like typewriter keys. You’ll end up with something that suits your man’s style and best of all, he gets to keep it long after the day.
Tutorial photography Alicia Parsons
Ms Gingham says: A nice touch for the groom. Thanks to Alicia for this fab tutorial.
I am Alicia Parsons, the Atypical Type A. I live in Adelaide, South Australia in a modest townhouse with my new hubby Ryan (aka The Man). I am the owner and graphic designer behind Akimbo, which specialises in quirky invitations, announcements and greetings.
Read more fantastic DIY projects from Alicia here.


Join the conversation